Viewing entries in
dessert

Peaches & Browned Buttercream Cake (our wedding cake)

Comment

Peaches & Browned Buttercream Cake (our wedding cake)

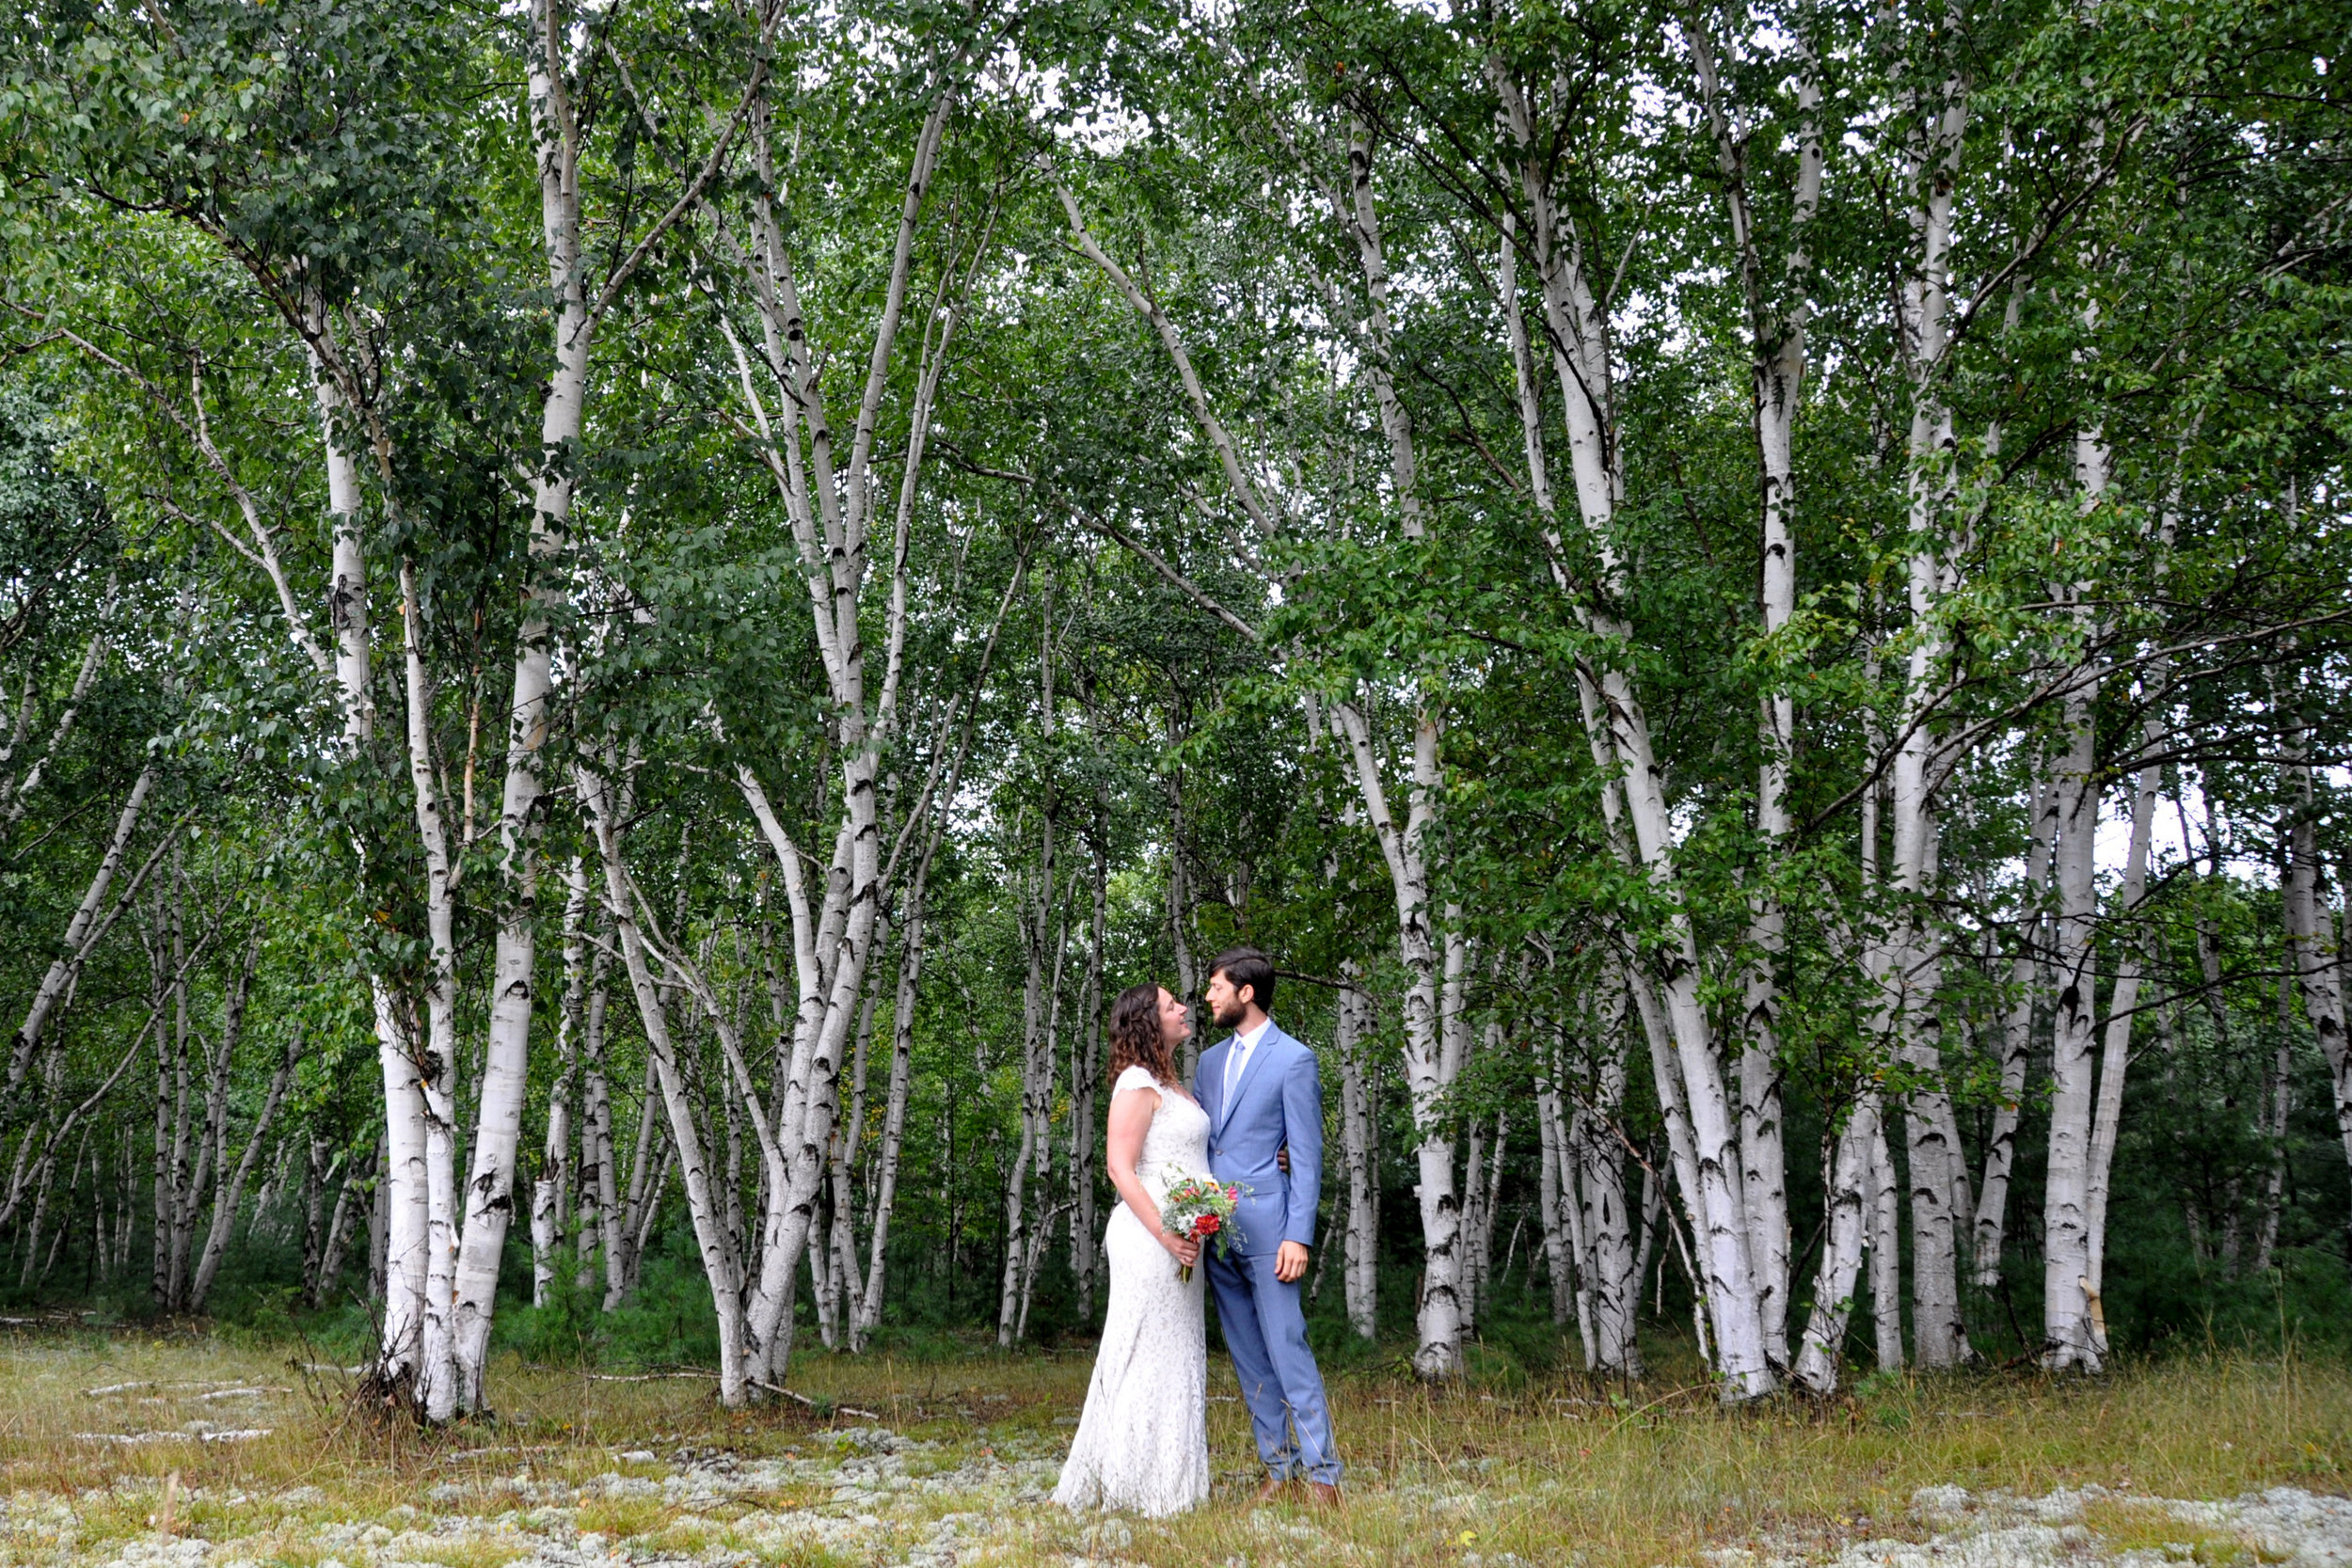
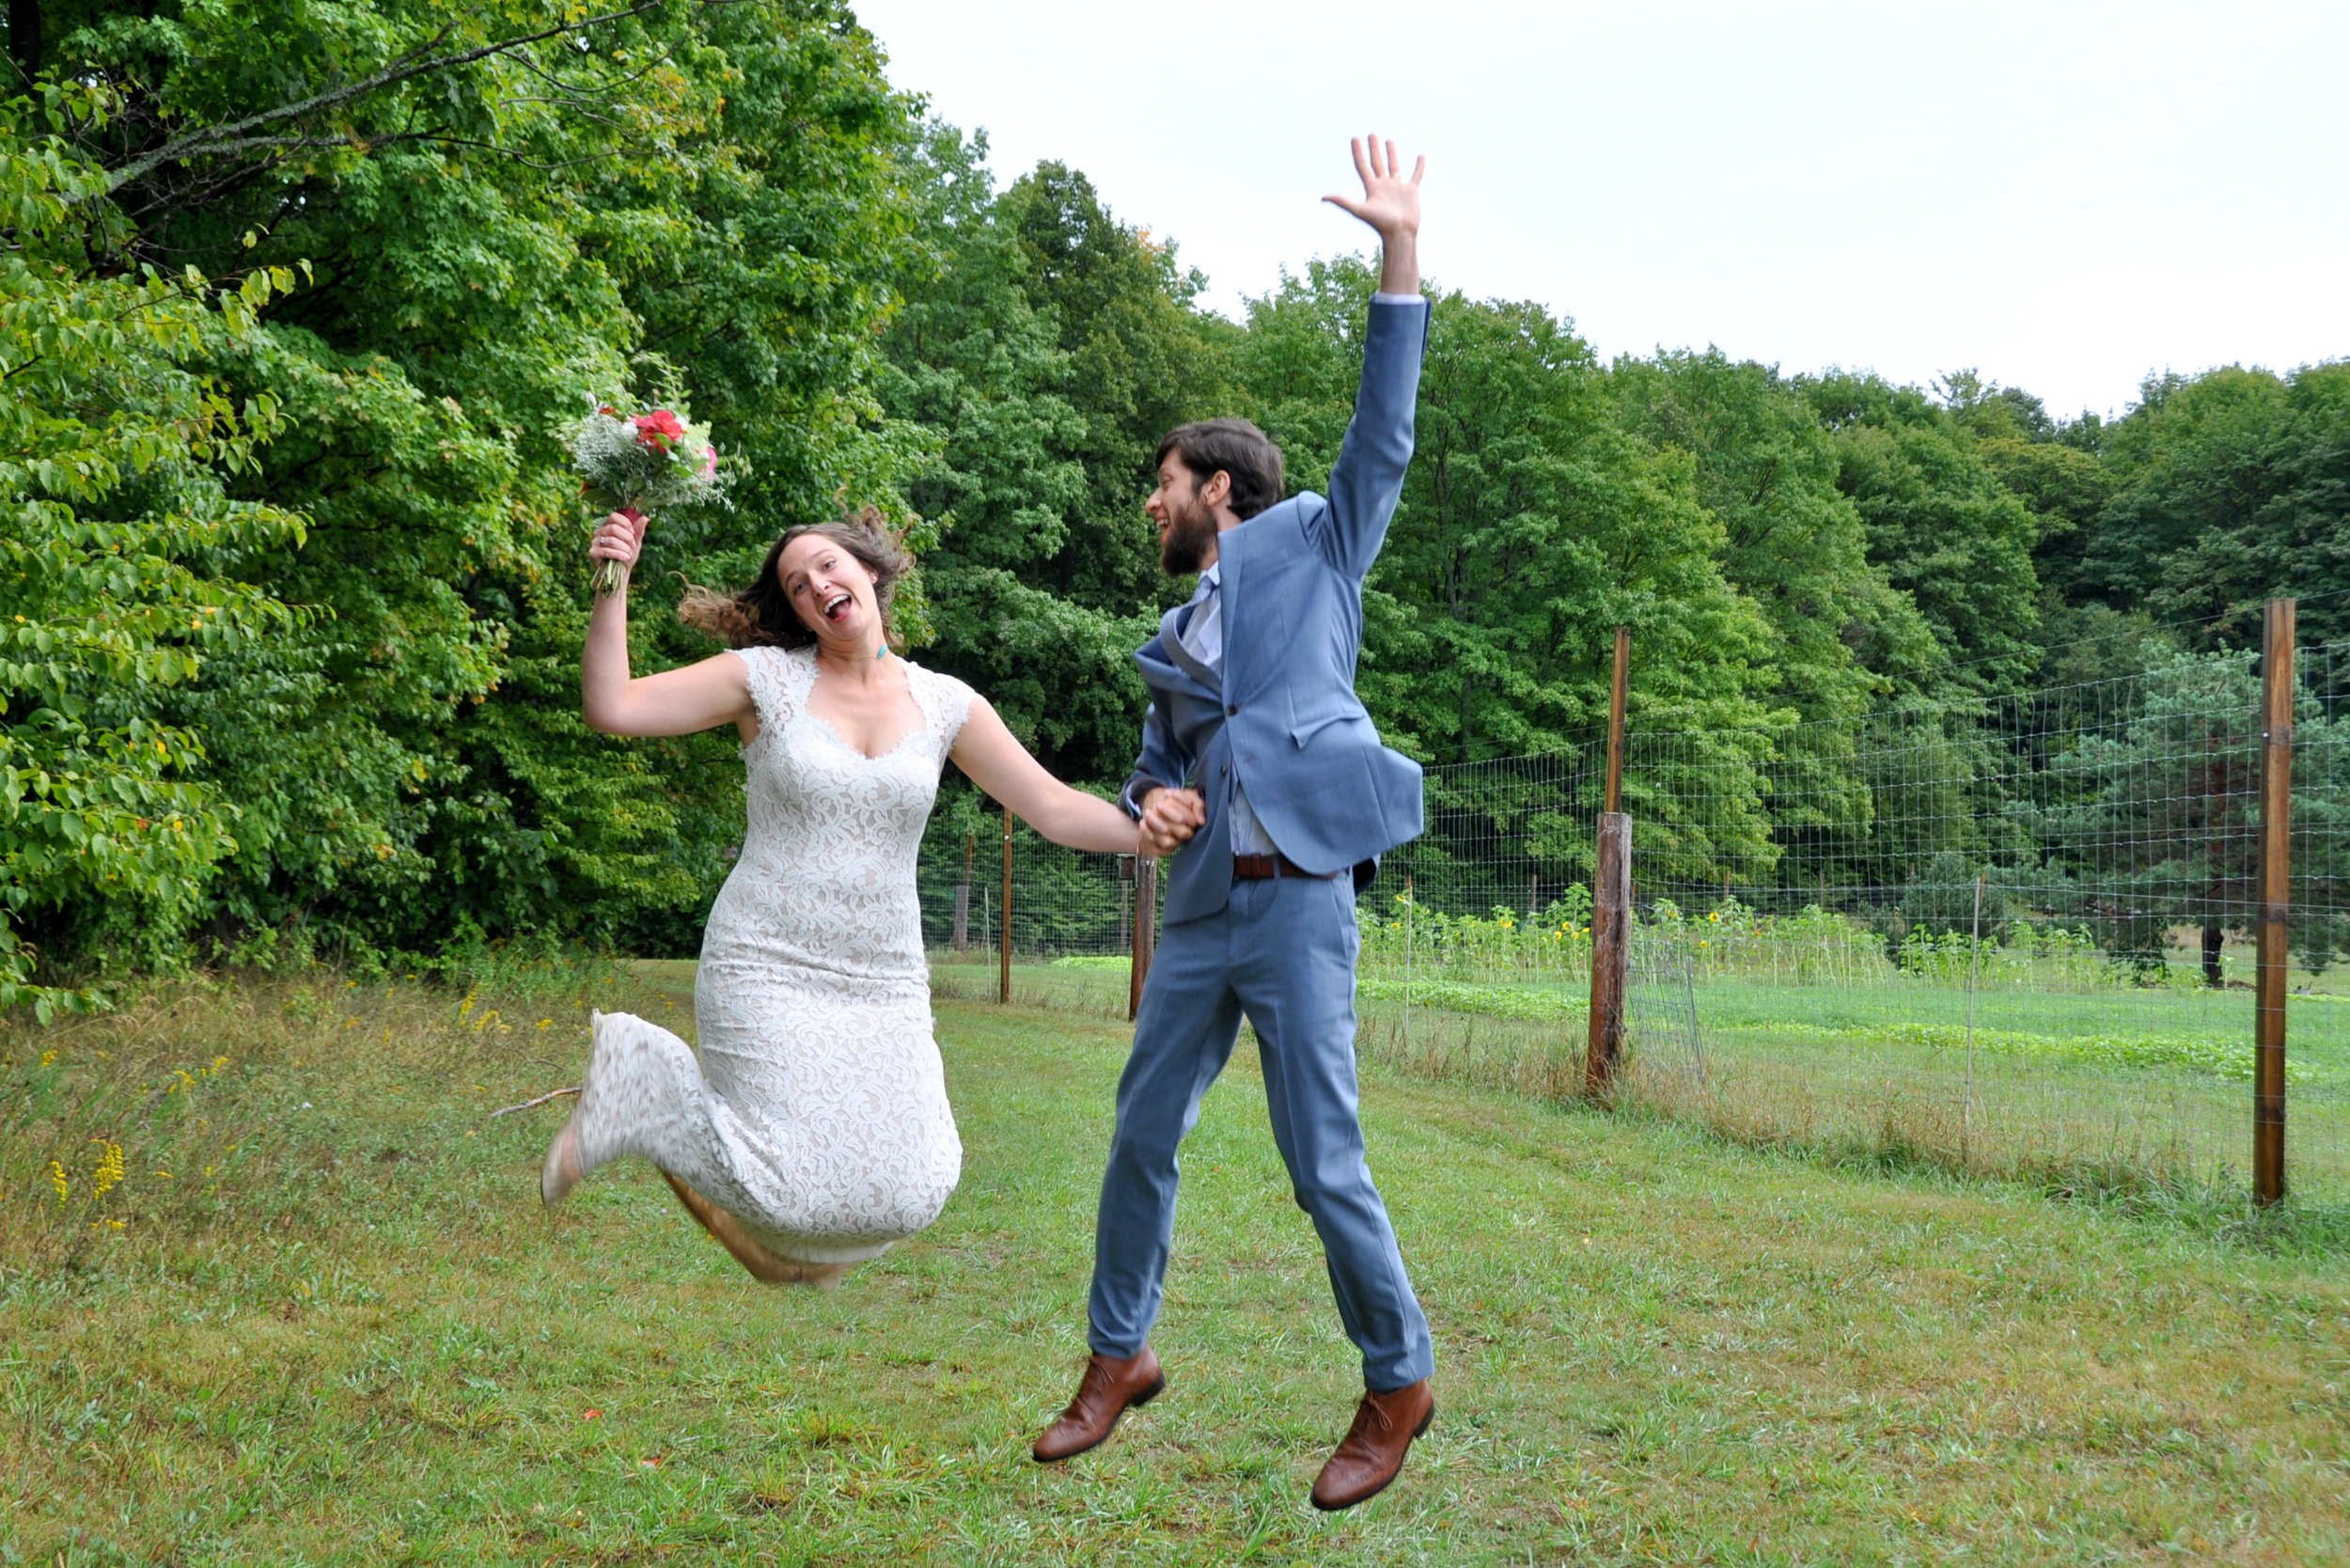
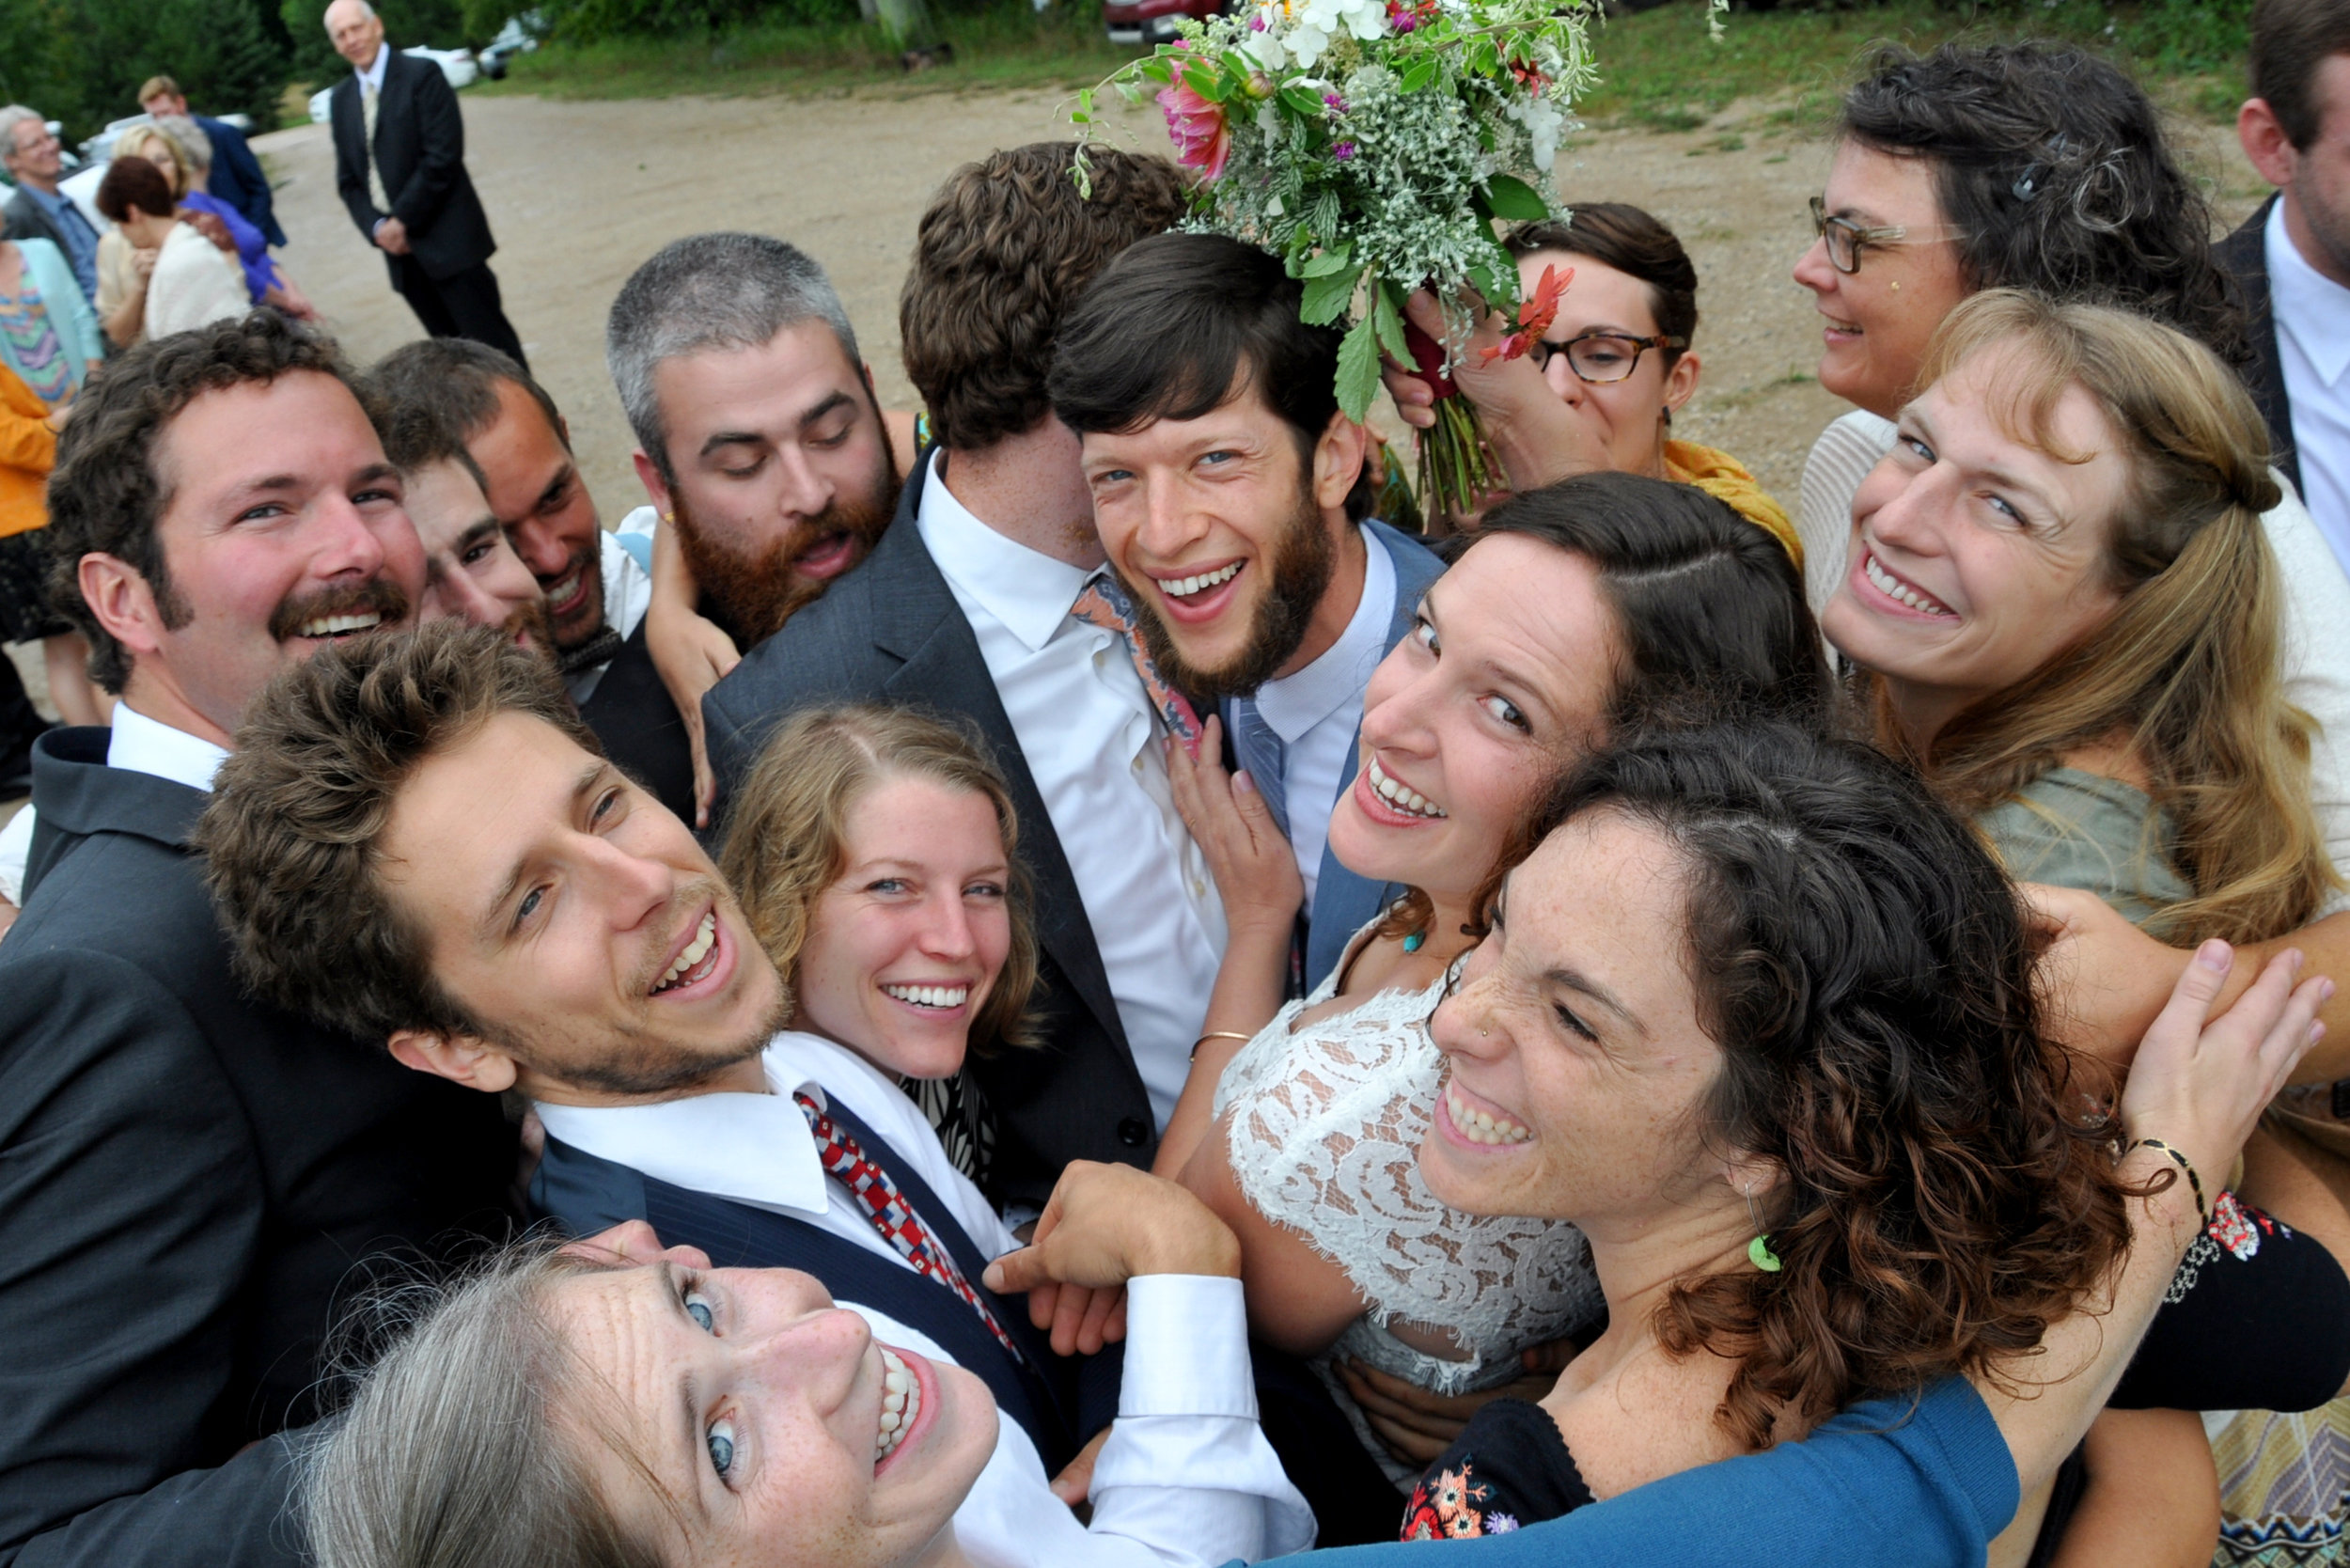
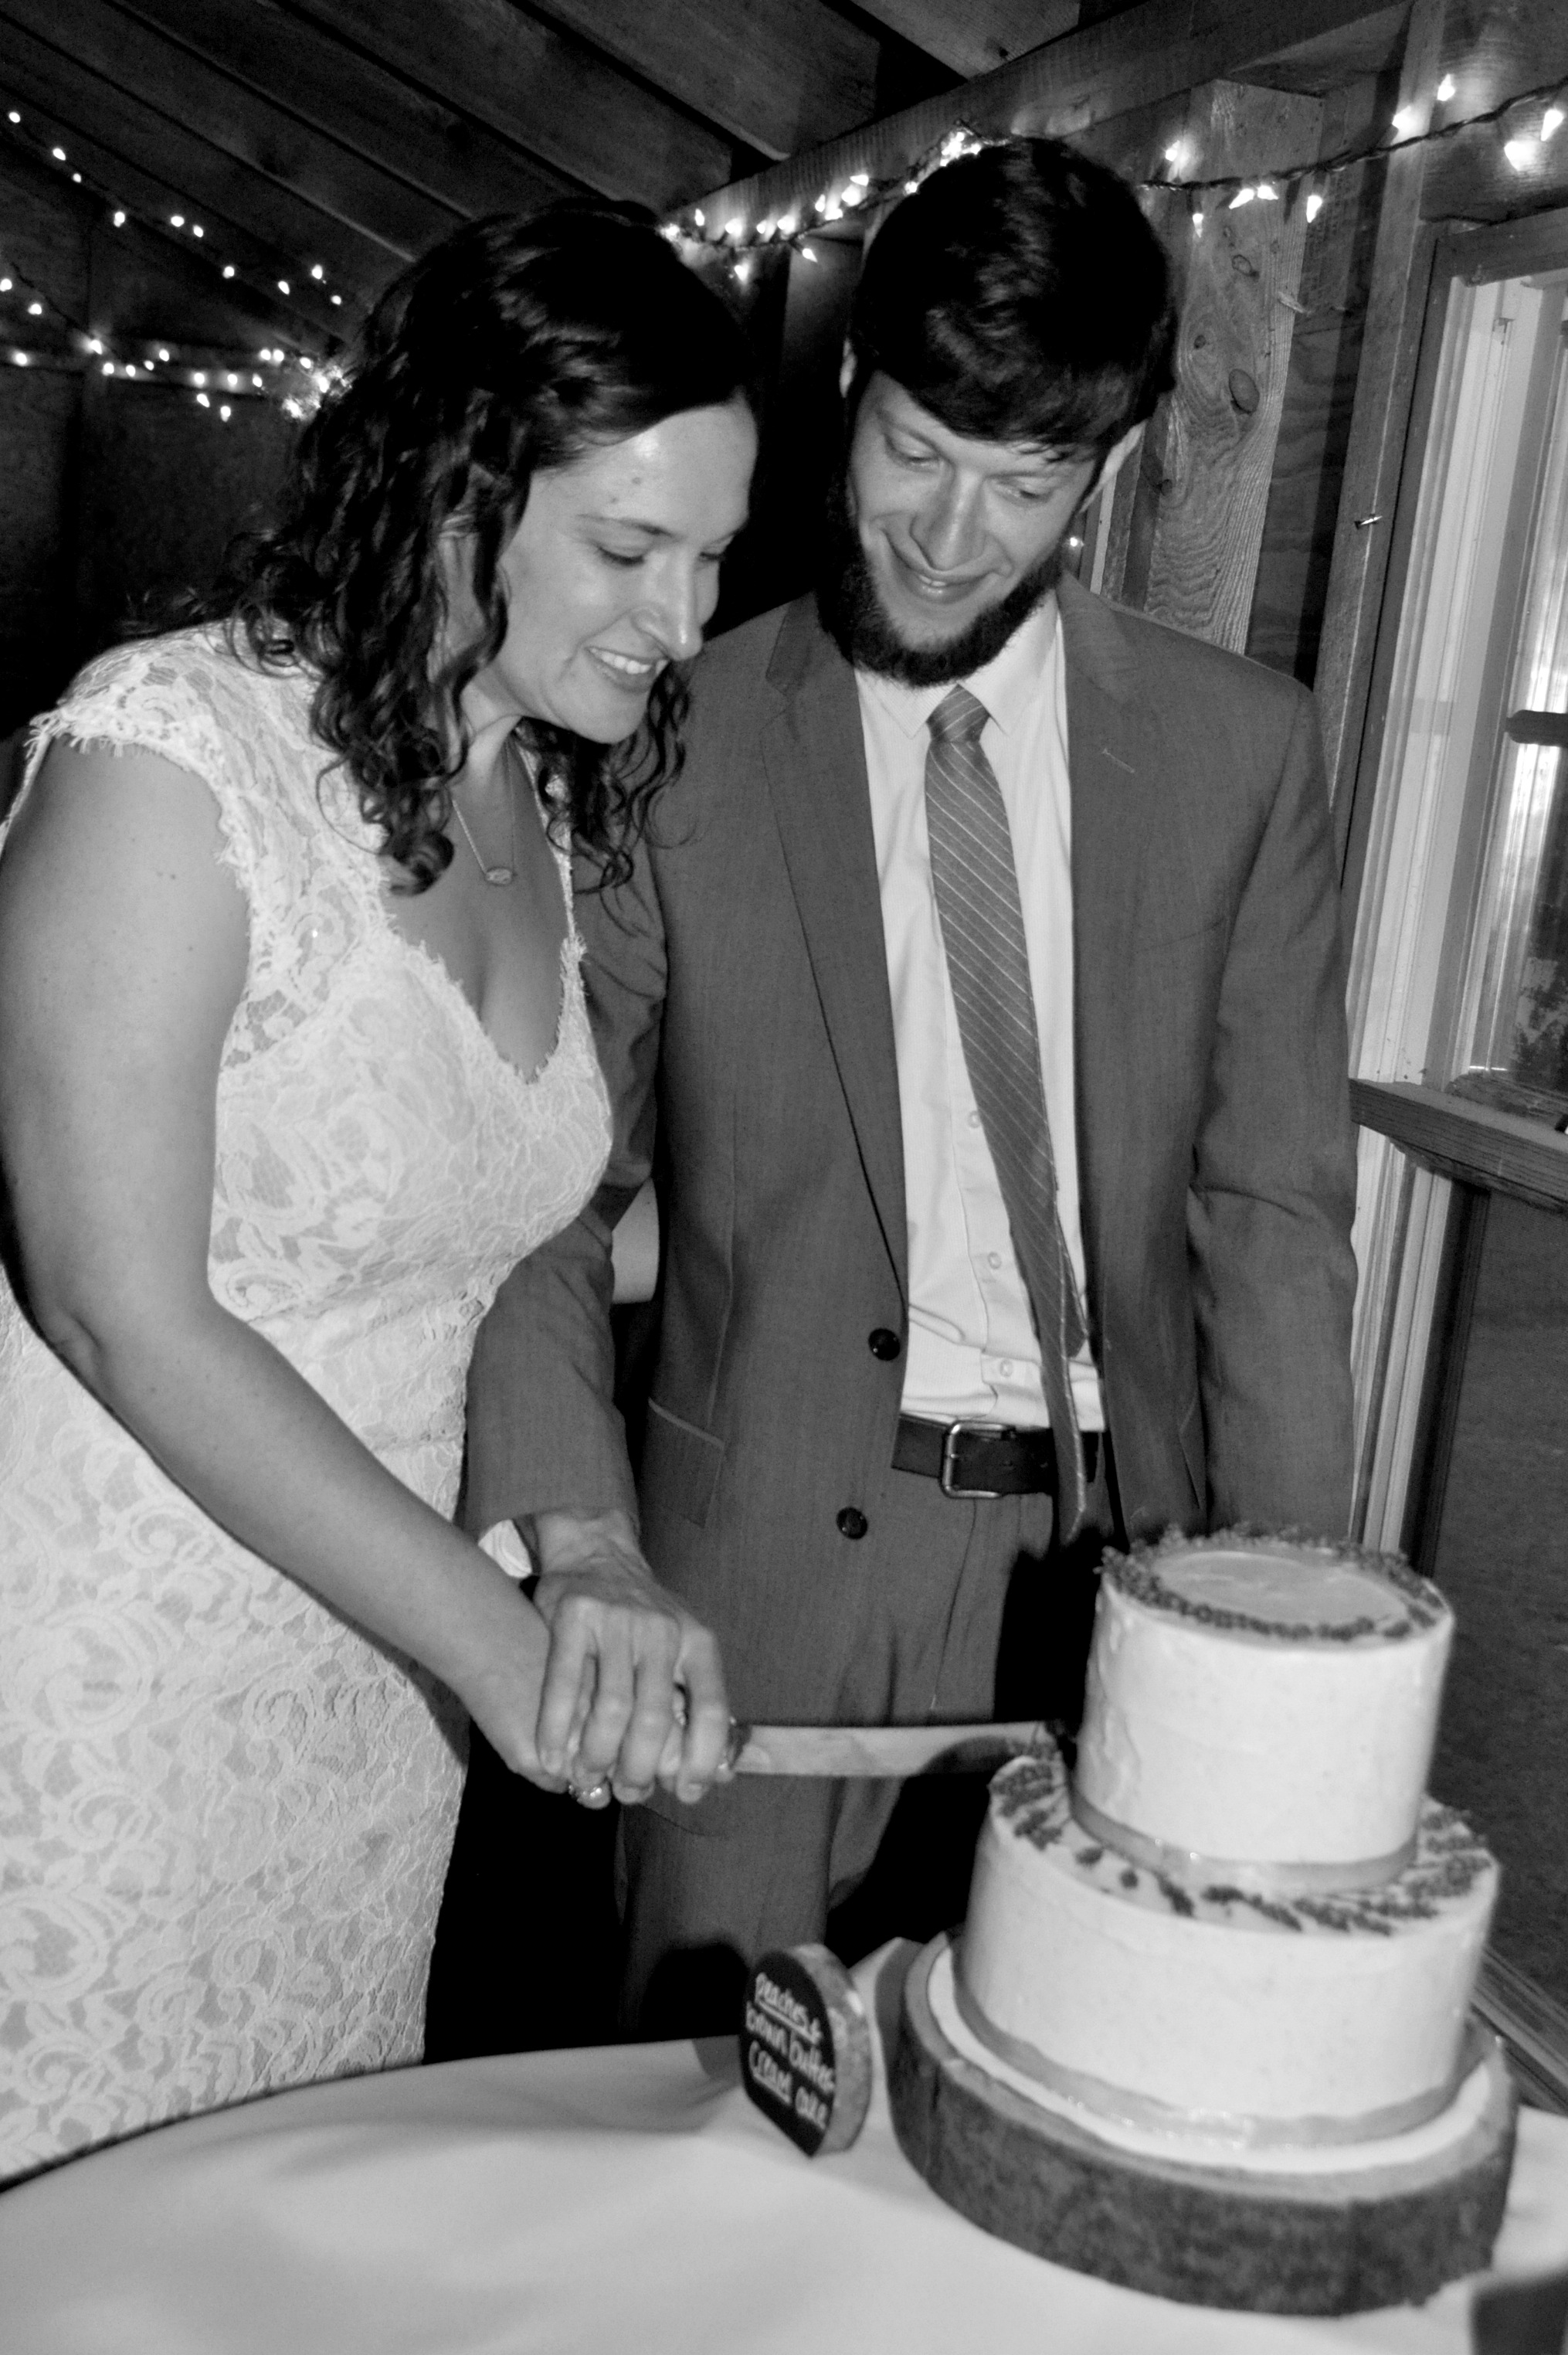
I could not be more excited to finally share this recipe with you, friends! Over a year ago (!!!) my sweet babes and I got married on a magically stormy day in the teeny tiny town of Bliss, Michigan. We shared our love of one another, and Daniel even sang part of this song to me during his vows. We ate an absolutely incredible meal made by our friend Mike at Blackbird Gardens, which included pork raised and gifted to us by our dear friends Nate & Jill at Green Things Farm. The power went out while we ate dinner and came back on just as a friend arrived with a boatload of candles and someone was headed our way with a generator. No one skipped a beat, and the magic of the night ontinued on. There was a massive dance party... which thankfully didn't break the barn floor as many of us were worried it might. Our incredible community of people came together in a beautiful way.

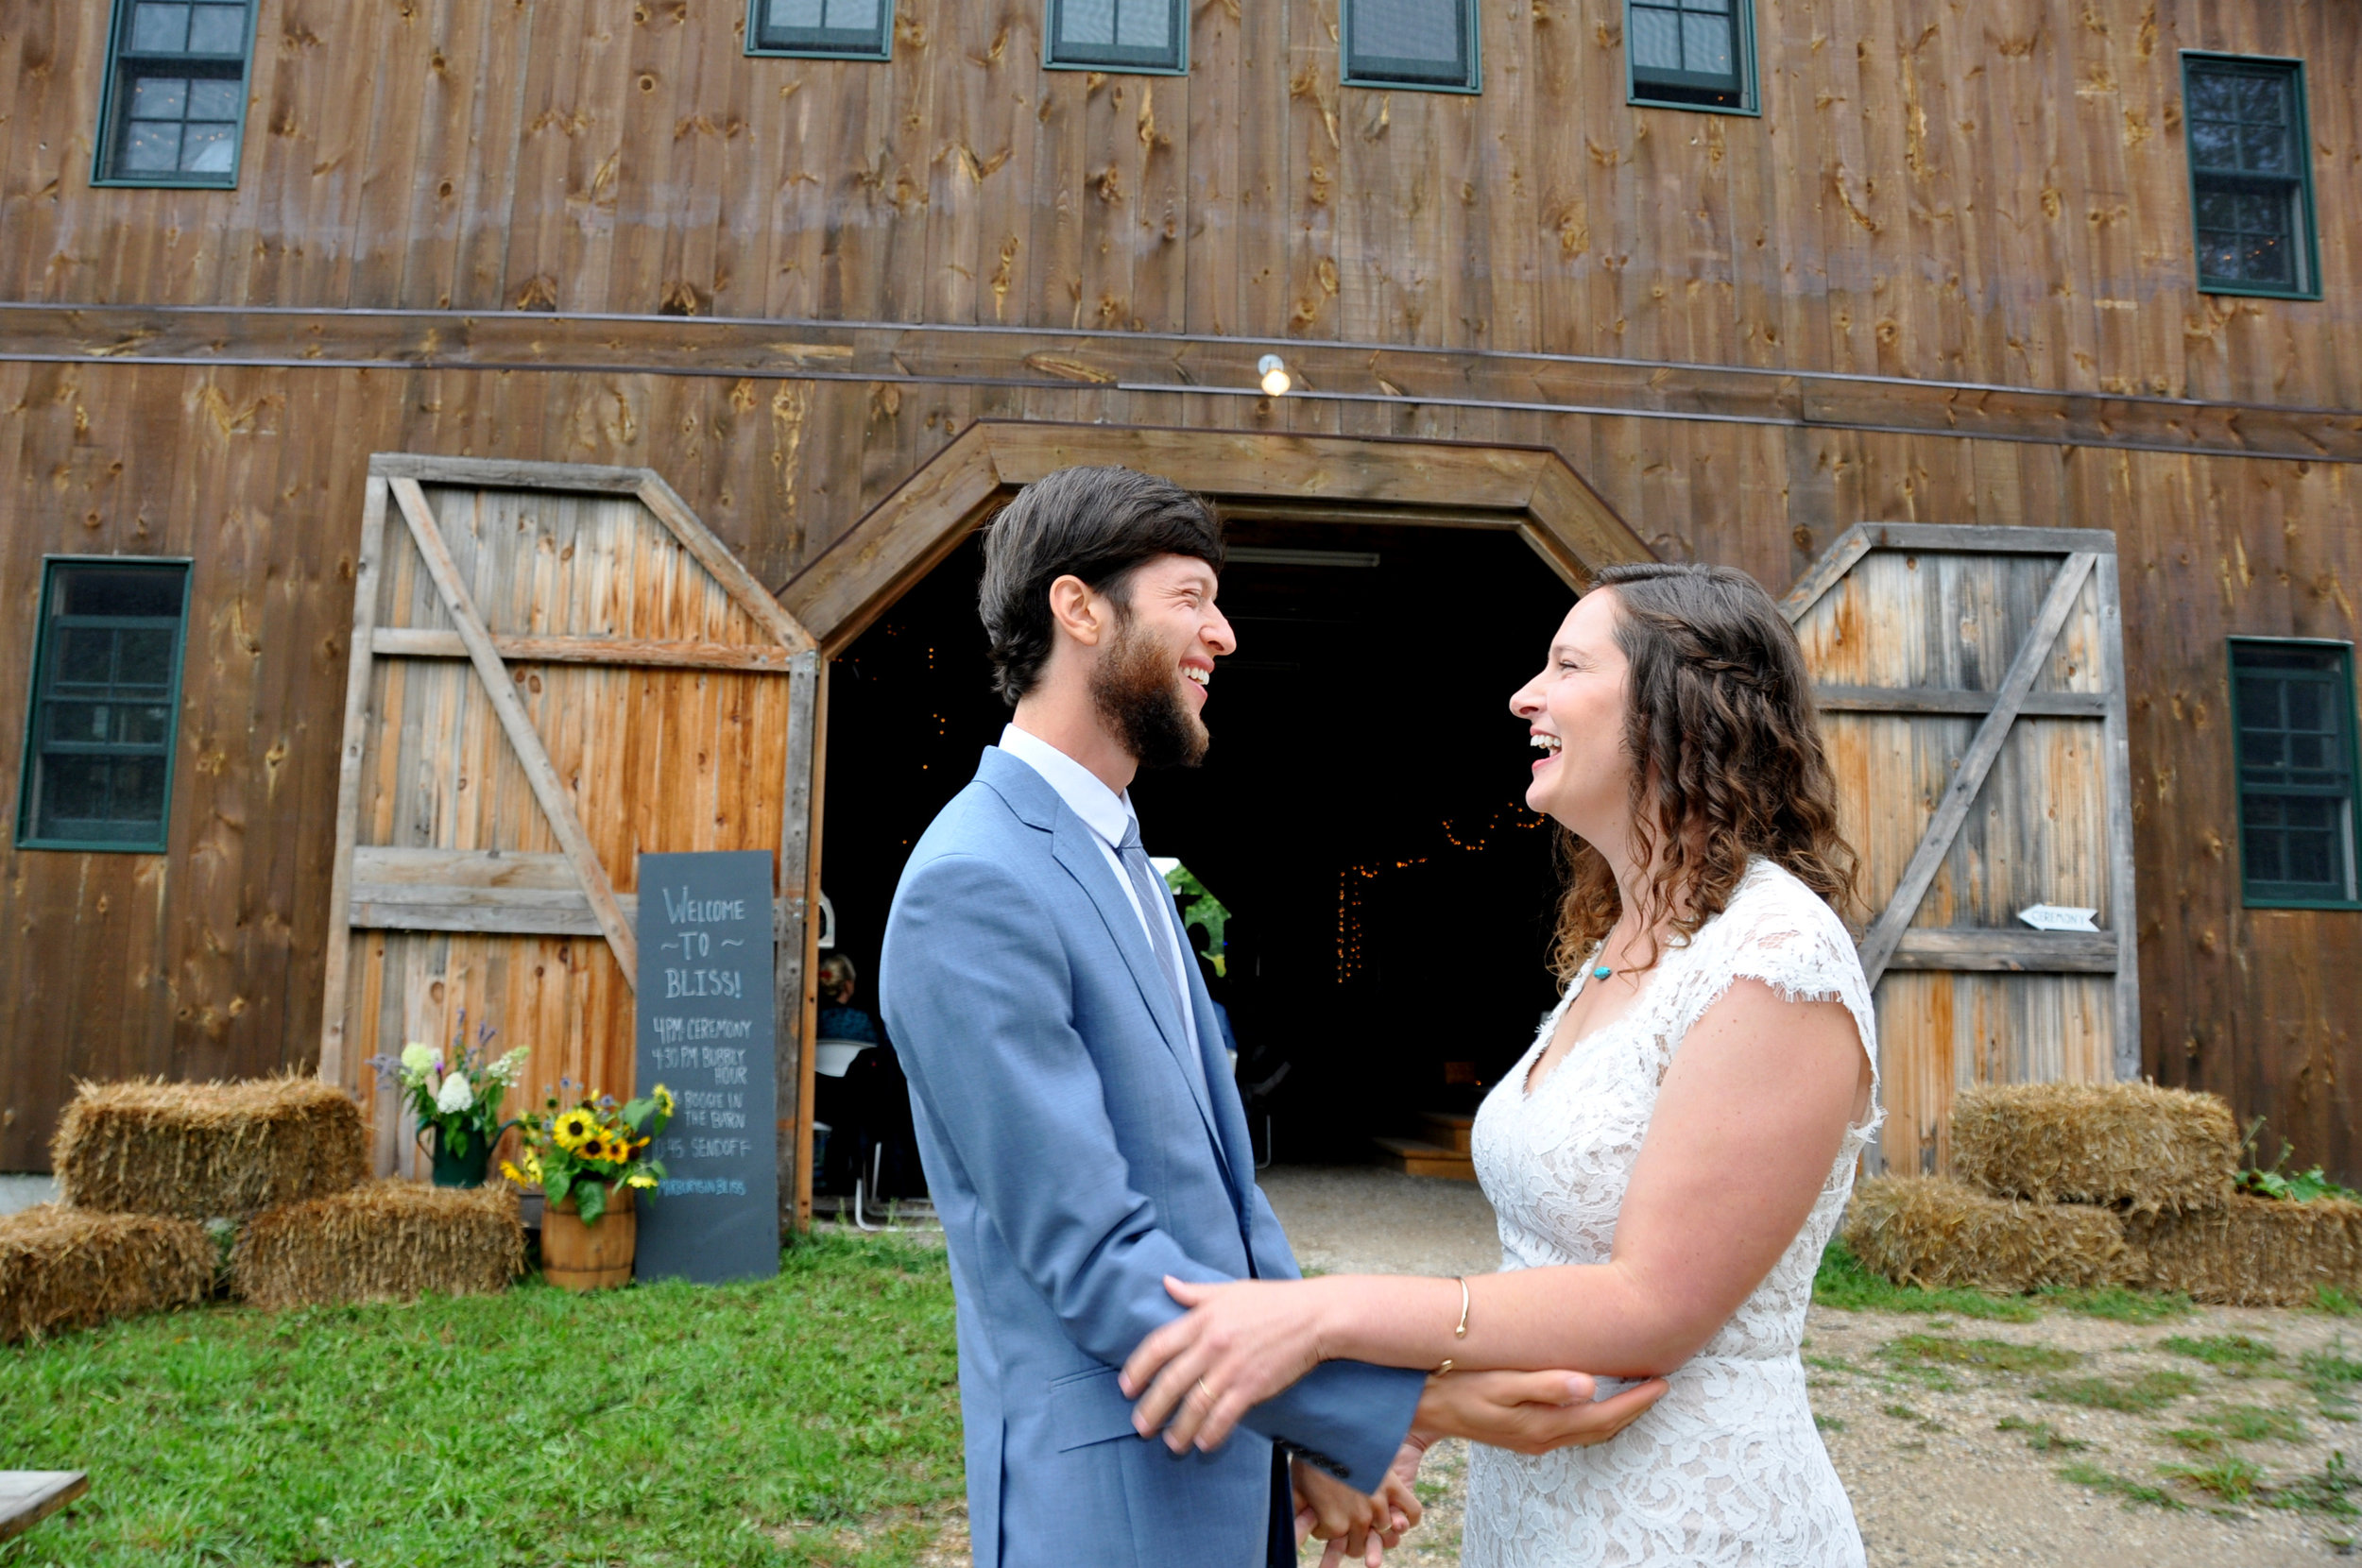
We also ate a lot of desserts made by yours truly. 

I couldn't imagine anyone else baking my wedding desserts, so I decided to do it myself despite warnings from just about everyone except for my husband (he knew I could do it, and also is a big fan of my desserts!). So he and I cut our cake then stood side by side and served dessert to our family and friends who we couldn't have been happier to be celebrating alongside. 

198-DSC_0359-001.JPG

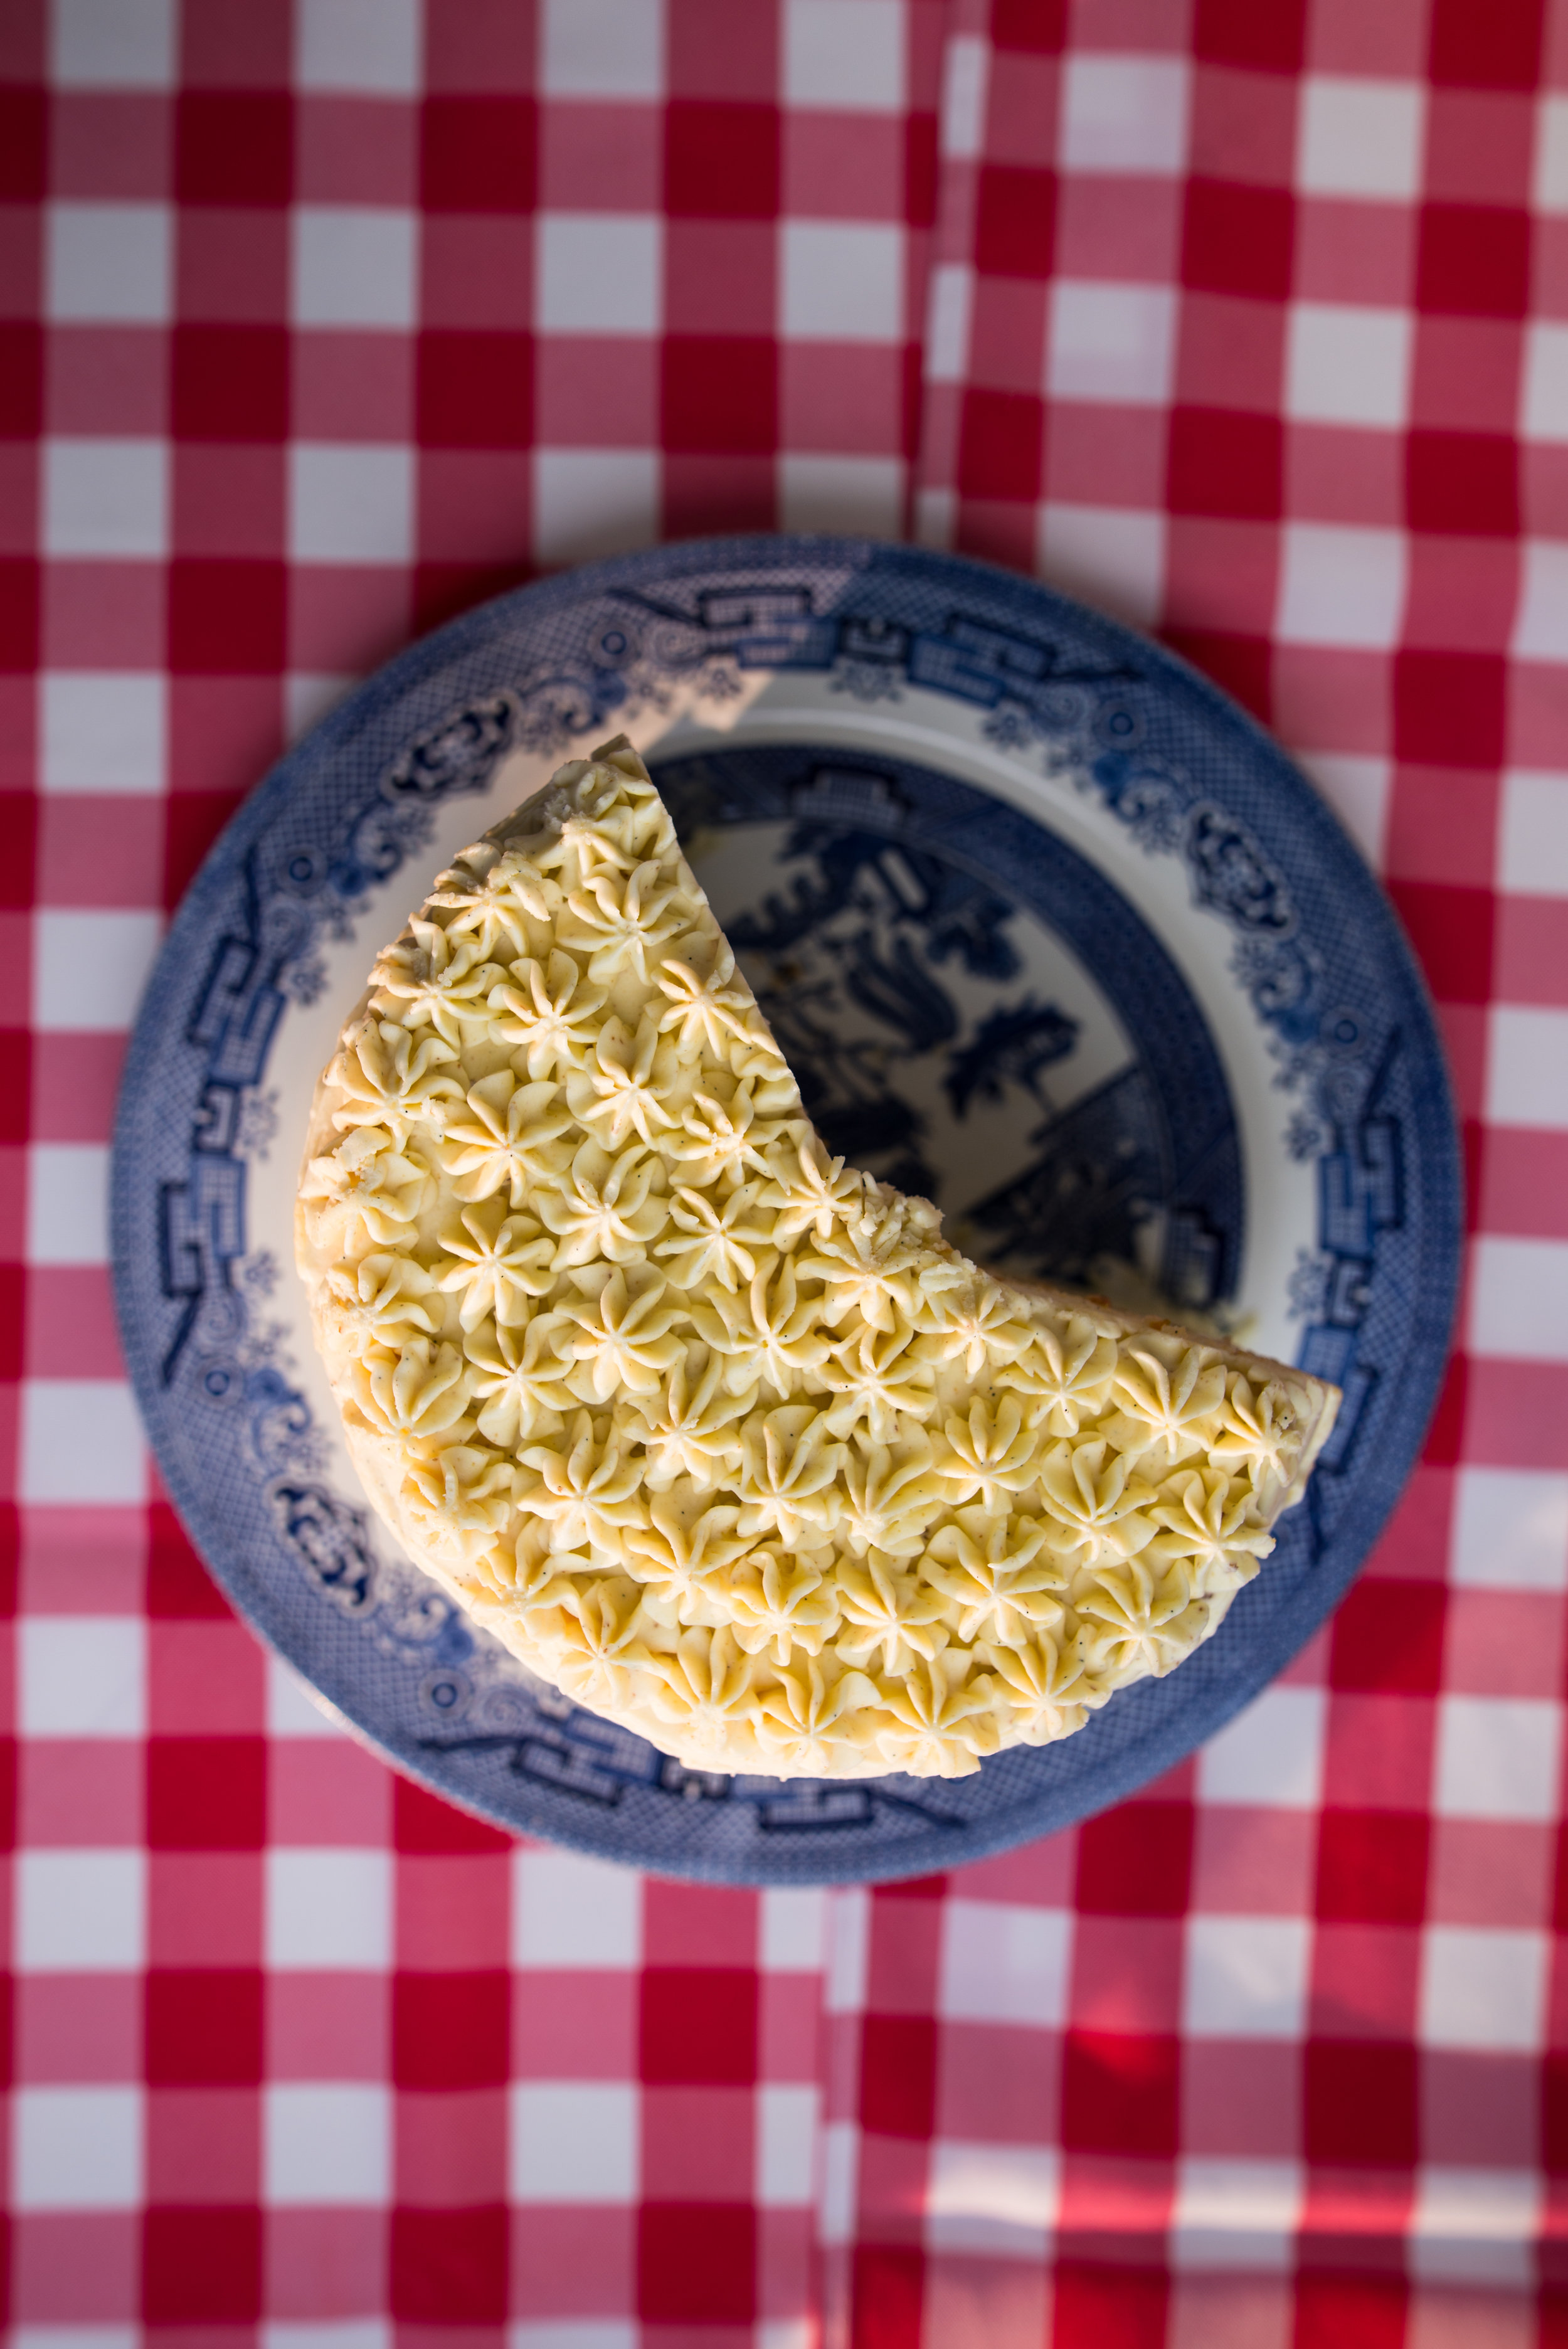
This was the cake that made me fall in love with making cakes. I made so many different recipes in the year leading up to this day, trying to decide on that one cake we should serve at our wedding. 

DSC_6689.jpg

The final iteration came together around a jam that I make every fall, as the last of the peaches are harvested. The peach flavor shines without too much sugar alongside a punch of bourbon and a little vanilla. Many friends and family have been given a jar of this jam over the years, so it only seemed right to make it a part of this special day full of many of those same dear people. 

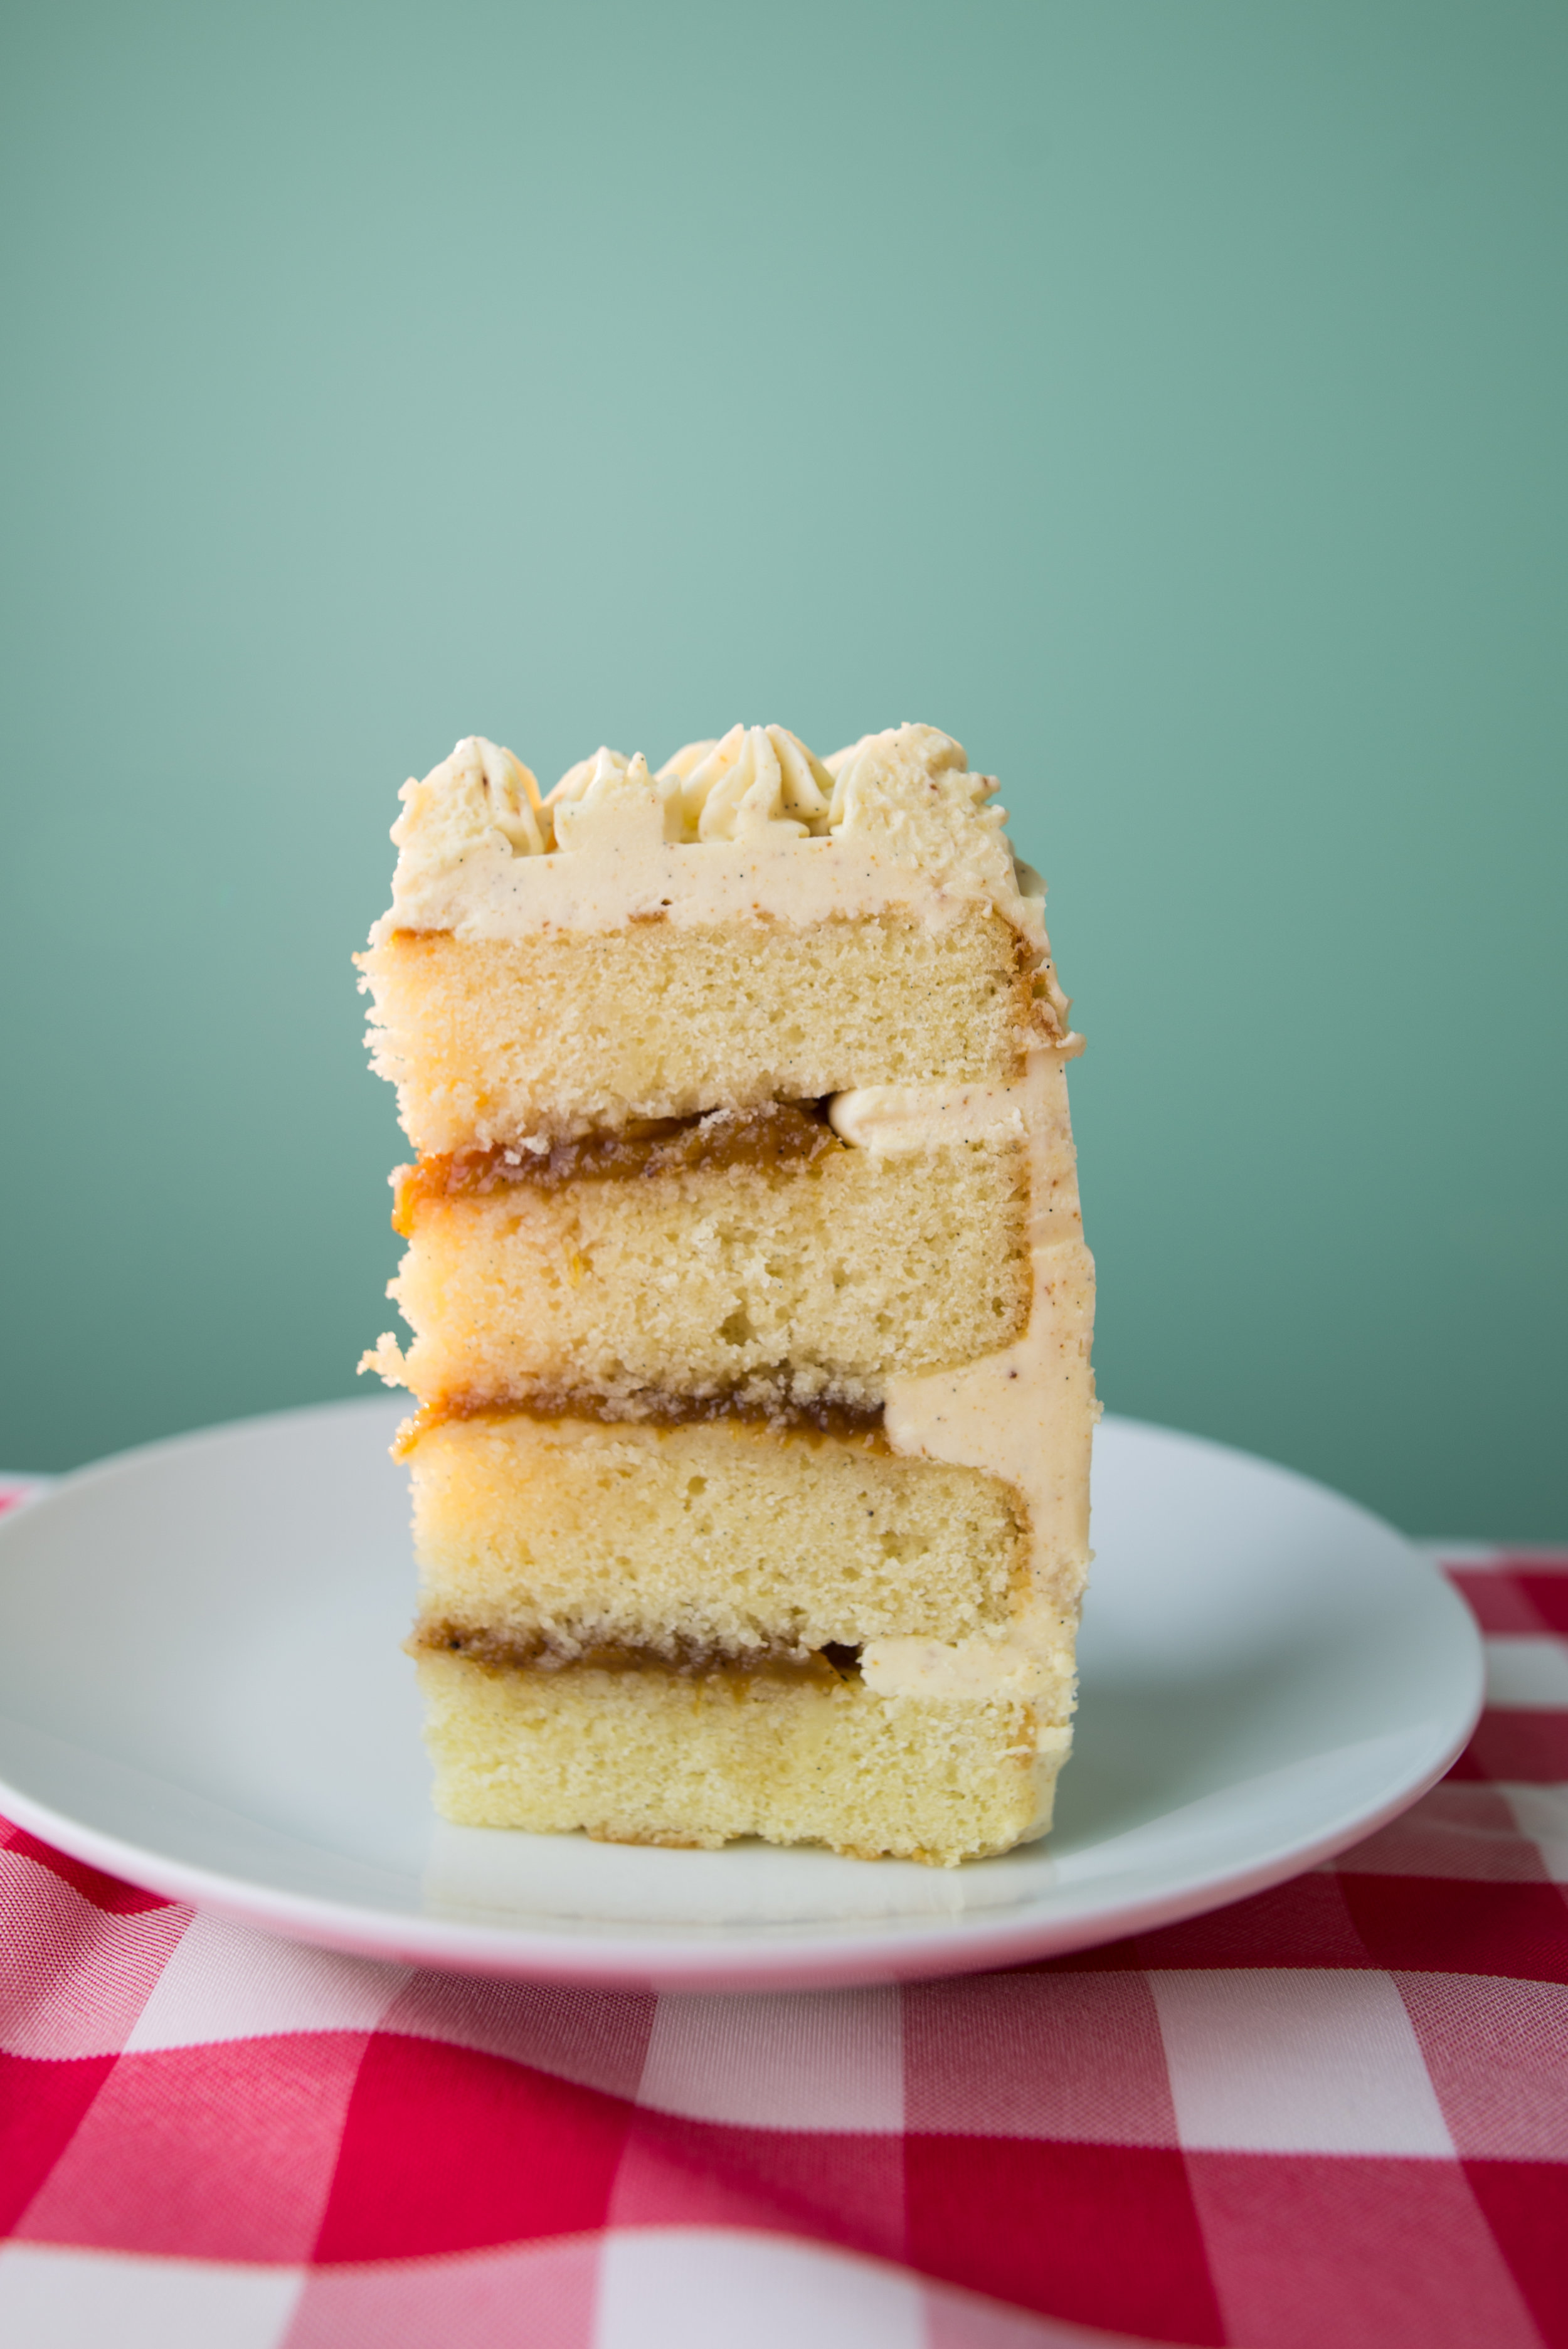
A dense and satisfying cake, best made with the highest quality buttermilk you can get your hands on (shout out to Shetler Dairy, they're my northern Michigan go-to!). 

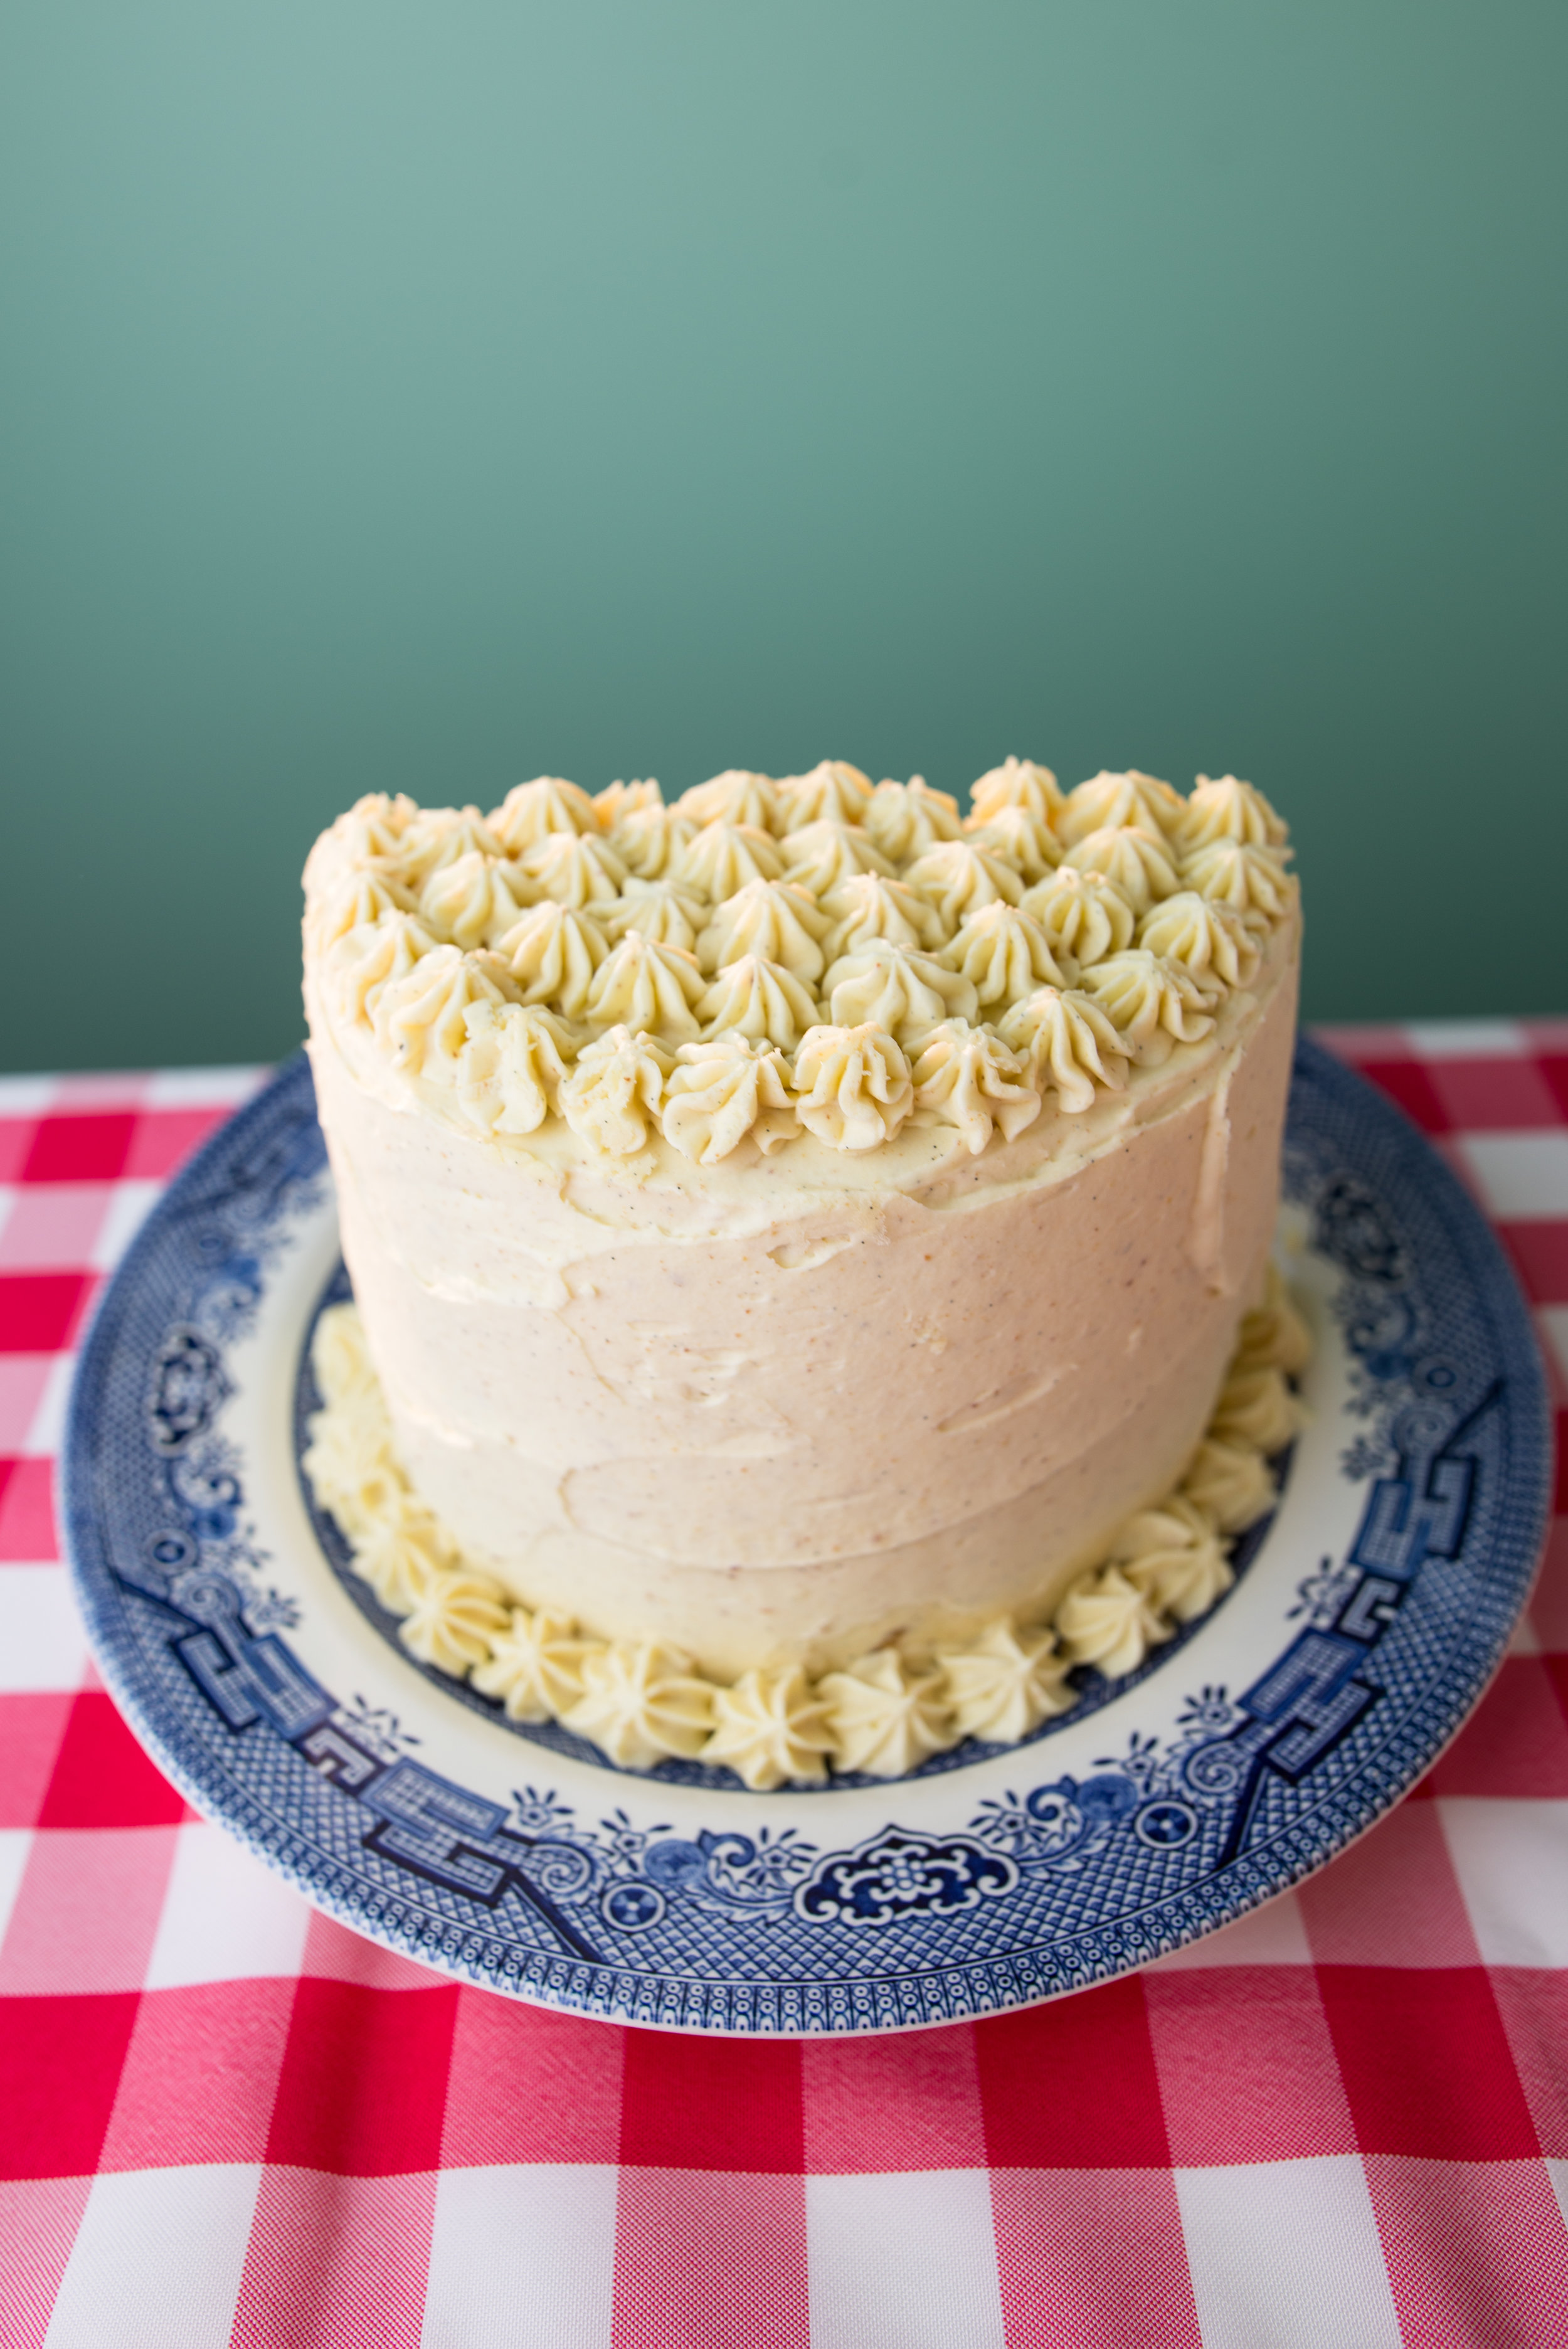
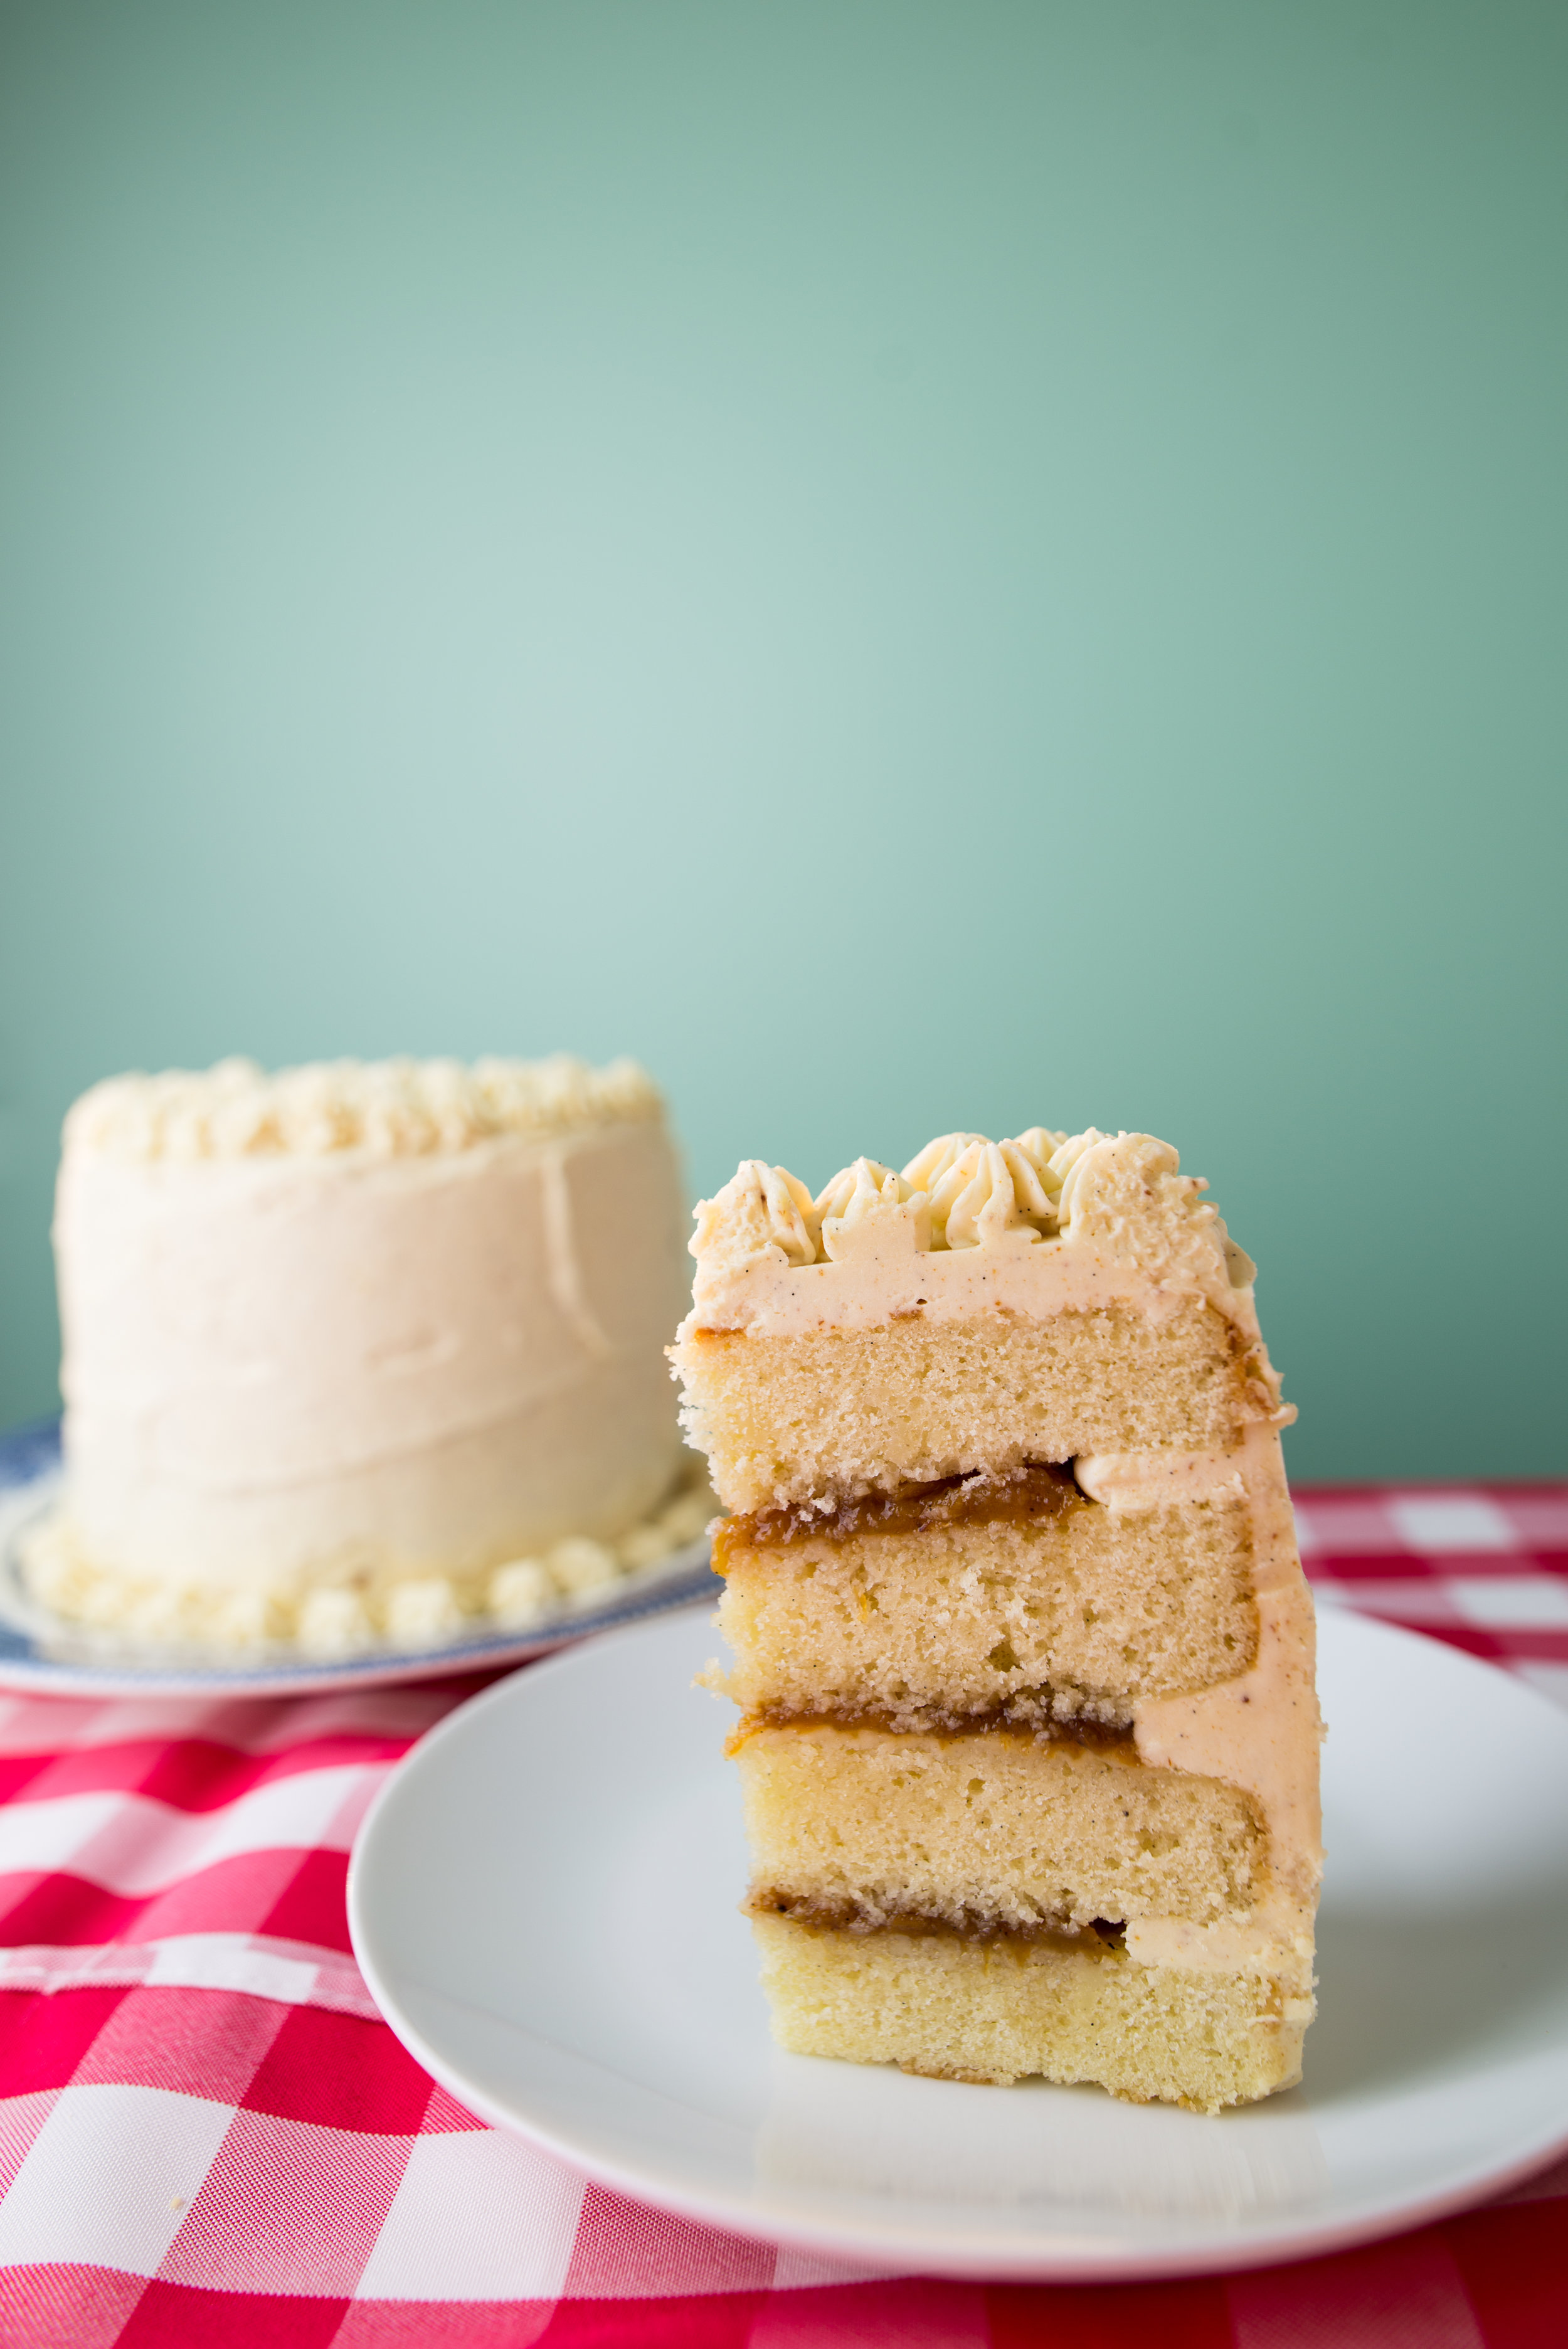
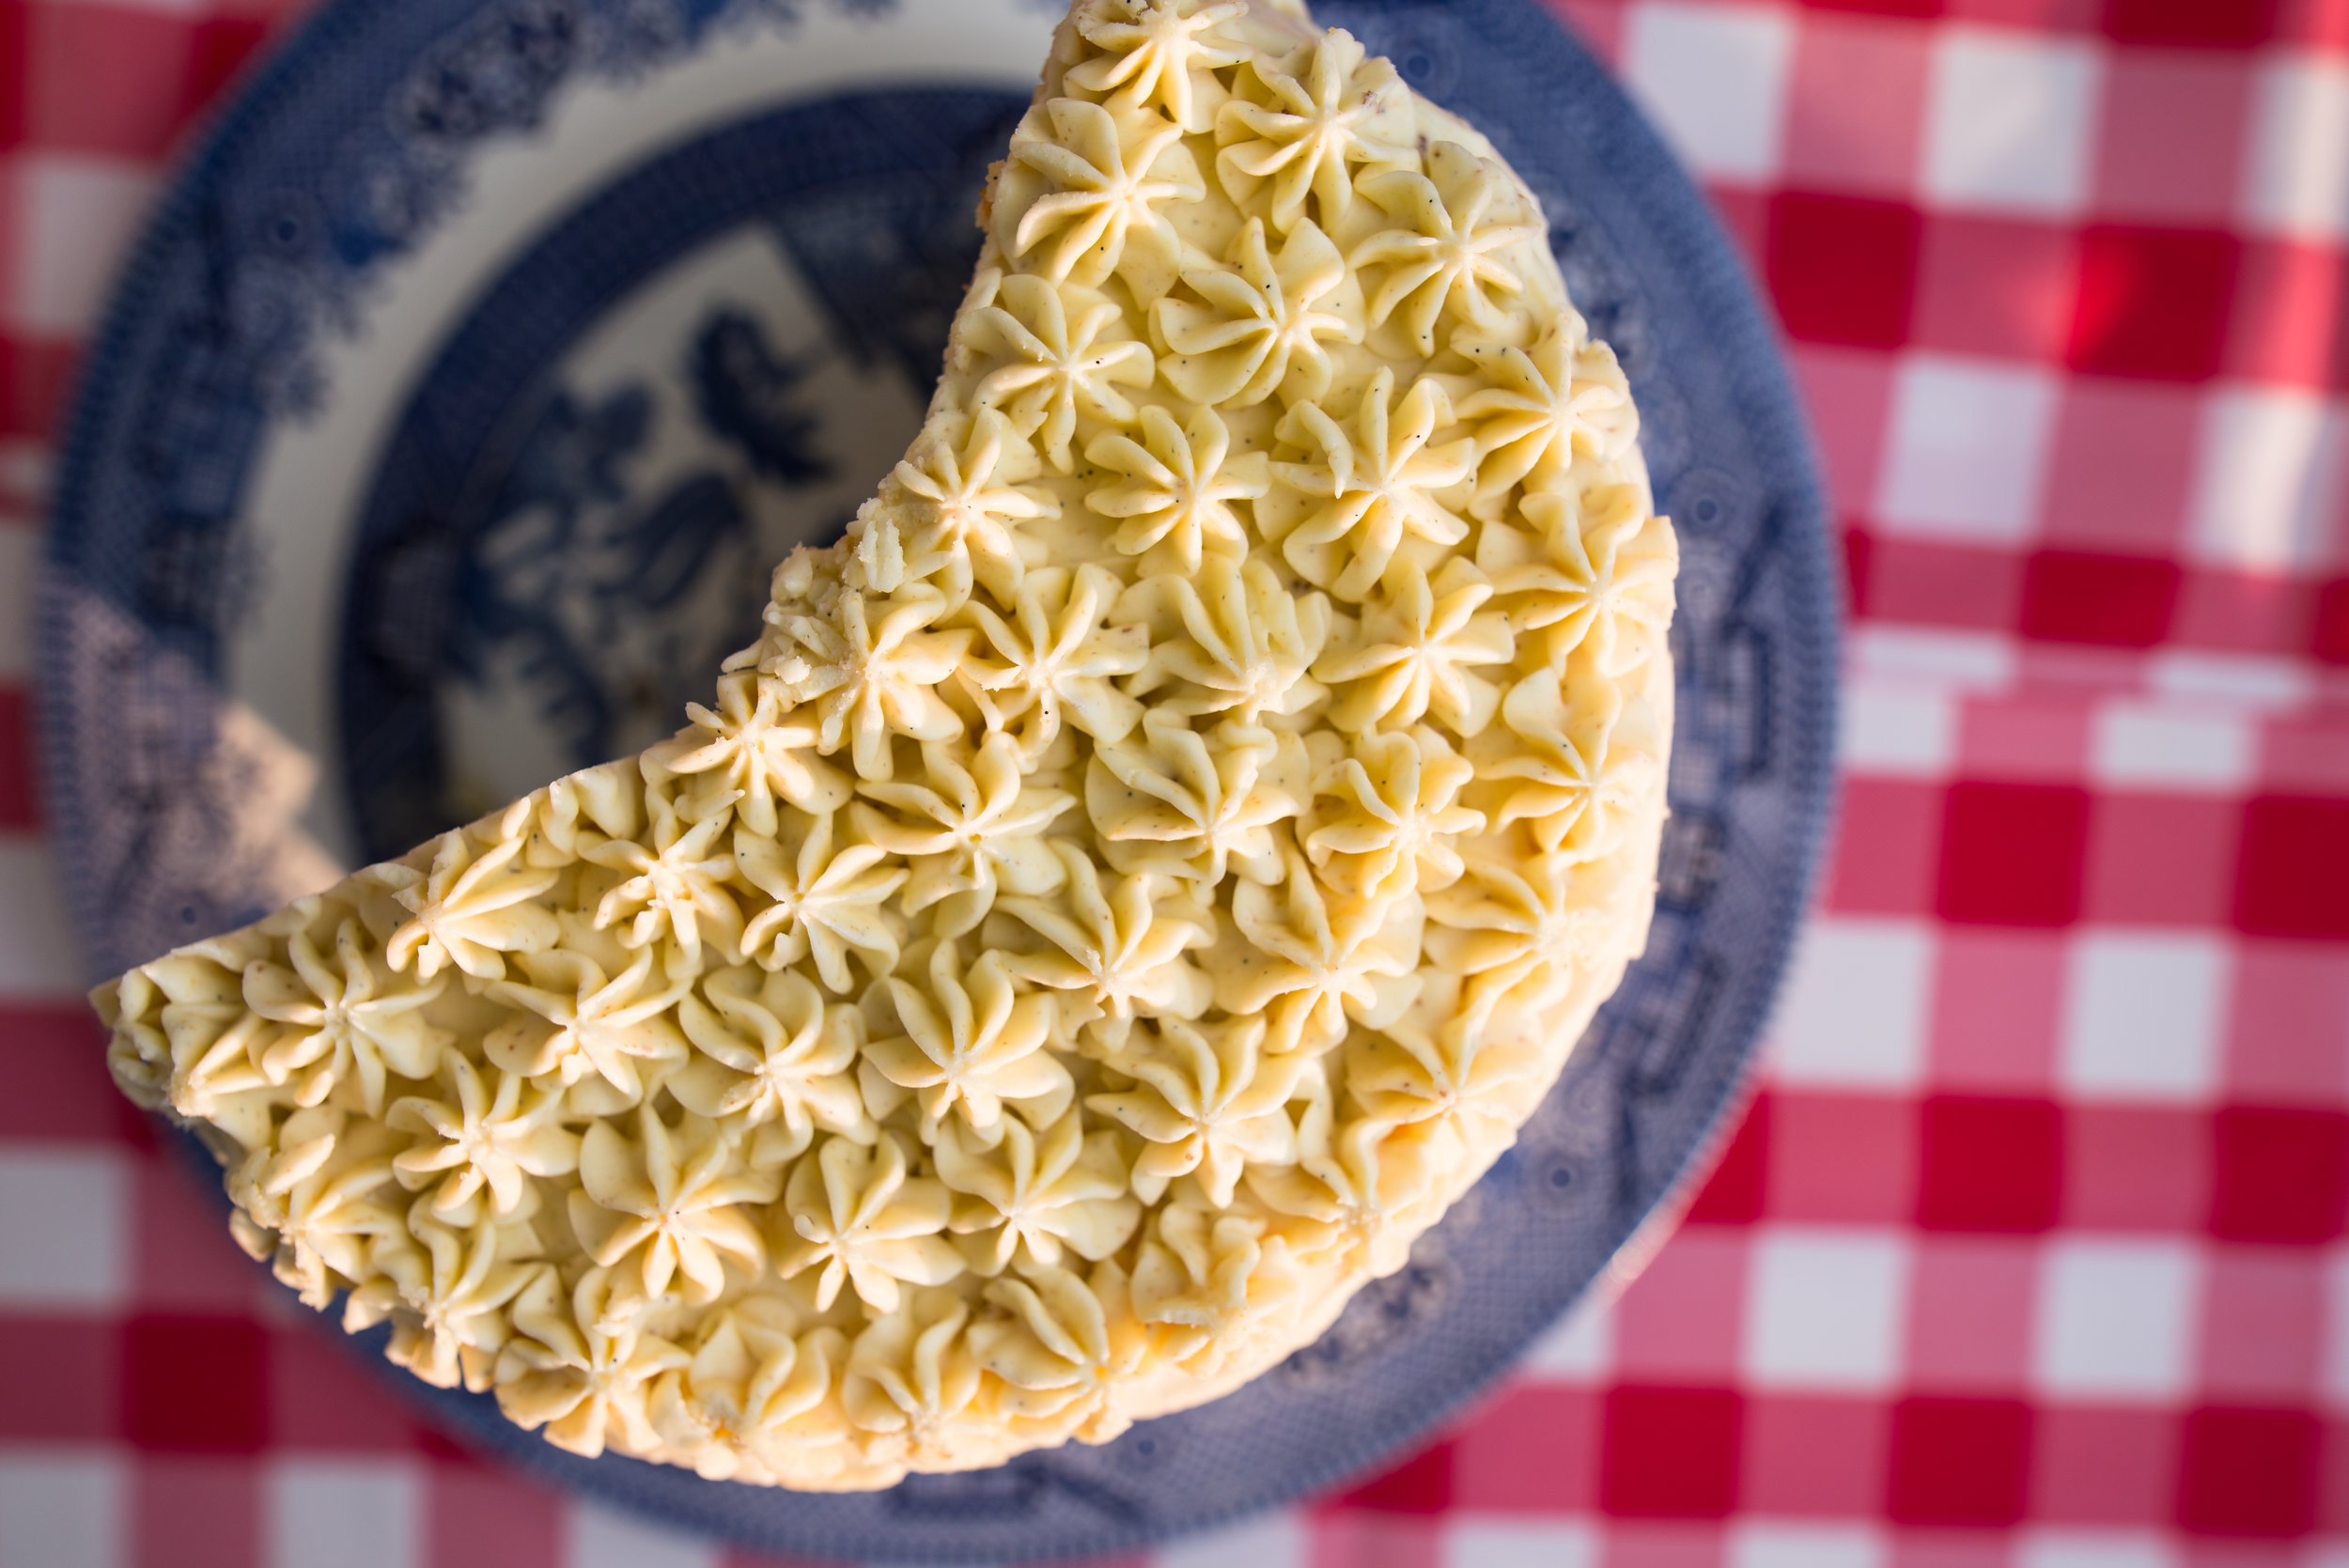
And my absolute favorite fall frosting - browned buttercream. A classic vanilla swiss meringue buttercream made with butter that has been browned then chilled. Subtly flecked with those gorgeous and flavorful caramelized milk solids that give the butter its nutty flavor. 

DSC_6670.jpg

I had planned to share this recipe with you ages ago... but timing got the best of me. Instead of the traditional eating of the top tier of your wedding cake on the first anniversary, I made a new cake for us to share... and will probably continue to do so every year! 

Peaches & Brown Buttercream Cake

DSC_6695.jpg

Notes 

The best vanilla makes all the difference in baked goods, so be sure to use a high quality vanilla. My favorite is Vanilla Bean Extract "Crush" from Sonoma Syrup - it's combination of an incredible extract and vanilla bean seeds that makes for the perfect balance. Plus those beautiful seeds shine in frosting! 

This recipe makes a 3-4 layer 6in cake. I prefer to bake this cake in two cake pans and cut each layer in half for four layers. Alternatively, you can bake it in three pans for three layers. 

Double all pieces of the recipe for a 9in cake. If you want to go all out and make yourself a tiered cake, multiply all pieces by 3 :) 

Vanilla Buttermilk Cake

1 3/4 + 2Tbsp cups cake flour
1 1/4 cups sugar
1 Tbsp baking powder
1/4 tsp salt
5oz unsalted butter, at room temperature & cubed
3/4 cup + 1Tbsp buttermilk
2.5 whole eggs (weird, but correct!) 
1 egg yolk
2 tsp vanilla extract

  • Combine flour, sugar, baking powder and salt in the bowl of a stand mixer. Using the paddle attachment, run for 30 seconds or so to combine ingredients. 
  • Add butter and buttermilk to the dry ingredients. Mix on low speed to start until the ingredients are mostly combined. Turn the speed up to medium and beat until light and fluffy, for about 2-3 minutes. 
  • While it's mixing, whisk together eggs, yolks and vanilla in a small bowl. 
  • Remove bowl from mixer and gently fold the eggs into the batter, 1/3 at a time. 
  • Divide the batter evenly into two or three 6in cake pans (see note above) which have been buttered and lined with a round of parchment. 
  • Bake at 325 for 20-25 minutes, until the center is cooked and a toothpick comes out clean (let's be honest, I never use a toothpick and always just feel the cake... but do use a toothpick if that's what you're comfortable with!) 
  • Let cool for at least 10 minutes before turning out of pans. 
  • Chill the cake before frosting. 

Brown Buttercream Frosting

3/4 cup sugar 

3 egg whites 

9.75oz browned butter, chilled then softened, cut into 1in cubes. 

1 tsp vanilla 

  • In the bowl of a double boiler (or a bowl set over a pan with a little water in the bottom), whisk together egg whites and sugar. Cook over medium heat, stirring regularly, until the sugar is dissolved. I like to pull up the whisk and feel the mixture between my fingers to check for gritty feeling sugar. 
  • Scrape the egg white and sugar mixture into the bowl of a stand mixer. Using the whisk attachment, whip the egg whites until they form stiff peaks and have cooled completely. 
  • Add the vanilla. 
  • Slowly add the butter, one cube at a time, while the mixer is running. Once you've added all the butter, switch over to the paddle. Mix the frosting on medium-high speed until it thickens and comes together. This takes a little while, so be patient! 

Vanilla Bourbon Peach Jam 

1 quart ripe peaches, peeled, pitted & diced

1/4 cup bourbon 

1/3 cup sugar 

2 tsp vanilla 

  • Combine all ingredients in a medium saucepan over medium heat. 
  • Cook, stirring occasionally, until the peaches have softened. 
  • Transfer mixture to a blender and puree (or use an immersion blender if you have one!). 
  • Return to heat and cook until jam has jelled. I like to place a small spoonful in the freezer to cool it quickly and check the texture. 
  • Cool completely before assembling cake. Store in refrigerator if you make ahead of time. 

Assembling the Cake 

If you opted for baking two cakes, first you'll want to cut each layer in half. I like to use a bread knife and this general process (except I definitely just cut it and don't measure - eek! If you've never cut a cake into layers, do measure - it makes it much less stressful!). 

Place one layer of cake on a cake board or the plate/cake stand you're serving it on. Pipe a ring of frosting around the edge of the cake and fill the ring with peach jam. Set the next layer on top, aiming to keep the cake as even as possible, and repeat. 

Once you've set the top layer on the cake, apply a crumb coat (aka coat the cake in a very thin layer of frosting using a separate bowl so you don't contaminate the rest of the frosting with crumbs). Chill until the crumb coat is solid to the touch. 

Frost the rest of the cake however you please! 

Comment

fudgy brownies with blueberry jam swirl & cocoa nibs

Comment

fudgy brownies with blueberry jam swirl & cocoa nibs

This summer has been one for the books, and not necessarily in the best of ways. In starting a full-time job, moving into a new house and doing my darndest to maintain my photography business and this blog, all while trying to make the most of this magical place I live - I've had a lot on my plate. Definitely more than ever before. I tend to be one to put on my happy face for the world, but I thought it worth a mention that life isn't always that easy - and not a single one of us is immune to breakdowns and anxious days. 

So last weekend, when the part of me that is constantly reviewing my to-do list in my head and feeling like there's no way it'll ever get done was alive and well, but one of my dearest old friends was just 45 minutes away with no way to get to me, I left the house. I made the time. And we spent a sweet and soggy afternoon picking wild blueberries, laughing together and sharing our struggles of adulthood. It warmed my soul and brought a fresh breath of life into my world. 

It's hard (really hard sometimes), but I'm slowly learning that it pays to set down the to-do list, to know my business will still be here when I return and that all my sweet readers will be alright if I don't post something new every week. Doing the best I can also means taking the best care of myself - and picking blueberries in the rain with an old friend is all a part of a good life. 

DSC_6299.jpg

(disclaimer: this blueberry photo is from a trip to the Northport Farmers Market, because I was busy having fun picking blueberries without my camera in tow!) 

All of that aside, the spot we picked blueberries was just a few miles down the road from my forever favorite chocolate shop, Grocer's Daughter Chocolate. The sweet Hayden family makes the best truffles and chocolate bars around using local ingredients and the most incredible chocolate made by the Ecuadorian woman-owned Conexion Chocolate.

DSC_6629.jpg

The moment we arrived home with a bounty of blueberries in tow, I started dreaming up ways I could combine the berries into a rich chocolatey dessert using Grocers Daughter's chocolate that was also bursting with blueberry flavor. Challenge, accepted! 

DSC_6583.jpg

I had been wanting to use this chocolate in a batch of brownies for quite some time (great chocolate = great brownies, always) so it wasn't long before I was dreaming up the best way to incorporate blueberries into my classic extra fudgy brownie recipe and settling on a jammy swirl as the best option. 

Experience proves these brownies are a hit - I arrived at the office at 8am with a plateful for my coworkers and when I walked into the kitchen just 10 minutes later, a group was standing around the table devouring them with only a few left on the plate. 

DSC_6594.jpg

So here you have them, fudgy brownies with a blueberry jam swirl and plenty of crunchy cocoa nibs. 

Fudgy Brownies with Blueberry Jam Swirl & Cocoa Nibs 

note: I made my own blueberry jam with the goal of a relatively tart jam to compliment the richness of the brownies. My jam process almost never involves measuring, and looked a little like this: place about 3 cups of blueberries in a pot and add a splash of lemon juice and a glug or two of maple syrup. Cook over medium heat, stirring occasionally to start and more often as it progresses, for about 20 minutes. Take a small spoonful of jam and place it on a plate in the freezer so it will cool quickly and allow you to text the texture. Add more sweetener if needed. When it's jammy, pour into a jar and let cool. 

3oz unsweetened chocolate 

4oz dark chocolate (I used 70%) 

4oz unsalted butter 

1 1/4 cup sugar 

2 tsp vanilla extract 

3 eggs

1 cup flour 

3 Tbsp cocoa powder 

1/2 tsp salt 

1/3 cup blueberry jam (see note) 

about 1/4 cup cocoa nibs 

  • Melt unsweetened chocolate, dark chocolate and butter in a double boiler. If you put the chocolate in a medium sized bowl, you'll save a dish to wash! 
  • While it's melting, measure flour, cocoa powder and salt into a small bowl, set aside. 
  • Also prepare a 9x9 baking dish or 1/4 sheet pan by lining it with parchment and spraying or brushing it with oil. 
  • When chocolate and butter has melted, remove from heat. Add sugar and vanilla to the mixture and whisk until the sugar starts to dissolve. This will take a minute or two. 
  • Add eggs and continue whisking until fully combined. 
  • Add flour mixture and whisk until just combined. 
  • Pour batter into prepared pan and spread evenly. Dollop the jam on the batter, placing spoonfuls randomly around the pan. Using a butter knife or chopstick, gently swirl the jam to cover more of the pan (not not letting it mix into the brownie batter). Sprinkle generously with cocoa nibs. 
  • Bake at 375 for 20-25 minutes. 
  • Let cool completely before cutting. Brownies will keep, refrigerated in an airtight container, for at least a week. 

Comment

roasted cherry ice cream

1 Comment

roasted cherry ice cream

Ice cream season is back, friends! And I couldn't be more excited to share this incredible recipe with you. I've been slowly perfecting my fruit ice creams over the years and I have to say - perfection has arrived. 

While I do live in the tart cherry capital of the world, sweet black cherries are grown here as well and it's damn near impossible to drive a mile down any road in the area without passing a stand selling those glorious bursts of flavor. Summer in northern Michigan is all about driving with the windows down, spitting cherry pits out the window as you down a whole bag, warmed by the sun. 

When some cherries do manage to make it back home and into the kitchen, I can't think of anything better to do with them than make this roasted cherry ice cream. 

I used black cherries to make my ice cream because I'm so drawn to the deep purple color they offer, but you could use any of the sweet cherry varieties dotting the orchard-filled hillsides to make this ice cream. The rainbow of sweet cherries available means you could make this ice cream any shade you like! 

I will say - for someone who calls this tart cherry capital home, my whole heart is with the sweet cherry. I'm a lover of sweets to the core and I can't get enough of how sweet this fruit is. So in addition to eating and cooking with all the sweet cherries I can manage, I also make a point to fill part of my freezer with these beauties in an effort to make the harvest last as much of the winter as possible. Sweet cherry smoothies while the snow flies are pure heaven.  

Once your cherries are roasted, coaxing out those sweet flavors, don't forget to scrape the pan into the blender. All the juices that have spilled out onto the pan are where the flavor magic lives. They're the answer to why this ice cream is so completely addicting. 

So pull out that ice cream maker, and get pitting - this ice cream is all you need to call this summer a success! 

Roasted Cherry Ice Cream

14oz sweet cherries, pitted

1 1/3 cup heavy cream 

1/4 cup + 2 Tbsp brown sugar

4 egg yolks

1 tsp vanilla 

1/2 tsp almond extract 

optional chocolate ganache: 

1 cup chocolate chips 

1/2 cup heavy cream 

  • Spread cherries on a baking sheet and roast at 400 degrees for about 15 minutes, until the juice oozes out onto the pan. 
  • Puree the cherries in a blender until smooth and set aside. 
  • Combine cream and 2Tbsp of the brown sugar in a saucepan and warm over medium heat until steaming. 
  • While the cream is warming, combine egg yolks and remaining 1/4 cup sugar in a medium bowl. Whisk until the yolks begin to lighten in color and take on a ribbony texture. This can be done in a stand mixer if you please, but I usually just do it by hand while the cream warms. Earn that ice cream! 
  • Once the cream is warm, slowly pour the warm cream into the yolks, whisking as you pour. Return the mixture to the saucepan. 
  • Continue cooking over medium heat for a few minutes, stirring gently, until the mixture starts to thicken a bit. 
  • Remove from heat and stir in the cherry puree, vanilla, and almond extract. 
  • Refrigerate the mixture until fully chilled before churning. 
  • For the ganache, start by placing the chocolate in a small bowl. Warm the cream until it reaches a low boil, then pour it over the chocolate. Let it sit for a few minutes, then stir until smooth. Refrigerate until you're ready to churn the ice cream. 
  • Churn ice cream according to your ice cream maker's instructions. When the ice cream is fully churned, add the ganache. I use a fork to crumble the ganache into small pieces before adding it to the ice cream maker. 
  • Freeze ice cream for at least 4 hours to solidify if you want it to be scoopable. 

1 Comment