Viewing entries in
breakfast

Chocolate Hazelnut Scones

3 Comments

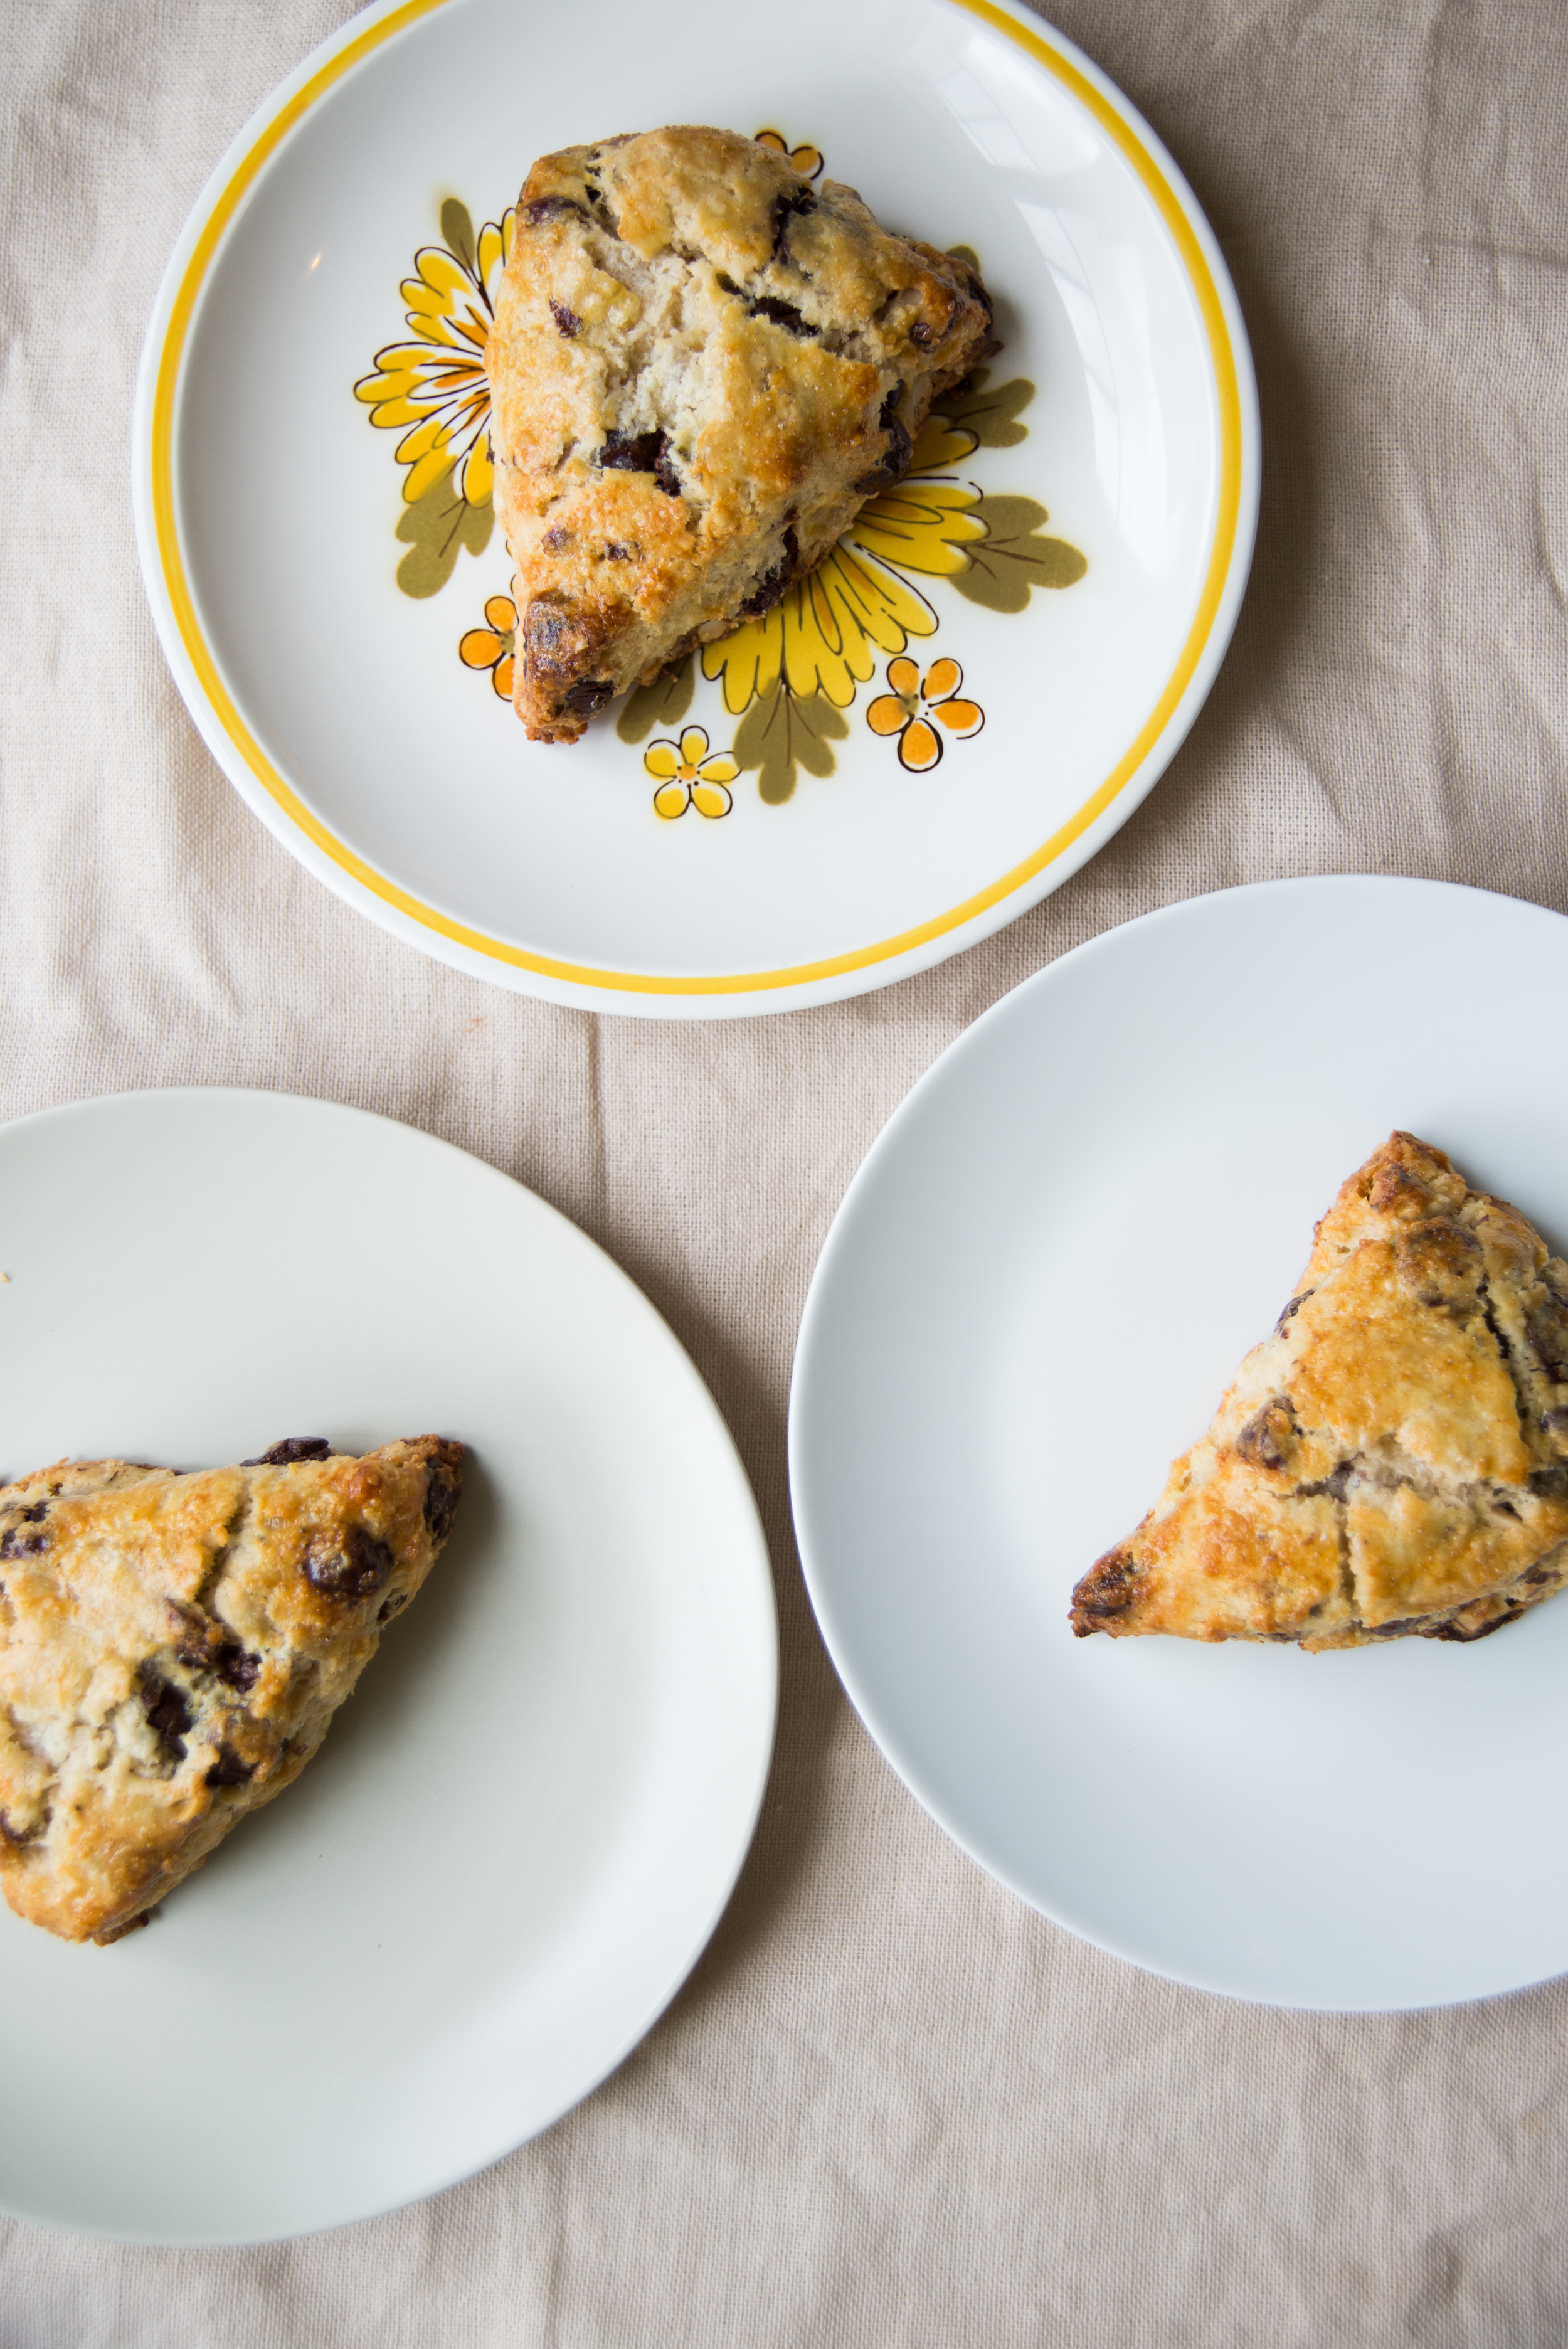
Chocolate Hazelnut Scones

It's possible that my soon-to-be husband falling in love with me had more than a little something to do with these scones. Without really realizing what I was doing, I won a piece of his heart over with baked goods when we first became friends. Going to hang out with him mid chocolate chip cookie recipe testing and baking the dough at his house. Bringing over scones because I had just made a batch and knew my eating the whole batch myself was a horrible idea. Ever since that first batch, he's been a huge believer that my scones are the best there are. And I think they're pretty great too!

So this recipe comes to you after a few weeks of my babes asking me to make a batch of scones (and my finally remembering to pick up some cream at the store for said scones!). The base of this scone recipe has served me well over the years - specked with freshly harvested wild blackberries and served with lemon curd, made with roasted poblano peppers, bacon, and aged cheddar cheese for a birthday morning treat, made simply with no additions to be served alongside Thanksgiving dinner. 

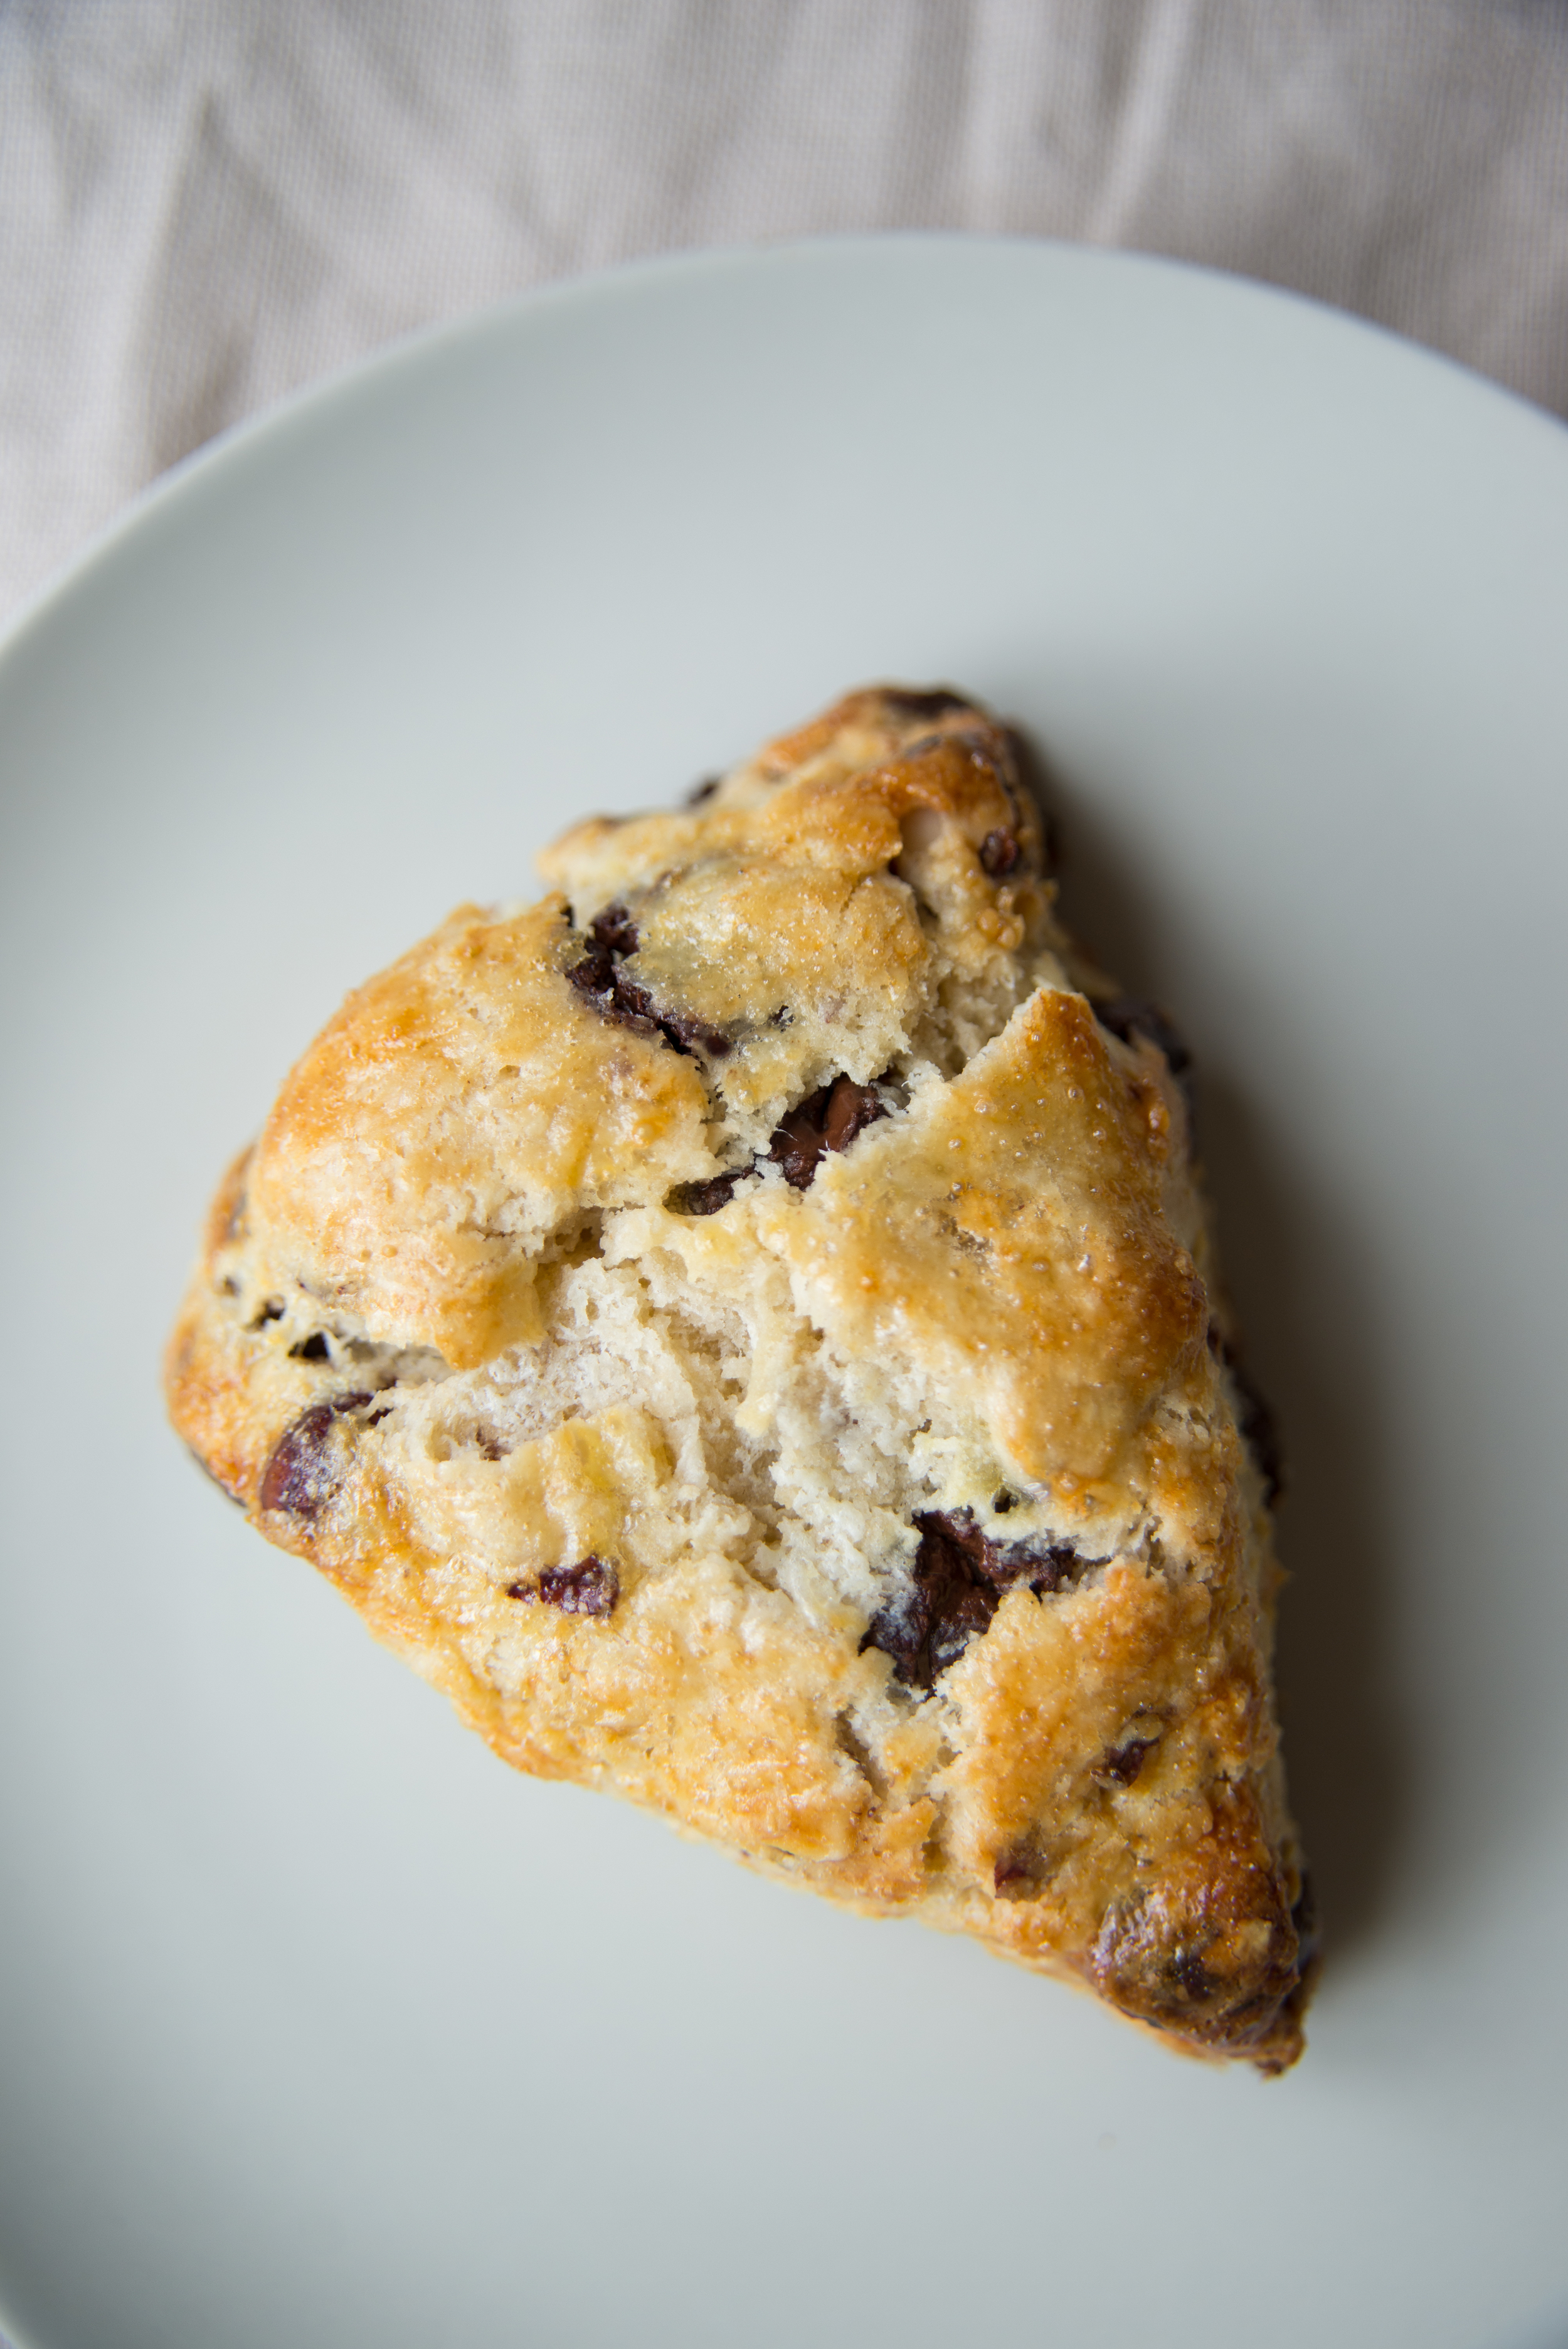
I've been on a chocolate hazelnut kick with the bounty of hazelnuts we're lucky to have in Oregon, so I thought this time around I'd try the recipe in a chocolate hazelnut version, with a bit of whole wheat flour to add a nuttier flavor to the dough - it did not disappoint! 

Dairy is of chief importance when you're making scones! It's the cream and butter that make scones the flaky, tender, delicate treat they are - so don't skimp on these things. I like to buy local grass-fed cream from wherever it is I'm living, and I always suggest using european style butter if you can find/afford it. That said, these beauties will come out great no matter what cream and butter you use! 

One of the great beauties of scones is their flexibility when it comes to the timeline for making them. While scones are absolutely best right out of the oven, that doesn't mean you have to go through the whole process to have them ready first thing in the morning. This scone dough both refrigerates and freezes beautifully. That means you can make the dough and put the cut scones in the fridge to bake the next morning, of freeze them and bake one or two whenever you're in the mood for a treat! 

As I so often do, I encourage you to use this recipe as a guide - adding in whatever scone flavor combinations you can dream up! Just keep the add-ins to about one and a half cups or less. 

Chocolate Hazelnut Scones

1.5 cups all purpose flour

1/2 cup whole wheat pastry flour (you can also use all purpose flour) 

1/4 cup sugar

2 tsp baking powder 

1 tsp salt 

6oz cold unsalted butter 

3/4 cup cream (half and half works as well) 

1 cup hazelnuts, dry roasted and chopped 

3/4 cup dark chocolate chips 

1 egg, beaten 

  • Combine the dry ingredients (flours, sugar, baking powder, salt) in a wide bowl. Whisk or stir to evenly distribute the ingredients. 
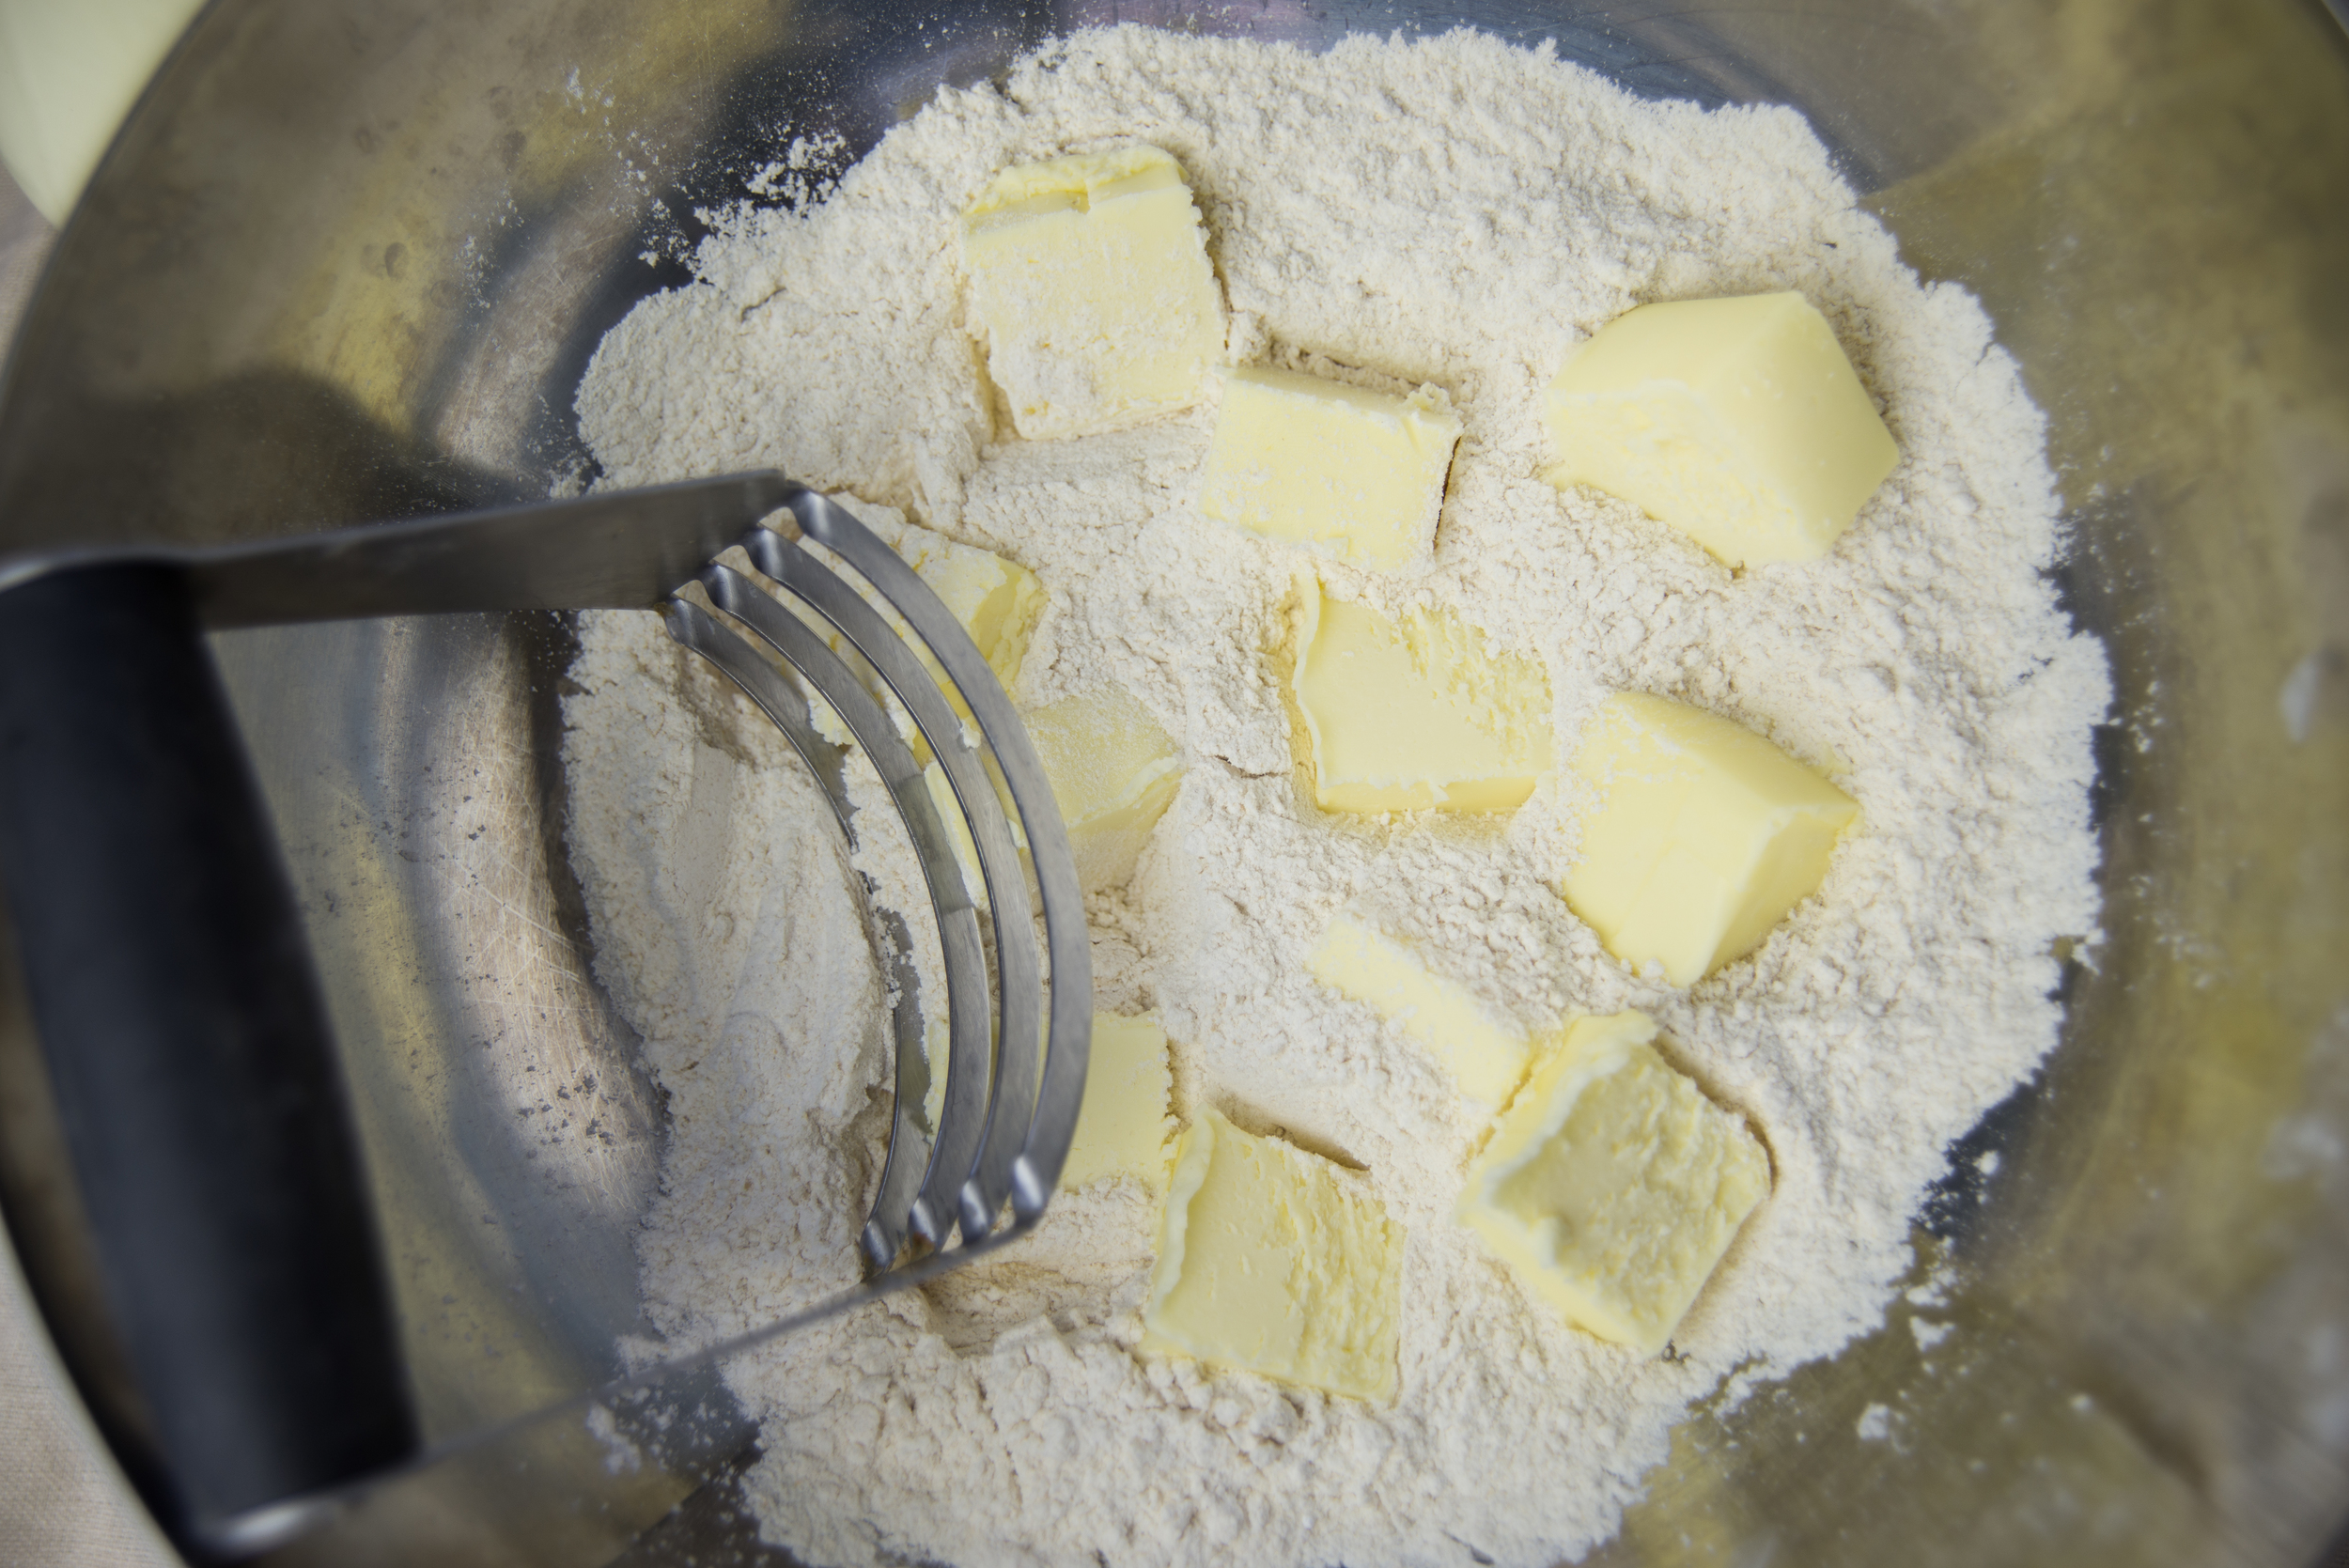
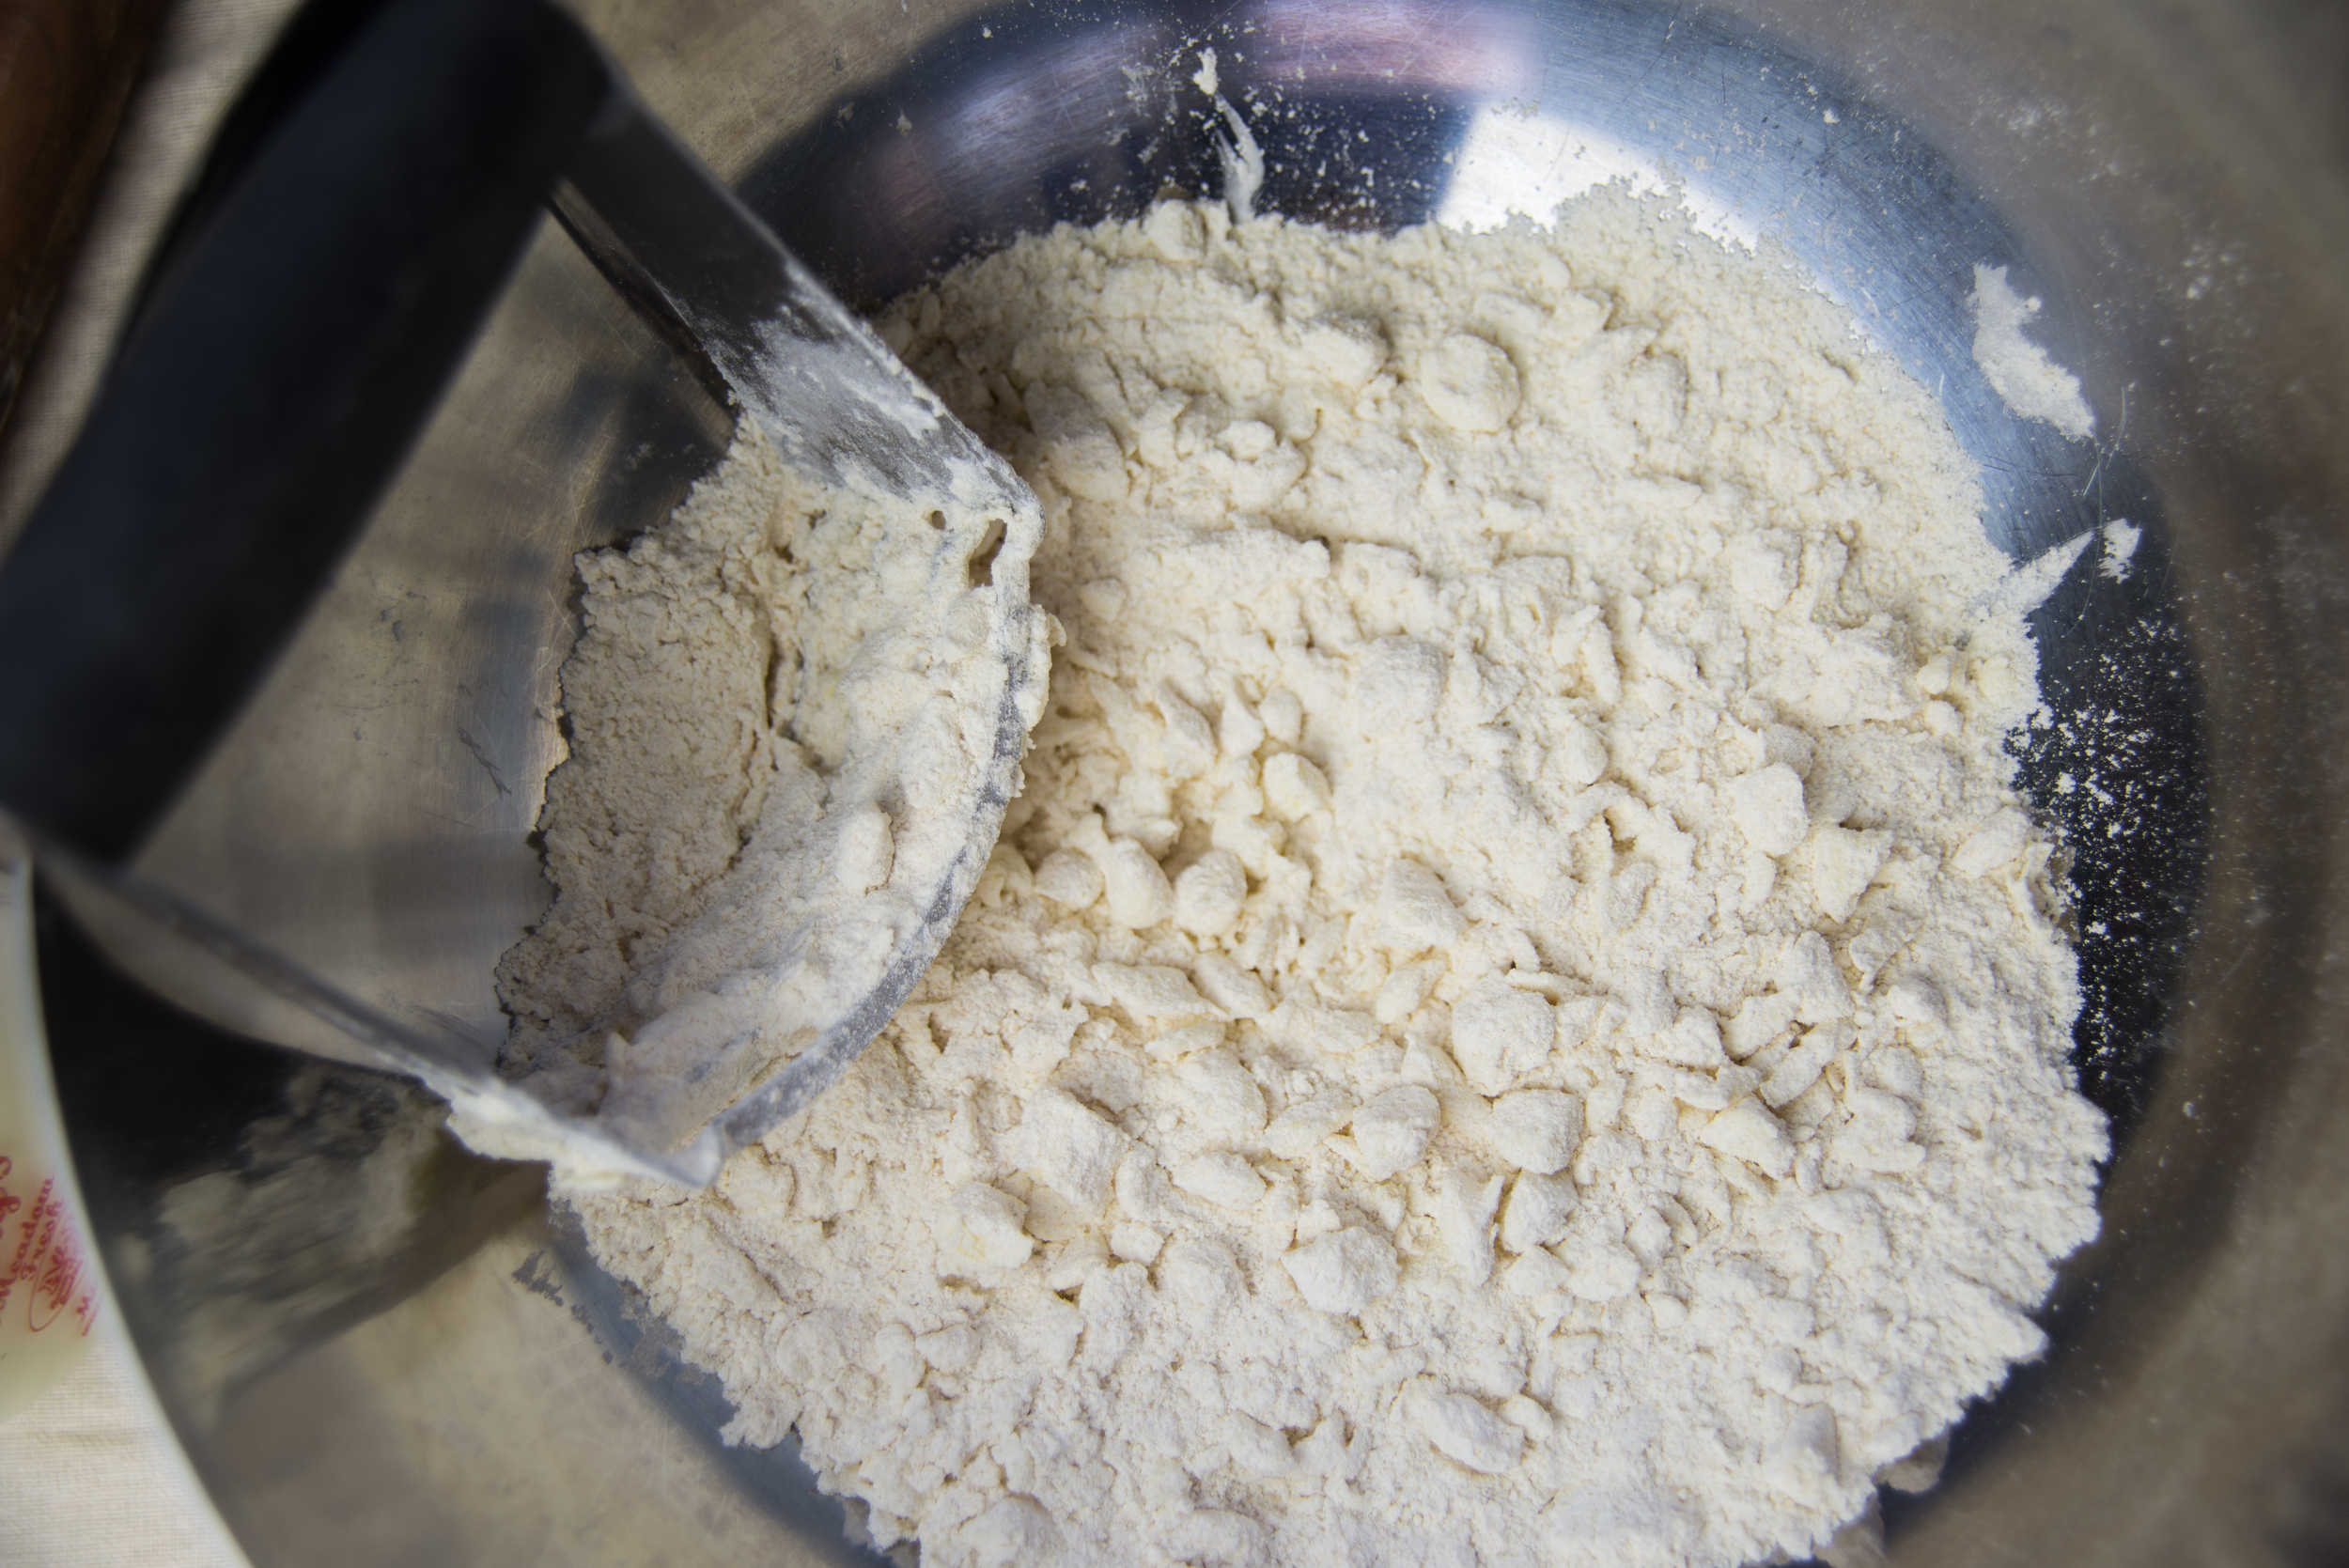
  • Add the cubes of butter to the dry ingredients, and cut the butter into the flour using a pastry cutter. Alternatively, this can be done with two knives (or a food processor, but I prefer my hands). You want the butter to break down to the point that the largest pieces are about the size of pebbles, as can be seen in the photo above. 
  • Pour the cold cream into the bowl, and begin to gently stir using a wooden spoon or a silicone spatula. 
  • When the dough is just starting to come together, add the hazelnuts and chocolate. 
  • Continue stirring until no flour remains at the bottom of the bowl. Add a little extra cream if needed. 
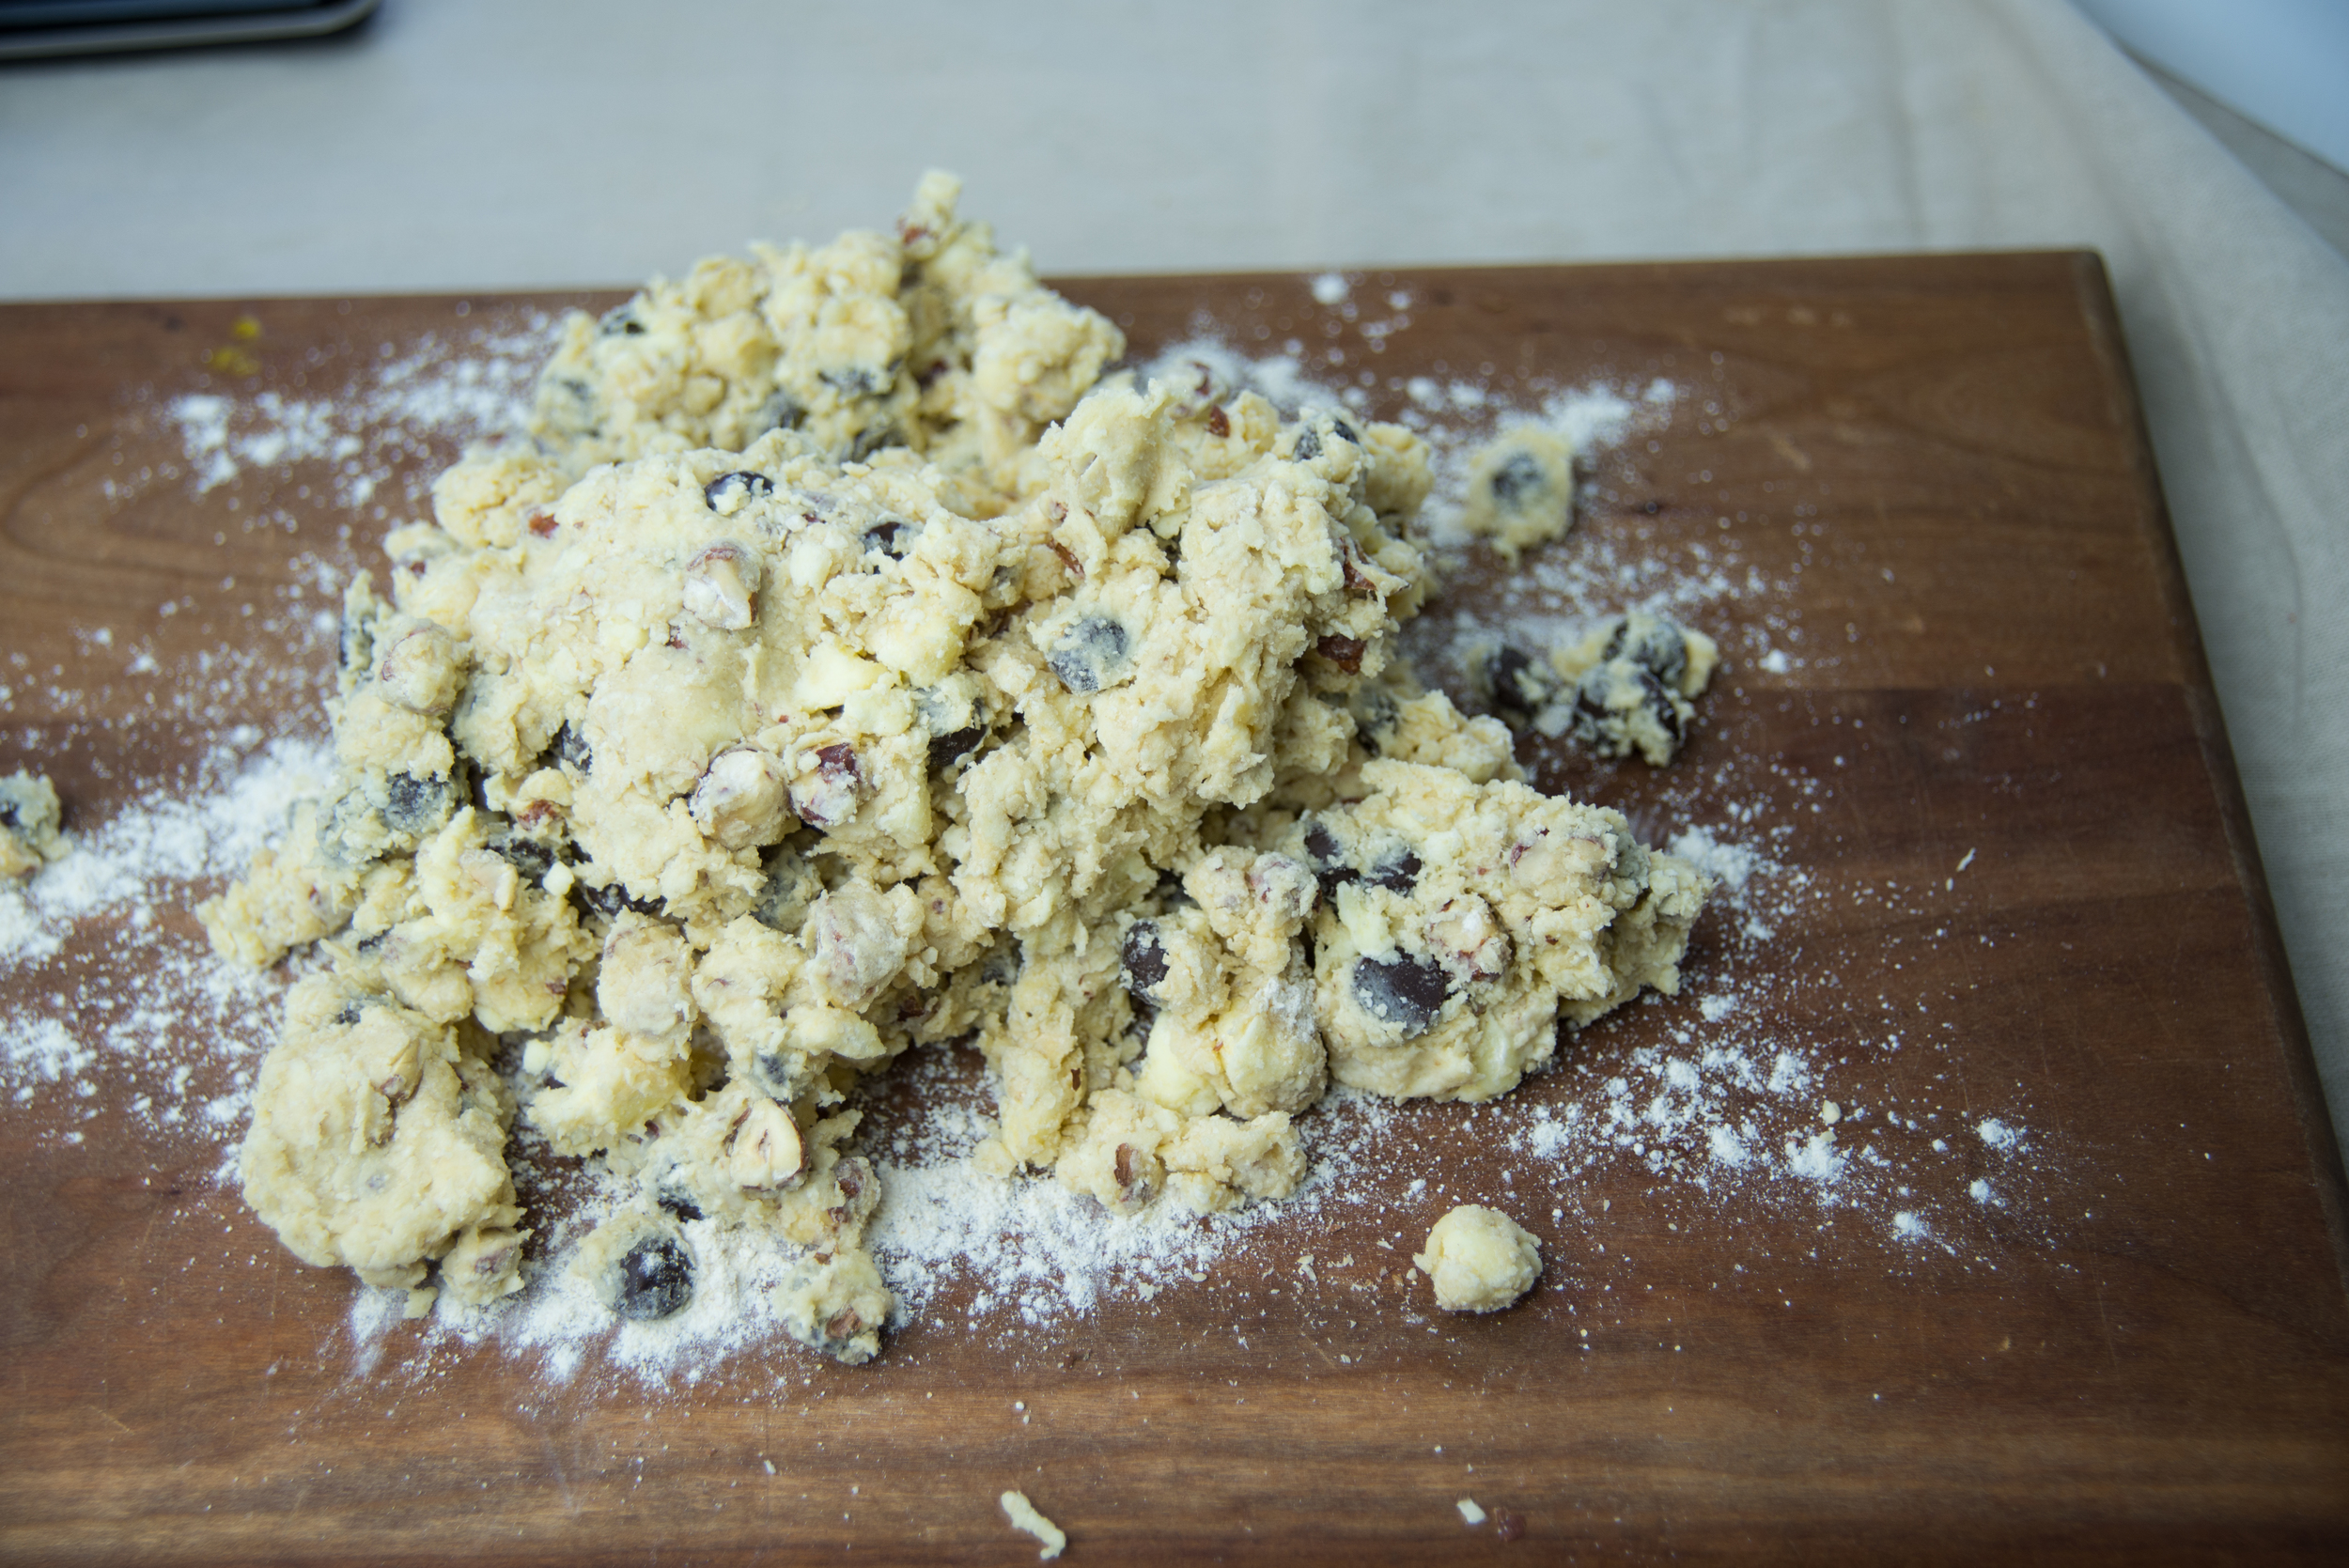
  • Dump the mixture out onto a lightly floured surface and use your hands to form it into a round disc,  about two inches thick. 
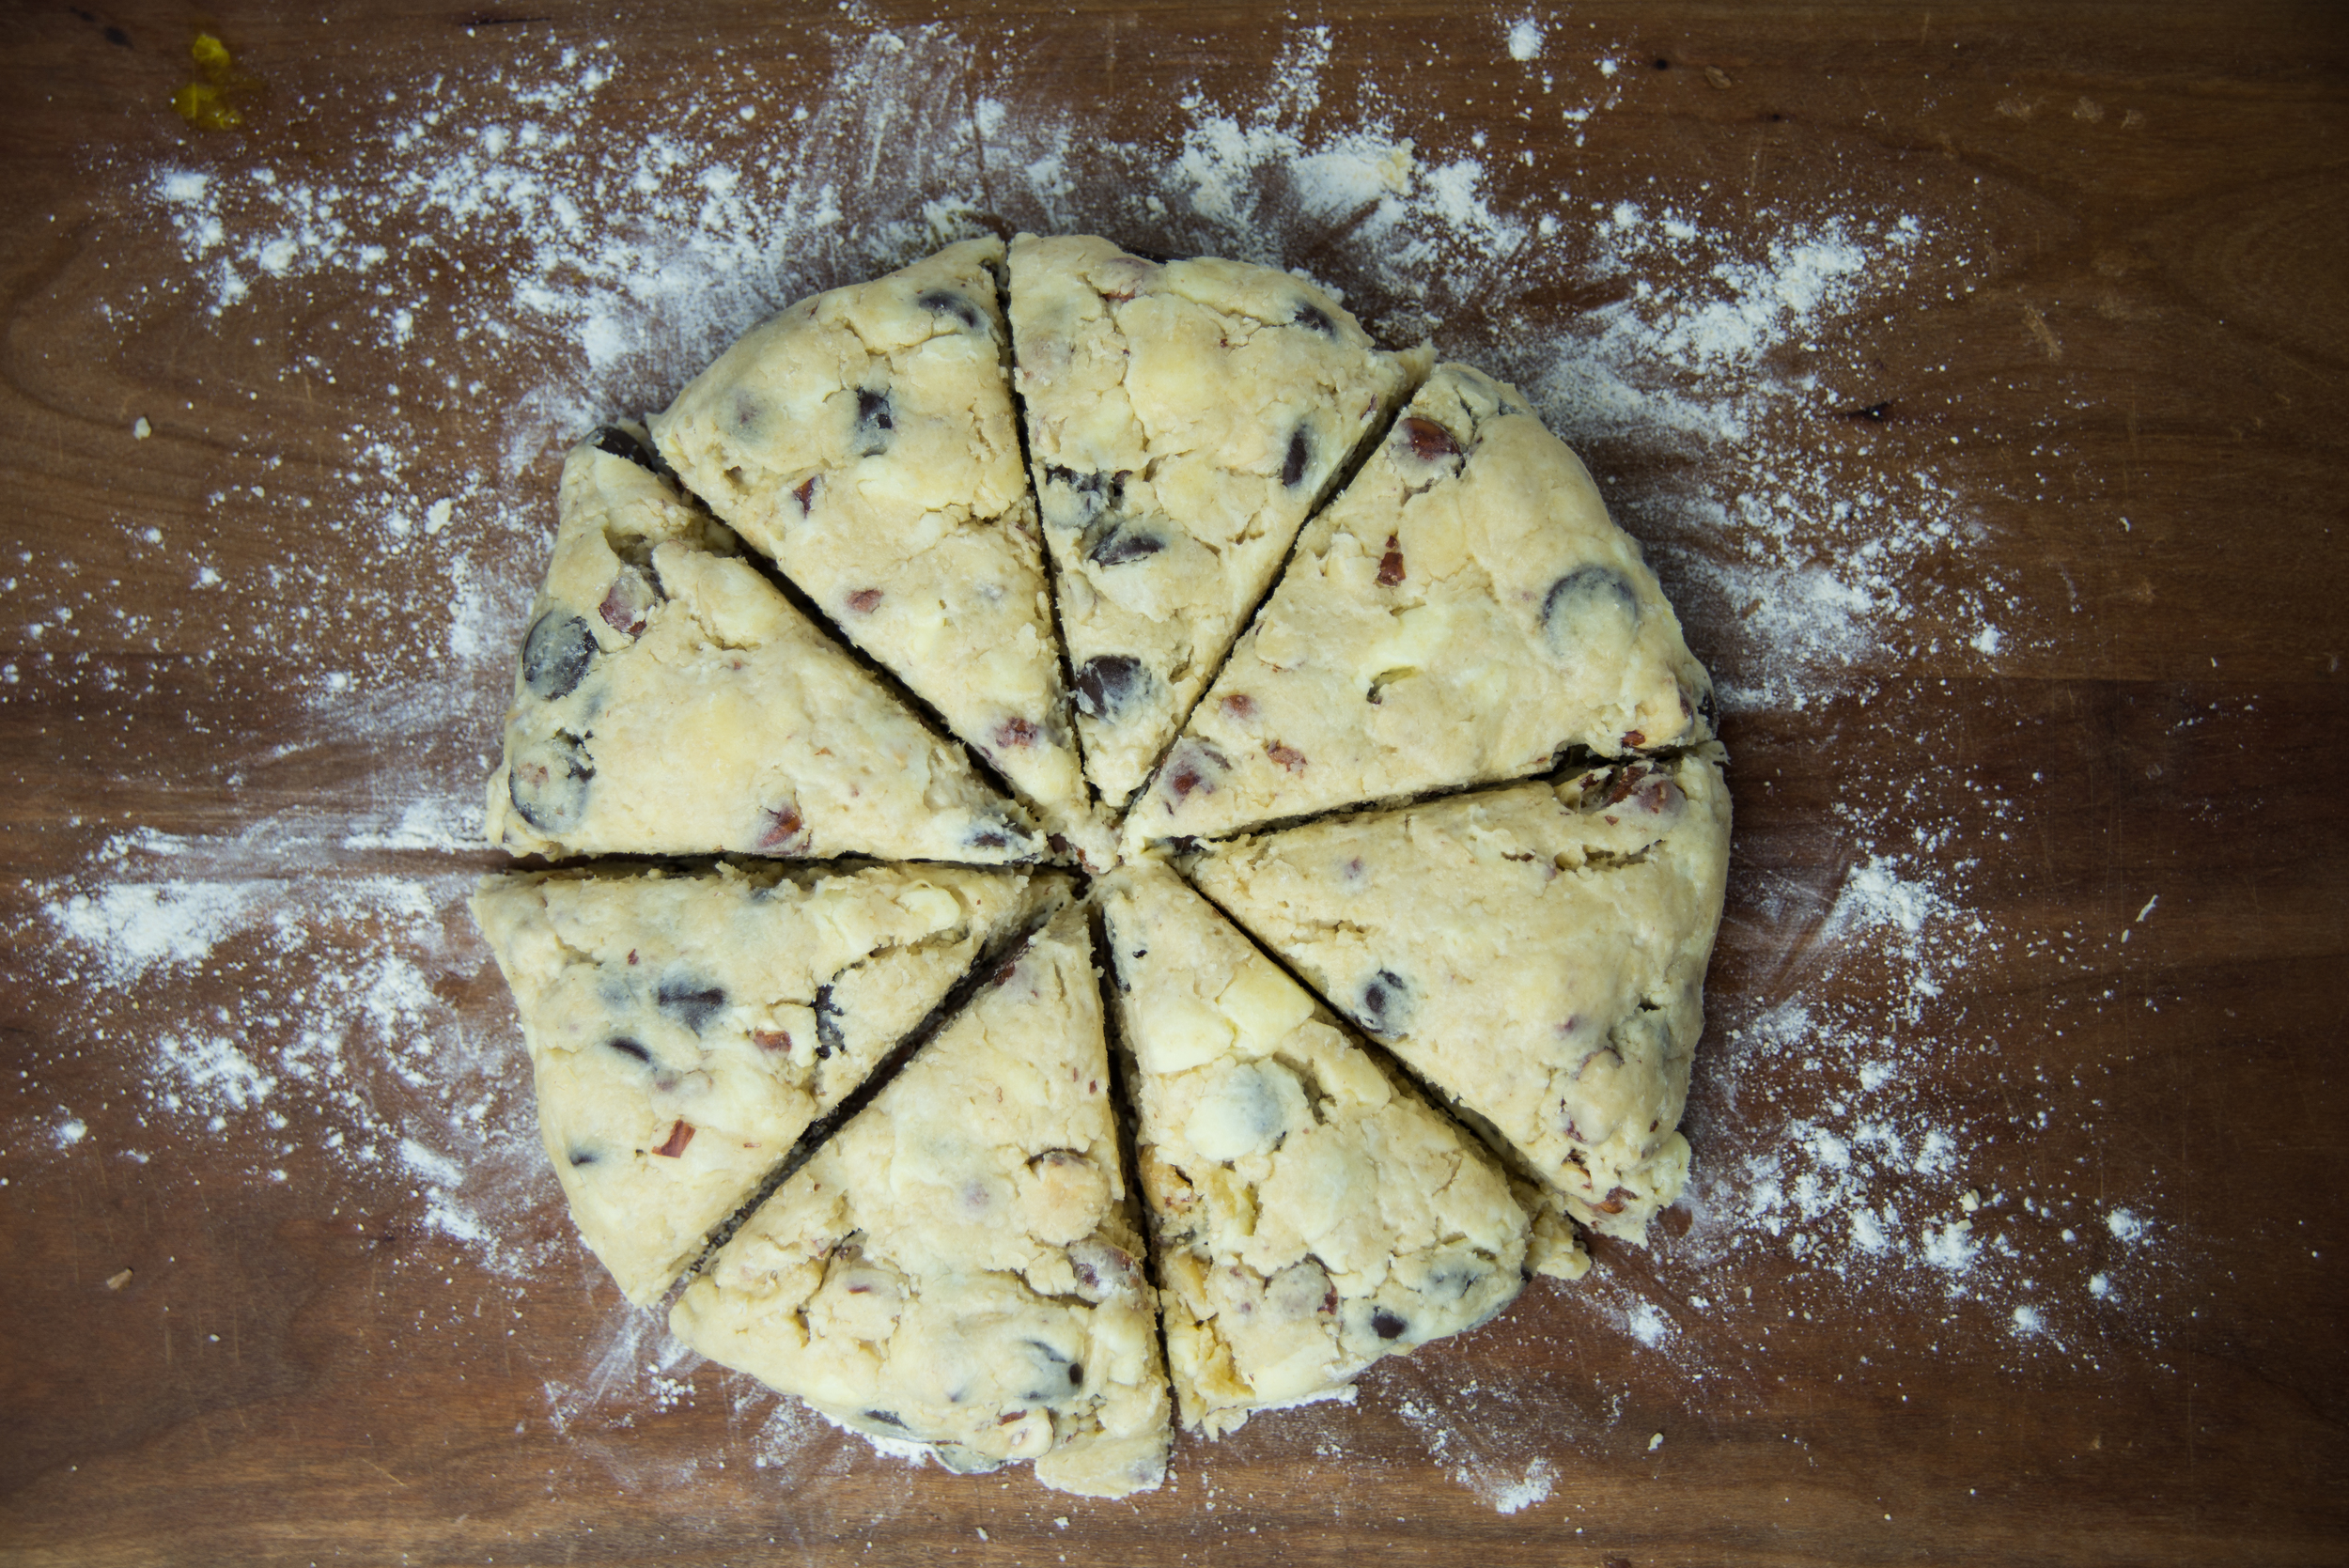
  • Cut the dough into 8 pieces, then transfer the scones onto a parchment or baking mat lined baking sheet. 
  • Brush the tops of the scones with the beaten egg. 
  • Bake at 375 for about 20 minutes, or until the tops are nicely browned. It will take longer if baking from the fridge or freezer. 

3 Comments

Toasted Vanilla Coconut Oats

Comment

Toasted Vanilla Coconut Oats

It's time for oats, friends! There is something oh-so-satisfying about sitting down to a hearty bowl of oats for breakfast, no matter how much of a "boring breakfast" reputation they might have. Warm and nutty with a hint of sweetness - you can't go wrong in my book. 

With this recipe, I'm giving oats a bit of a facelift by toasting them gently to bring out that nutty flavor. Then we add some coconut cream, my new favorite vanilla extract, a touch of maple syrup, and some chia seeds for a little bonus nutrition. Here's to the new normal of satisfying and healthy breakfasts! 

Take a close-up peek at these beauties, toasted just to that perfect level of golden brown to ensure you're getting the absolute best flavor possible out of those little oats! 

If you haven't noticed - I'm a pretty big believer in vanilla. I've always loved the intoxicating flavor of those exotic beans, and am endlessly trying new types of vanilla in search of the best ways to bring that flavor into my creations. I was pretty darn excited to try this Vanilla Bean "Crush" from Sonoma Syrup, and couldn't be happier that it lived up to my expectations. The combination of an extract made from the highest quality beans and vanilla bean seeds makes for the best tasting vanilla extract I've gotten my hands on yet. 

Thankfully, these oats come together in almost no time at all. While they do require two dishes to make, one of them hardly gets dirty and you don't have to stir the oats while they cook. That means, you can toast the oats then mix them in with the liquid and totally abandon them for five minutes while you make some coffee or wake the kids. This is my kind of warm weekday breakfast. 

Topping the oats off with some fresh berries and a hearty sprinkling of my lightly sweetened toasted coconut chips makes for a simple breakfast that feels like something special. Go ahead, treat yo' self! 

This recipe will make breakfast for two, but can easily be halved or doubled depending how many folks you'd like to feed! 

Toasted Vanilla Coconut Oats

1 cup water

1/2 cup coconut cream 

2 Tbsp maple syrup

pinch sea salt 

1 1/2 cups rolled oats 

1 1/2 tsp vanilla 

2 Tbsp chia seeds (optional) 

Toasted Coconut and Berries for topping 

  • Combine water, coconut cream, maple syrup, and salt in a pot, and place over medium-high heat to boil. 
  • Heat a frying pan over medium-high heat. Once it's hot, add the oats and let them toast for a few minutes. If they start to brown before the water/coconut milk is boiling, pull them off the heat.
  • Once the liquid is boiling, add the oats and the vanilla. Remove the pot from the heat, cover, and let sit for 5 minutes. 
  • Give the oats a good stir, and add a little extra coconut cream if you like creamier oats. Also stir in the chia seeds. 
  • Top the oatmeal with berries and toasted coconut, and serve. 


Disclaimer: I have received free product or money from businesses highlighted in this article - which helps me keep this blog alive. I take great pride in the advice I share here on Toot Sweet, and would never recommend a product to you that I'm not over-the-moon excited about, or that I wouldn't purchase for use in my own kitchen. 

Comment

Ginger Molasses Granola

2 Comments

Ginger Molasses Granola

Granola has played a pretty big role in my life for a long time. It's one of those things that I always have in the house, and when I'm out of it... things never seem to go quite as smoothly as I plan. Mornings I'm in need of a snack while running out the door leave me stranded with a handful of nuts. And, well, that just isn't nearly as satisfying as these big granola clusters! 

You may have previously seen my classic spiced maple granola, or my granola clusters (also sweetened with maple syrup) on the blog. Those recipes are still great standbys, but a few things have changed in our house to lead me to this new molasses-packed version.

First of all, our joyful annual spring staycation housesitting for some friends and their maple syrup operation wasn't possible with our move to Oregon... so we're sorely lacking in the endless bounty of maple syrup that trip afforded us.  (And sorely lacking in the joy of sitting in front of this raging fire while the sap boils, slowly sweetening into golden syrup perfection). 

Second, I've been trying to be a little more aware of the amount of sugar that enters my body, especially early in the morning and late at night. Molasses lowers the sugar content of this granola a bit from a maple syrup based version. Plus, it adds that rich and addictive molasses flavor I can't get enough of! While molasses is still a sugar cane based sweetener, it contains a lot more minerals and nutrients than your basic sugar, including a hefty serving of iron. This is great for those of you who are women, and anyone who doesn't eat meat regularly or often finds they're a little low on iron (all of the above are accurate for me, so this granola is a godsend!). 

The best part? This granola is basically a ginger molasses cookie you can feel good about eating for breakfast! I've added both ground ginger and fresh grated ginger to make the flavor shines through that flavorful molasses. Ginger lovers rejoice! 

Ginger Molasses Granola 

Note: To make a granola that doesn't clump at all, omit the flour and stir the granola every 15 minutes or so while baking. To make a granola that is between totally loose and big clumps, include the flour and very gently stir the granola once during the baking process. This recipe also doubles very well, for those of you who eat through granola faster than you imagine possible. 

3 cups thick rolled oats  

1 cup shredded unsweetened coconut  

1 cup nuts (almonds and walnuts are great choices!), roughly chopped 

1/4 cup flour (white or whole wheat will work) 

2 tsp ground ginger  

2 tsp cinnamon  

1/2 cup blackstrap molasses 

1/4 cup vegetable oil or melted butter  

2 Tbsp fresh ginger, finely grated  

  • Place oats, coconut, nuts, flour, ground ginger, and cinnamon in large mixing bowl and stir to combine. You want the flour and spices to distribute throughout the rest of the ingredients.
  • Add the molasses, oil, and fresh ginger then stir until everything is evenly coated in the liquids.  
  • Spread the mixture evenly on one large (or two small) baking sheets covered with parchment or a silicone baking mat. If you're shooting for the clumpiest granola, use a silicone spatula to flatten the mixture into a tightly packed layer about 1/2 inch thick. Make sure it is a similar thickness over the entire tray, not thinner at the edges, so it cooks evenly. 
  • Bake at 325 degrees for about 45 minutes, until the granola feels dry to the touch. Knowing when to take this granola out of the oven can be a little tricky, because the molasses is so dark you can't watch it browning. But you got this!  
  • Let the granola cool completely on the pan. If you're making the super clumpy version, it should come off of the pan in basically one solid piece. Break it into large chunks for snacking straight from the jar, or smaller chunks for eating with milk or yogurt.  
  • Granola will keep in an airtight container for at least two weeks.  

2 Comments