Viewing entries in
snacks

The Best Chocolate Chip Cookies

Comment

The Best Chocolate Chip Cookies

Over the course of the past few years, I've truly fallen in love with making chocolate chip cookies. My baking takes so many different forms and I'm constantly looking for something new to make or new flavors to try. But chocolate chip cookies are a staple - something that comes together nearly without thought, allowing me to fully pour my heart into each batch of cookies. Daniel and I regularly joke about the fact that any time he requests chocolate chip cookies, there's a fresh batch coming out of the oven within 12 hours.

It absolutely never fails. 

I always have what I need on hand to whip these cookies together (or at least, a very similar version). Because it's important to have easy access to chocolate chip cookies : ) 

DSC_6166.jpg

I'm regularly tweaking this recipe, ever so slightly, wondering if I might be able to improve upon what I already love so much. If I've learned anything substantial over the years, it is that ingredients matter.

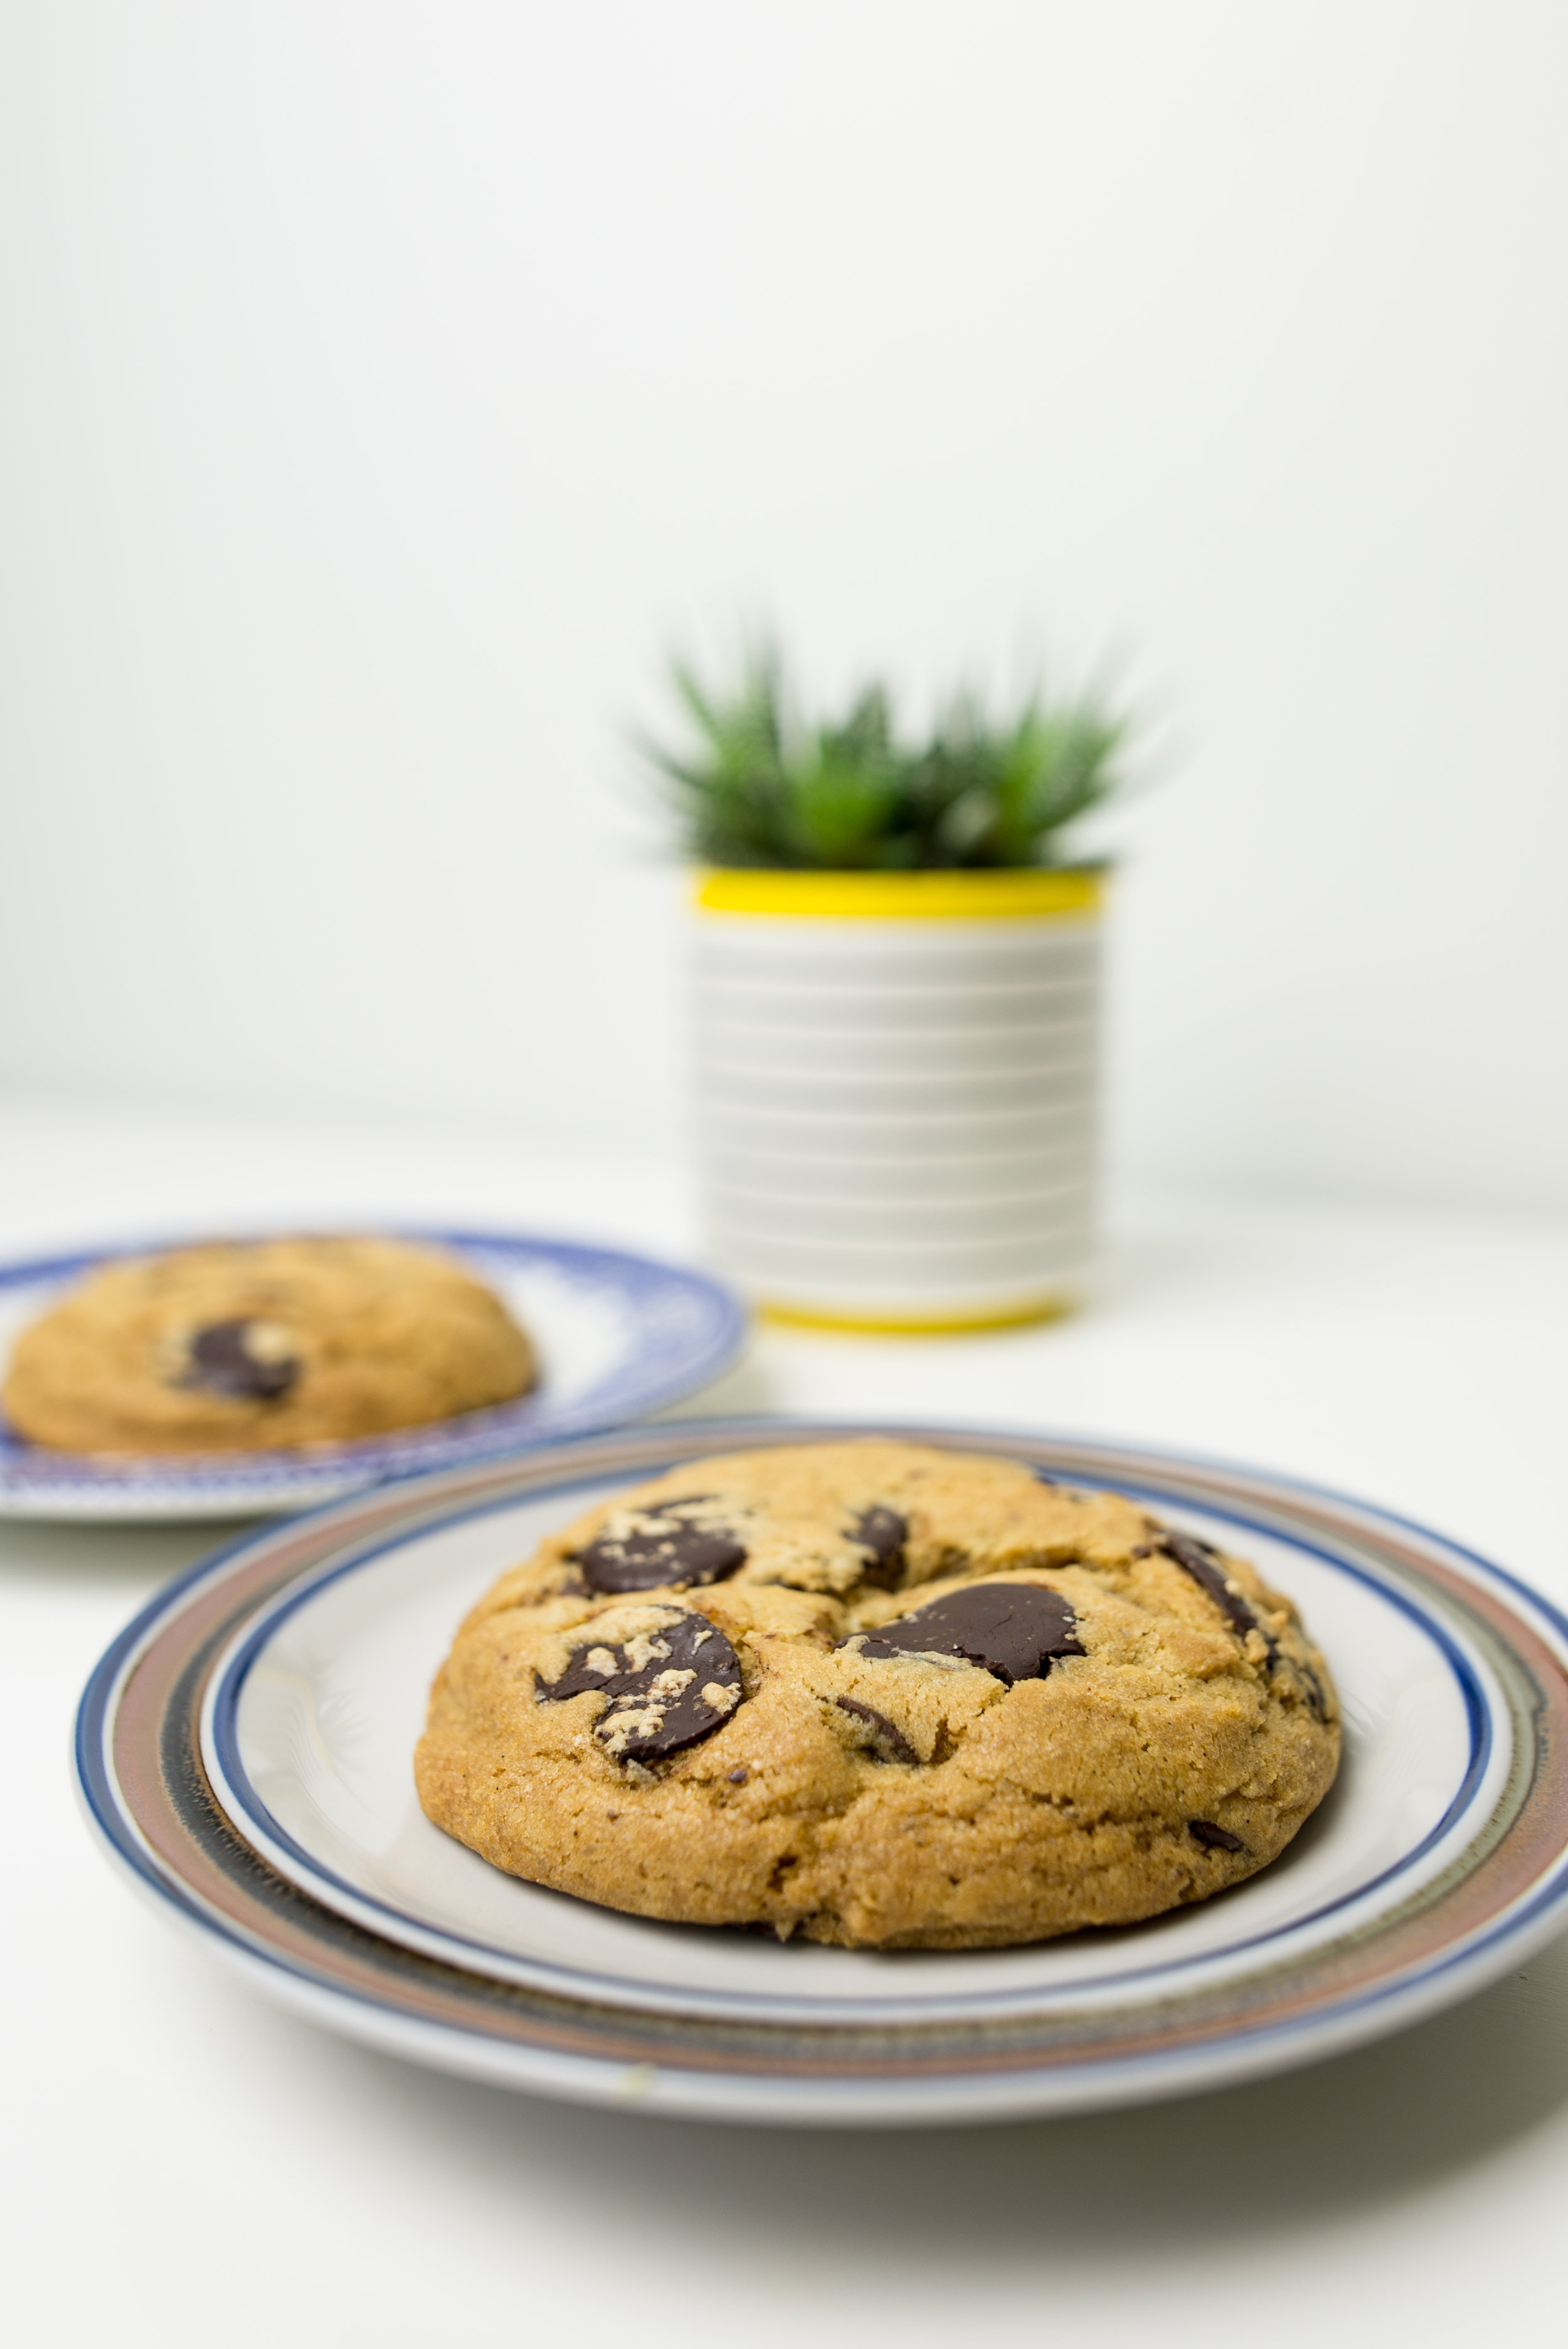
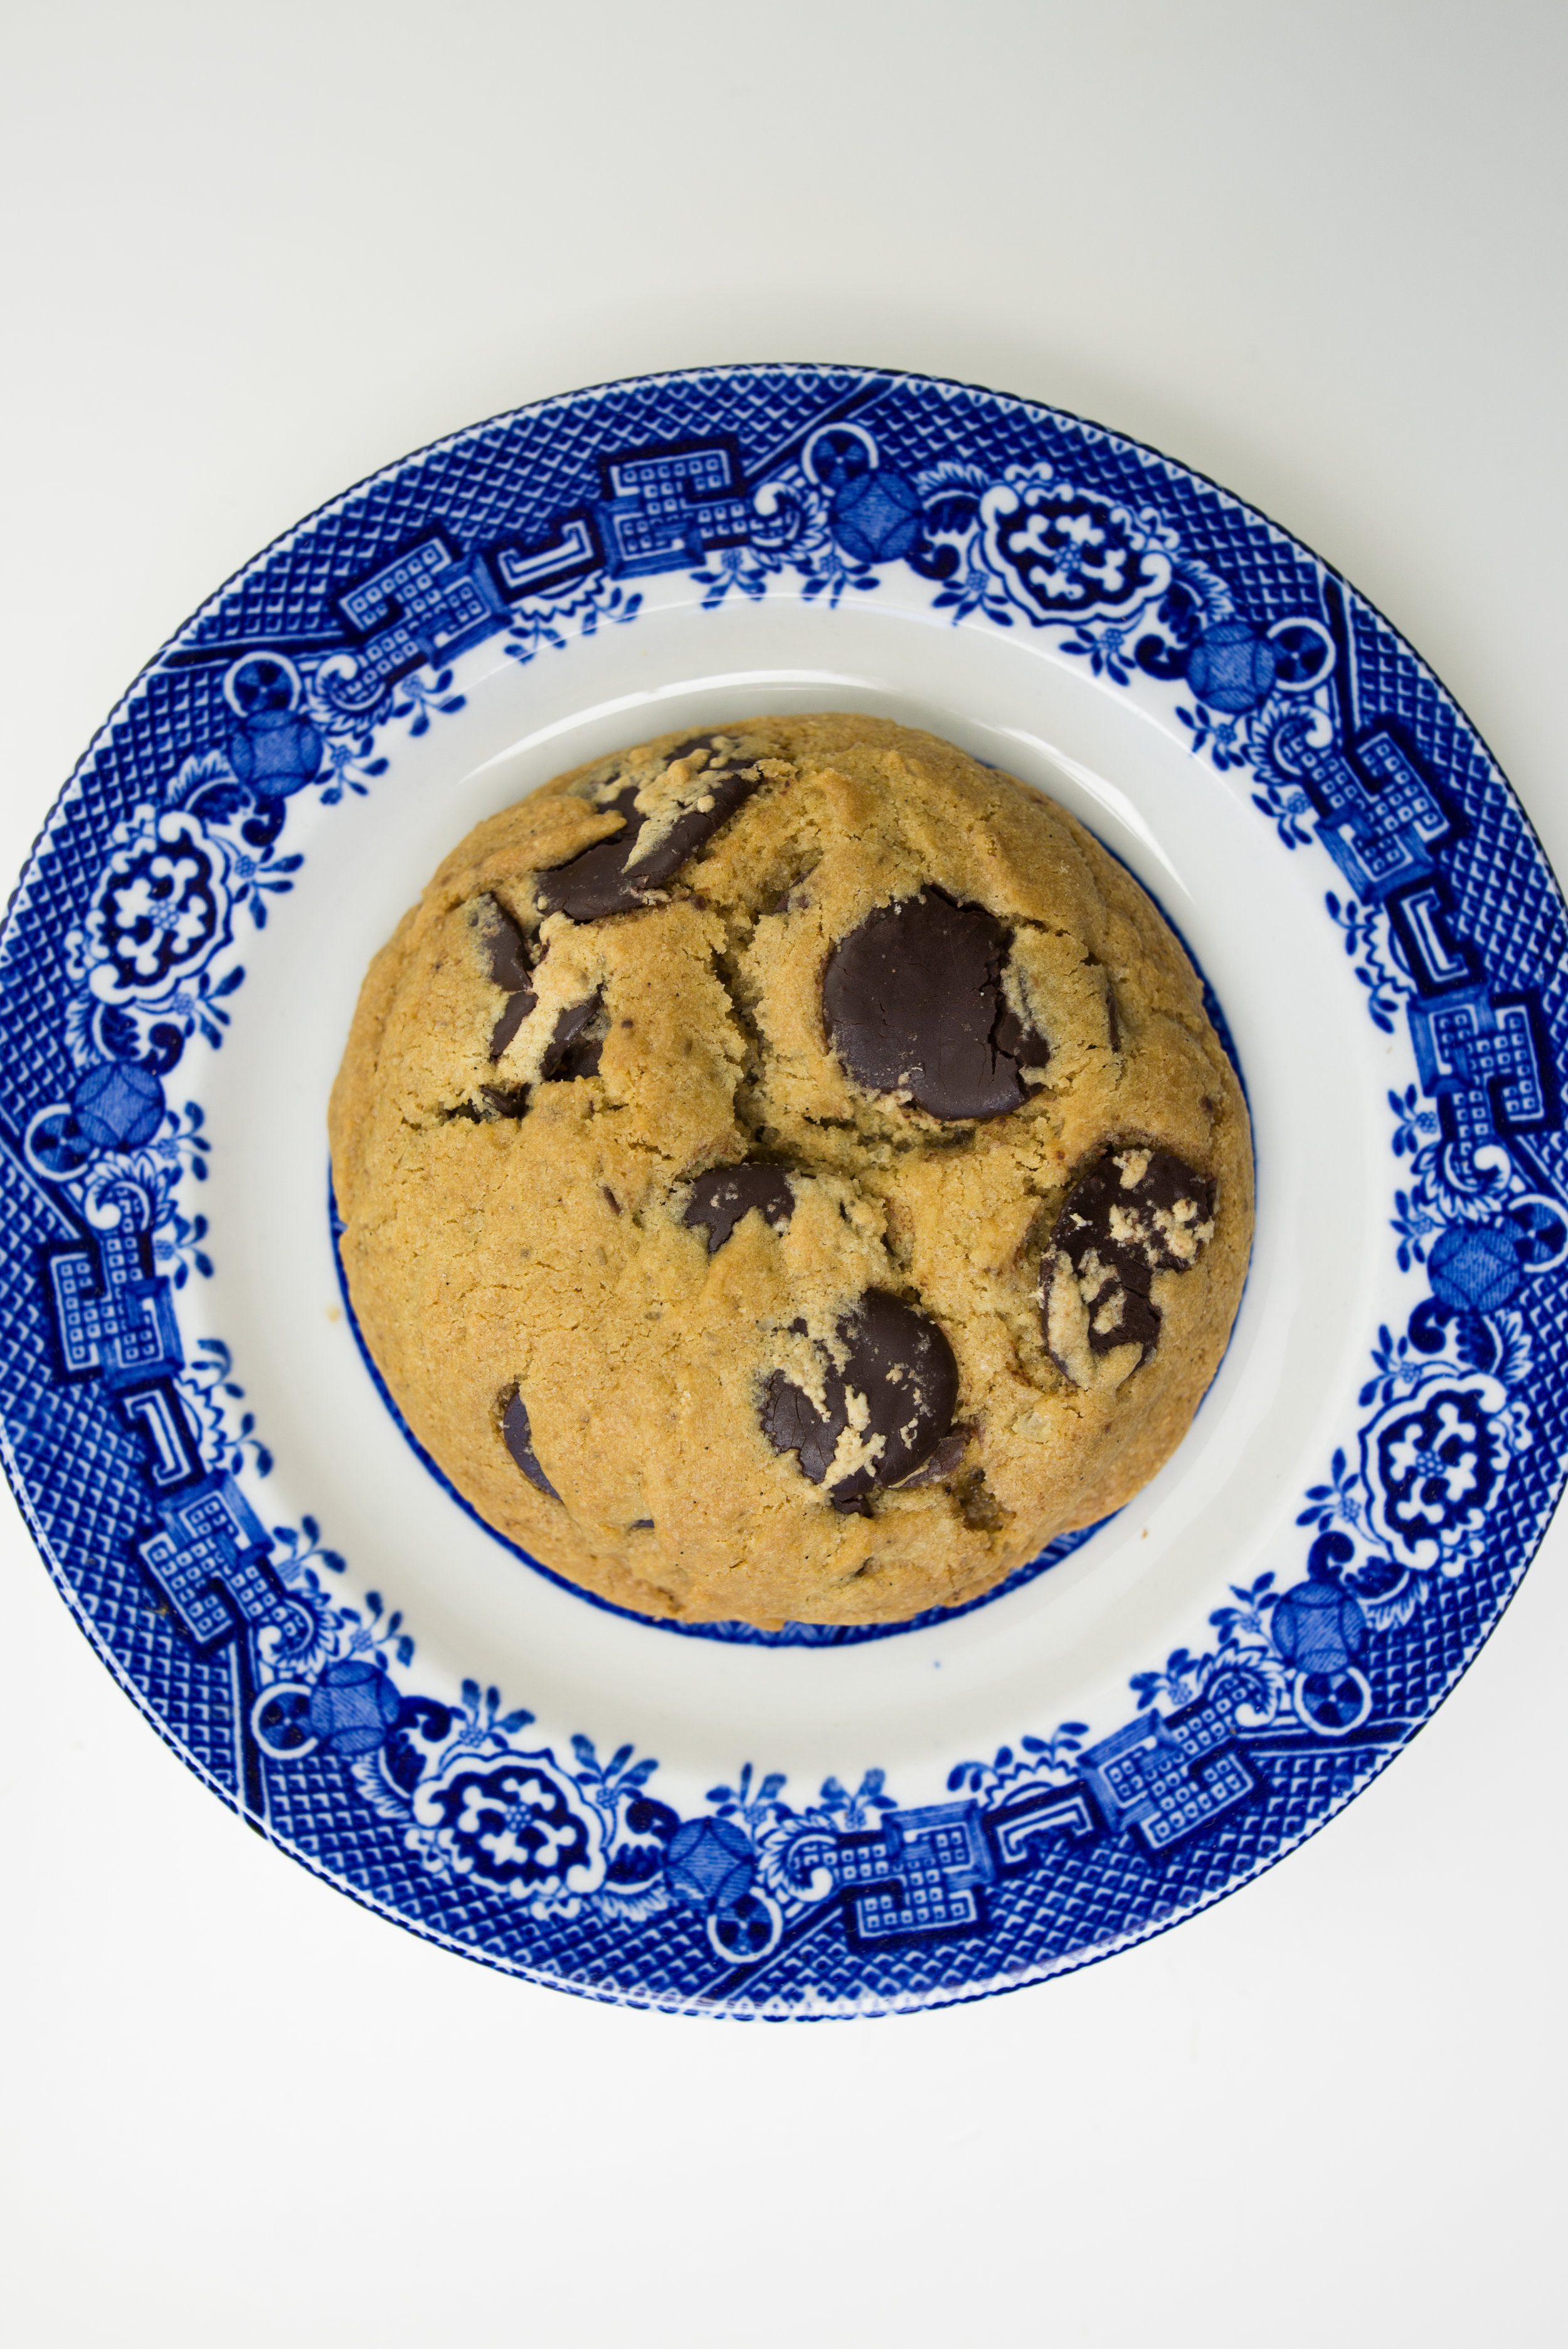
I've always been picky about what goes into my chocolate chip cookies, but the best version I've made to date uses chocolate baking discs from Grocer's Daughter Chocolate, which they source from Conexion, a woman-owned company making incredibly high-quality bean-to-bar chocolate in Ecuador. The complex and fruity flavors in this chocolate bring these cookies over the top. 

DSC_6174.jpg

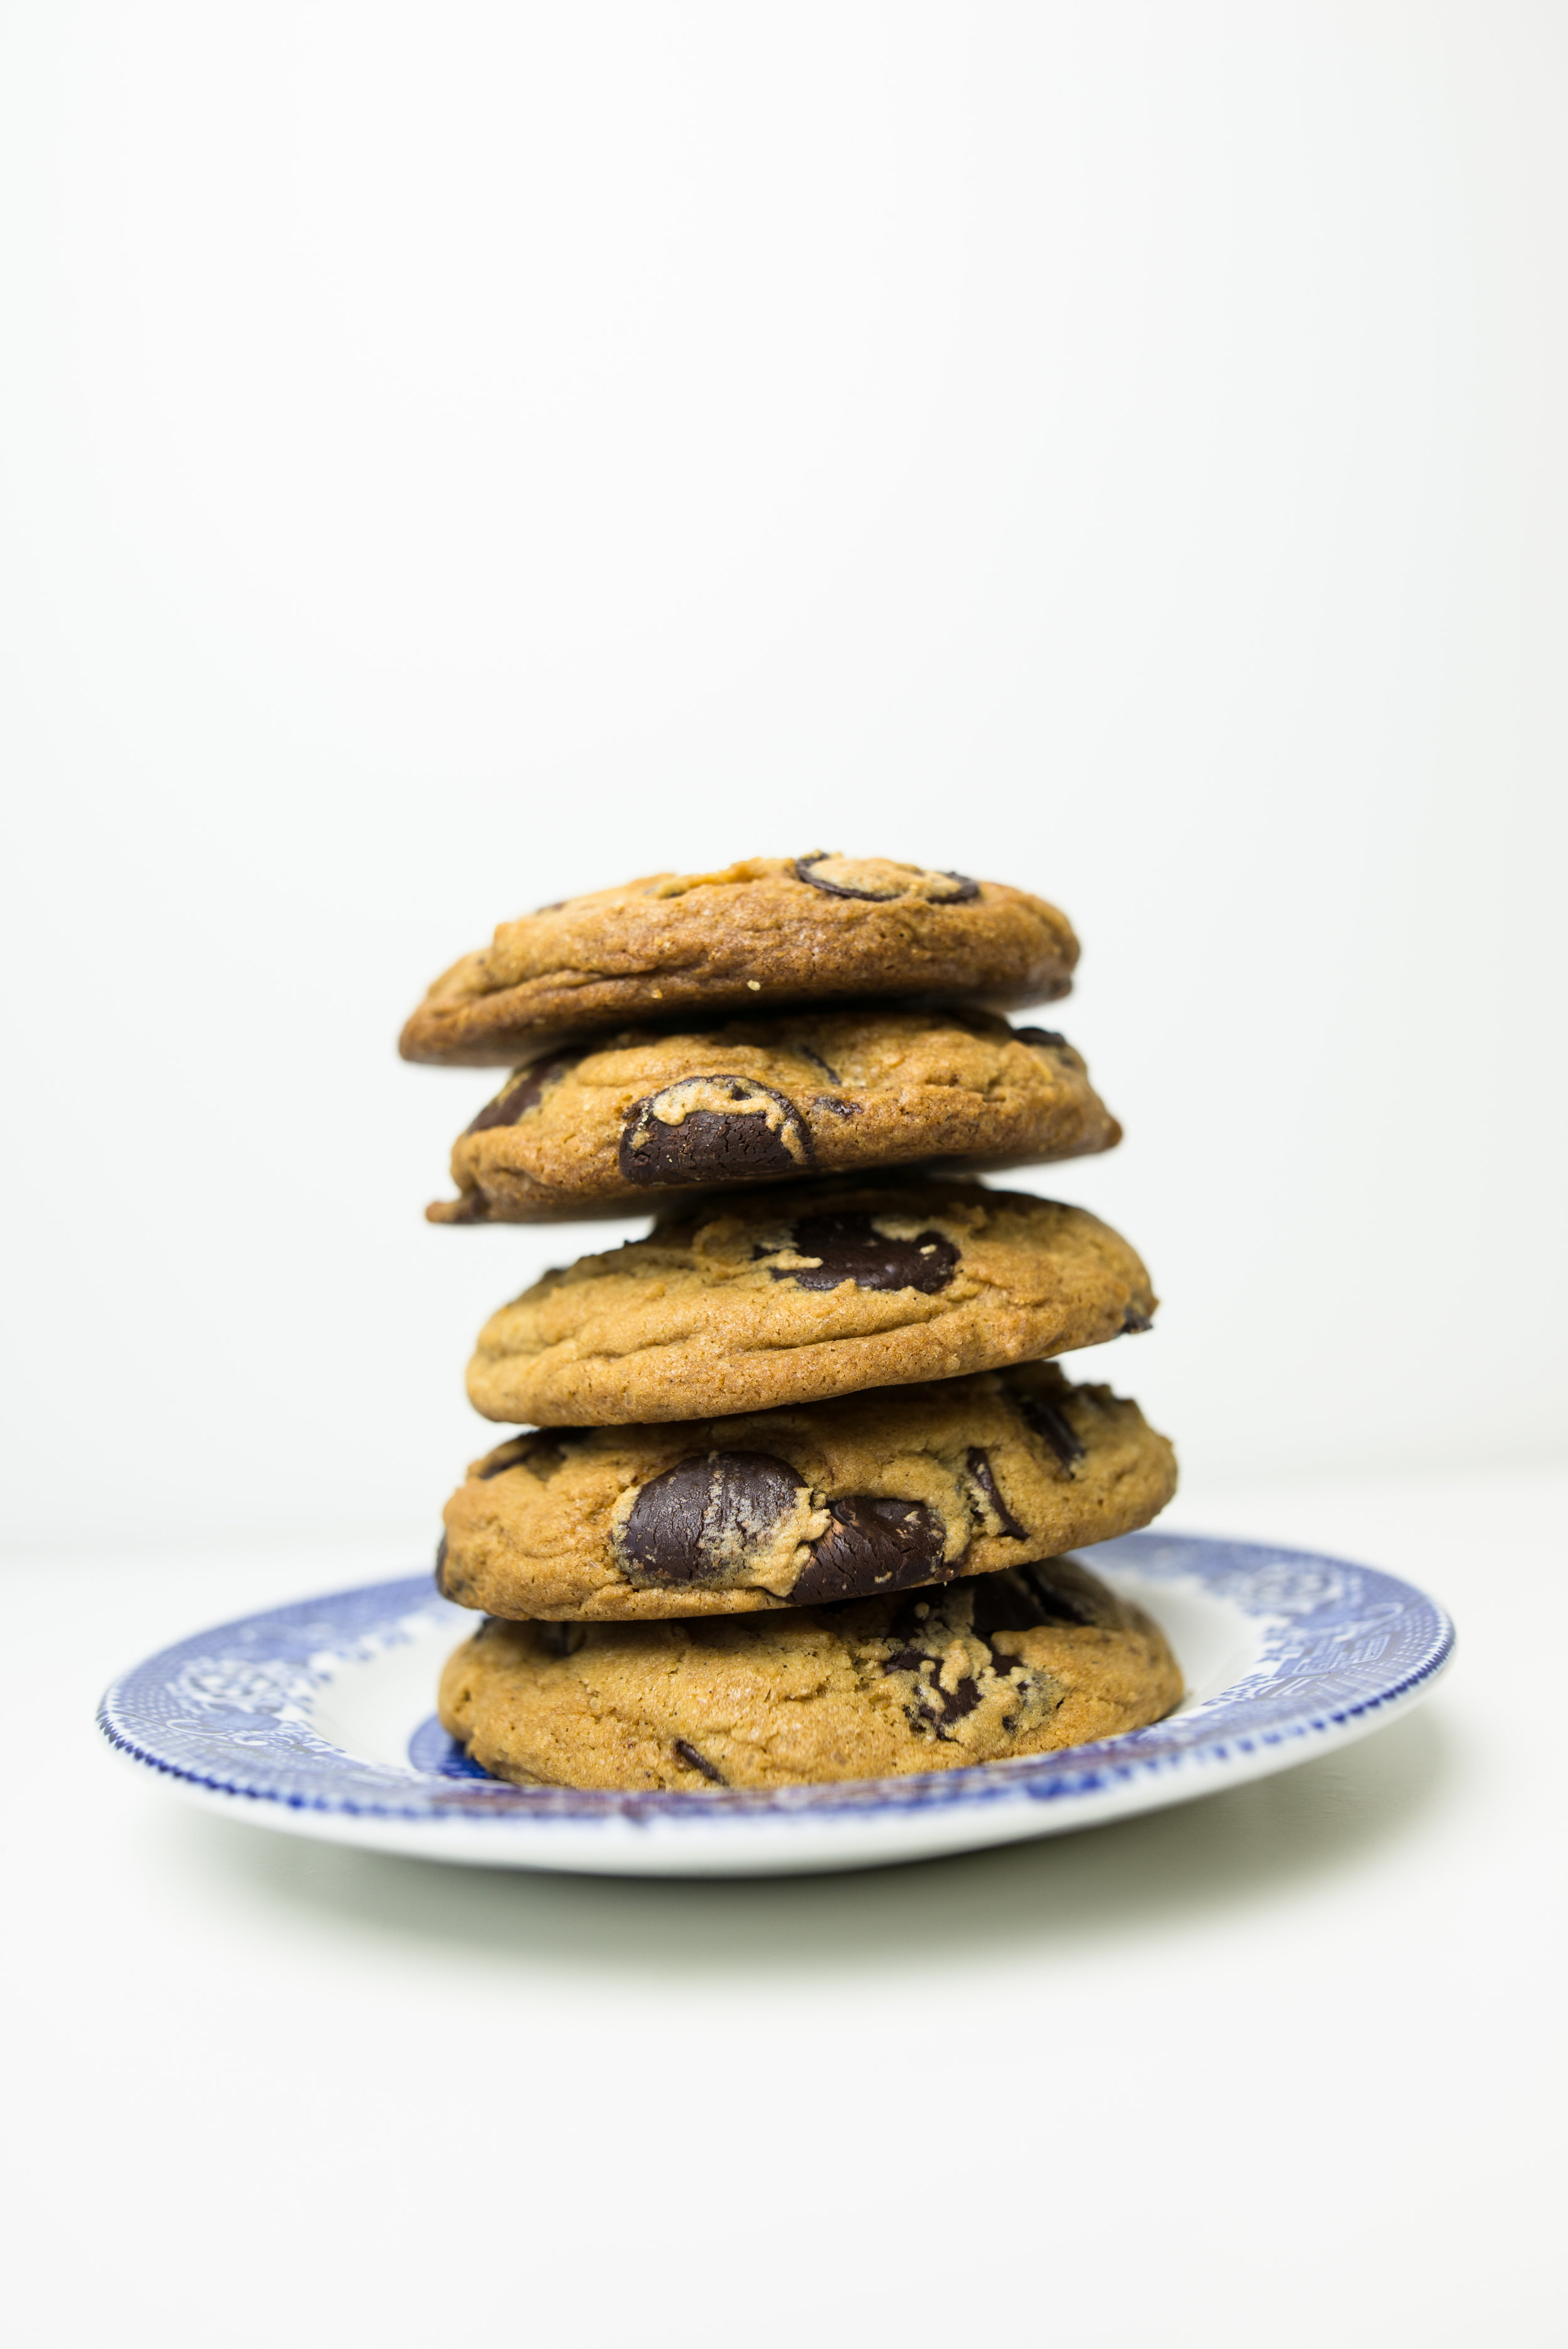
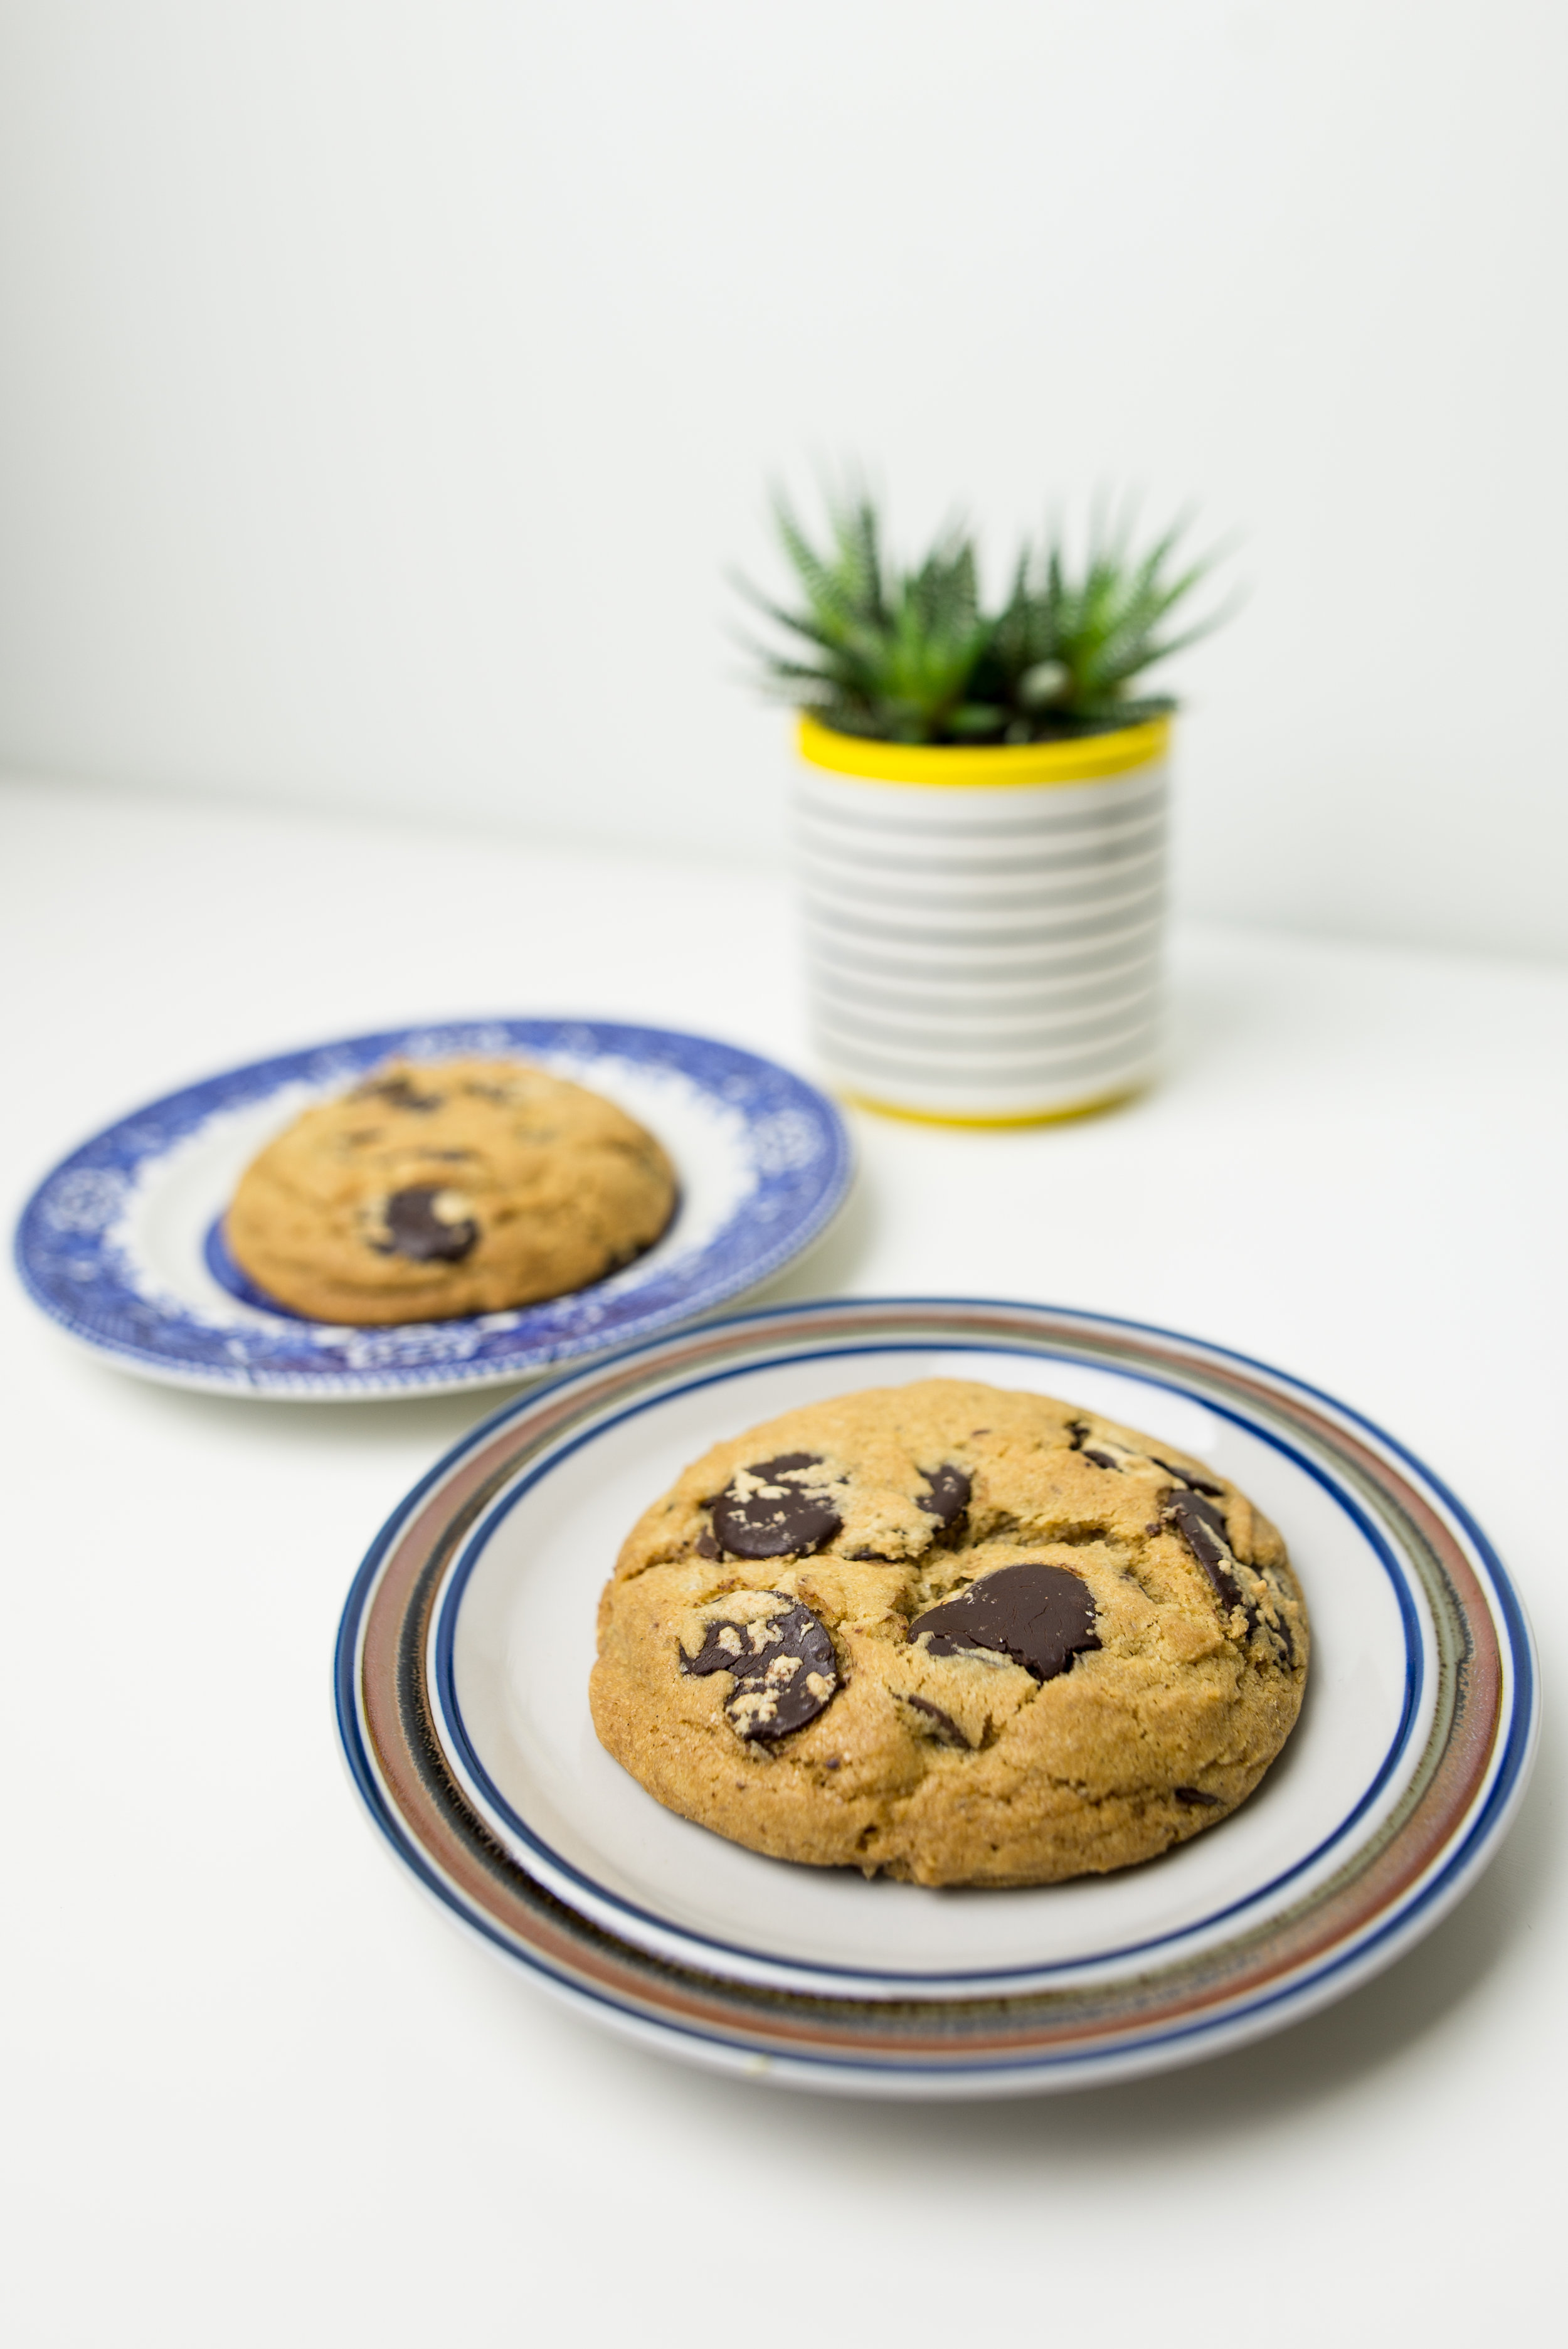
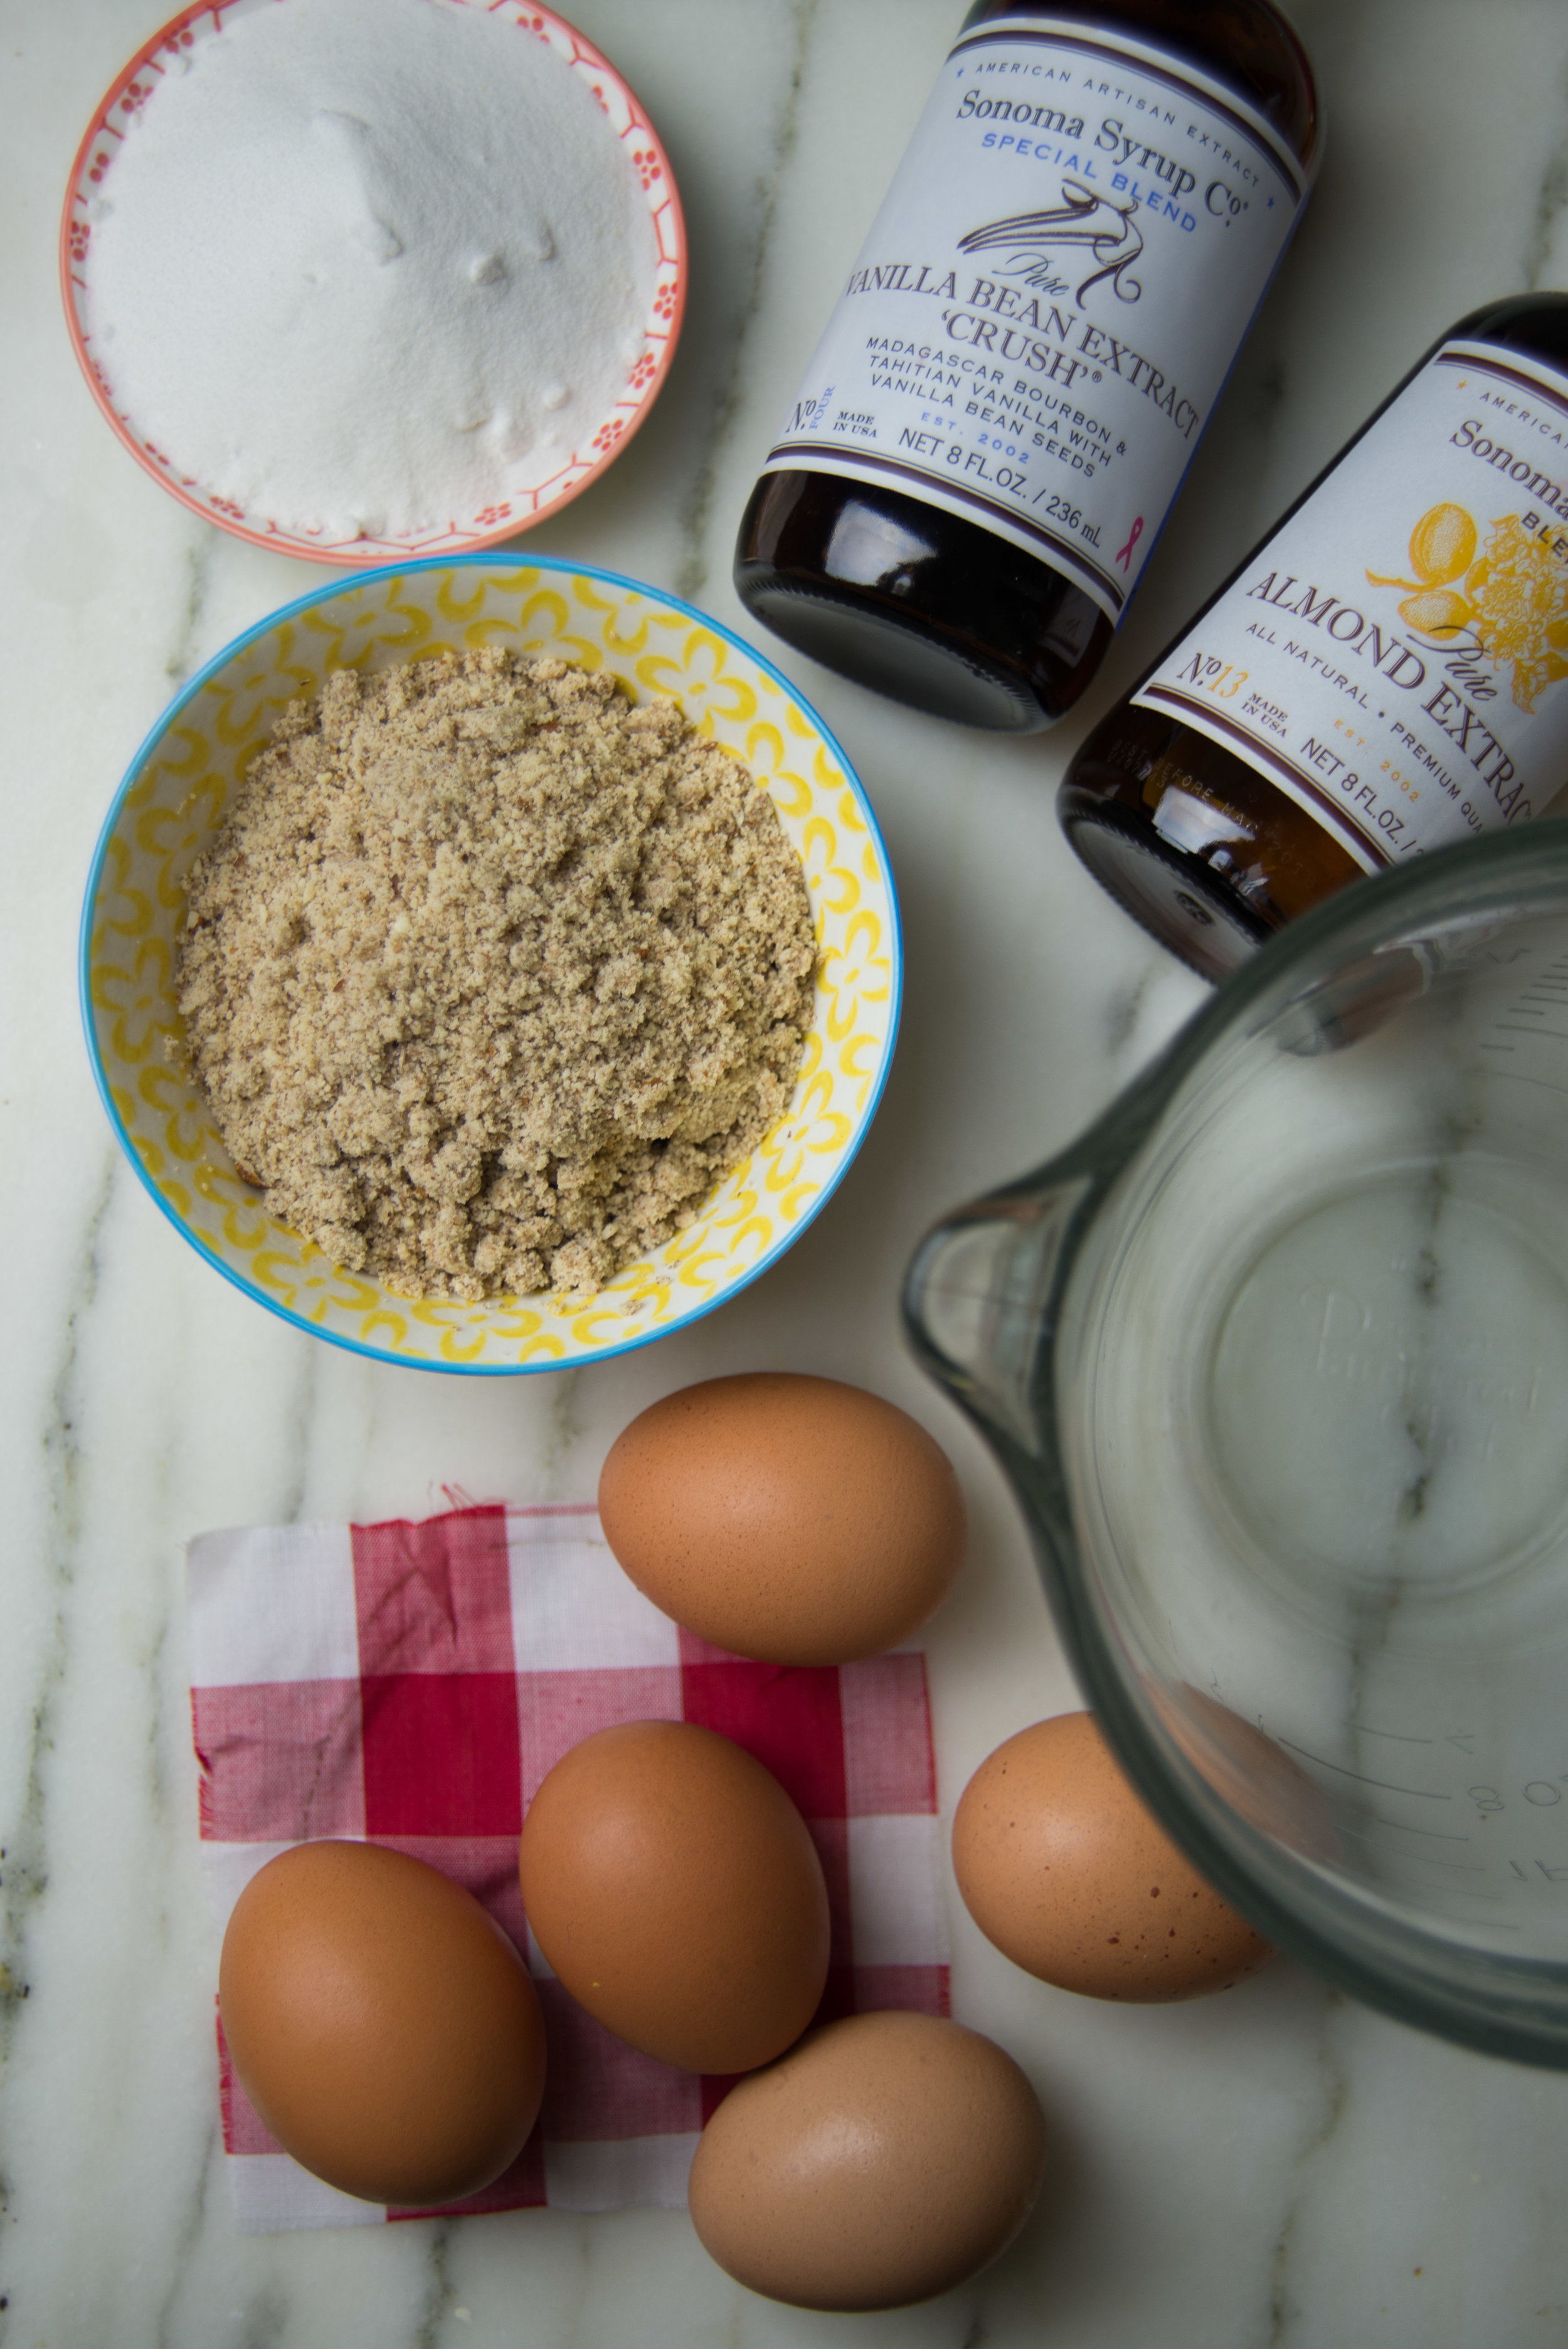
I also use Sonoma Syrup Co.'s vanilla bean CRUSH, a vanilla extract packed with vanilla seeds and unparalleled in flavor. The dough of these cookies pairs the rich caramel flavors of turbinado sugar with floral vanilla, creating the perfect match for our chocolate. 

This is heaven in a cookie, friends.  

DSC_6186.jpg


The Best Chocolate Chip Cookies

ingredients: 

1/2 cup unsalted butter, softened 

2 Tbsp organic cane sugar 

2 Tbsp turbinado sugar (use brown sugar if you don't have turbinado) 

3/4 cup plus 2Tbsp light brown sugar 

1 large egg 

1 tsp vanilla 

3/4 tsp baking soda 

heaped 1/4 tsp salt 

1 cup all-purpose flour 

3/4 cup bread flour

1/2 pound bittersweet chocolate disks (I pefer a mixture of 64% and 88%) 

flaky sea salt 

instructions: 

  • Cream together butter, all three sugars and vanilla, beating for at least 5 minutes with a stand mixer with the paddle attachment (or a really buff arm!).  
  • Add egg. Continue mixing until fully incorporated.
  • Combine flours, baking soda and salt in a separate bowl.  Whisk to combine. 
  • Add half of dry ingredients and mix on low, just until it starts to mix into the creamed butter. Add remaining dry ingredients and mix on low until just a few streaks of flour remain. 
  • Add chocolate and mix until just incorporated. 
  • Scoop cookies onto baking sheets lined with silicone baking mats or parchment paper. I use a cookie scoop to get nice clean circles. Sprinkle each cookie with a few flakes of salt. 
  • Bake at 360 degrees, for 10-12 minutes - until the edges just start to brown and the centers are still soft. Let cool completely on the baking sheet (or for at least 5 minutes before moving to a cooling rack). 

Comment

Almond Raspberry Bakewell Tart

Comment

Almond Raspberry Bakewell Tart

Years and years ago, my parents were staying at a small Bed and Breakfast in England when they were served this classic English tart. My dear mother is not one to love sweet things at breakfast but she absolutely fell in love with this delightful almondy raspberryy tart! So much so that she actually asked for the recipe (much to my appreciation!). The recipe looked a lot like the jotted down notes I tend to make in my trusty notebook while I'm putting something together. A list of ingredients separated by quick notes, with no real instruction on how the ingredients are supposed to come together. It's the nightmare of many, but feels right at home in my little world. 

So, ages ago, my mom first tackled the recipe to serve as a Christmas morning treat and it became an instant classic. While I hardly ever make this dish, it is definitely my favorite addition to a filling brunch and the perfect answer to a slow morning with nothing more than a cup of coffee and a little sweet treat. 

All that said, this is definitely not just a breakfast tart - it's sure to be a showstopper served as actual dessert as well... it just never seems to last that long around here! 

Making the crust can start with a pastry cutter, but generally needs to end with your hands in the bowl, pressing the flour and butter together into a beautifully tender pastry. 

I have to say here, getting my hands into a bowl of flour, no matter how small or how large, always brings a serious dose of joy into my world. Things have been pretty darn scary out there in our country these past few weeks (okay months, if we're being honest). I'm doing everything I can to fight back against intolerance, but that incredible pressure also means it is endlessly important to find time for self care. And my self care comes in the form of baked goods. Lots and lots of baked goods! 

Once that crust is ready, we press it into the pan, brown it nicely, then coat it with a nice layer of raspberry jam. It's a classic combination, but one can never really go wrong when it comes to mixing the flavors of raspberry and almond. Pure heaven every time. 

Then, of course, we have the filling. An almond frangipane packed with eggs, almond flour, and both vanilla and almond extract from my friends over at Sonoma Syrup Co.. High quality extracts make all the difference when it comes to flavor, especially making something with simple ingredients like this tart. I've sung the praises of their vanilla "crush" over and over again, and their almond extract is just as good - perfectly balanced and packed with flavor! 

Here we have it! The gorgeous tart in all of it's glory! I highly recommend this one for any occasion that calls for something sweet - a special brunch, a quiet breakfast at home, dessert with friends and family, or any old Tuesday that calls for a little pick-me-up. 

Get baking, friends! 

Bakewell Tart 

Notes: You'll notice all the measurements are by weight, which I don't normally do here. Weighing your ingredients really is the best way to accurately make a recipe, and these amounts don't divide out to clean measurements so I decided to leave them. If you need, there are plenty of charts online to convert the weights into measurements. The filling calls for ground almonds - this is as simple as putting almonds into your blender or food processor and grinding until fine. Don't go too far, or you'll get almond butter! 

crust: 

175g white flour 

38g semolina flour 

25g sugar (preferably caster sugar)

1/4 tsp baking powder 

pinch salt 

150g cold butter, cubed

filling: 

3 eggs 

2 egg yolks

100g ground almonds or almond flour

90g sugar

1 tsp almond extract 

2 tsp vanilla extract 

raspberry jam

  • Prepare a tart pan or springform pan by cutting a circle of parchment paper to line the bottom and buttering the sides of the pan. 
  • We'll start with the crust, of course. Sift or whisk together all the dry ingredients (flour, semolina, sugar, baking powder, salt) in a medium bowl. Add the butter and start to cut it in with a pastry cutter. Eventually, you'll want to use your fingers to quickly press the flour and butter together. It will be a little crumbly, but it'll be just fine! You just need it mixed enough that it holds together when squeezed. 
  • Pour the crust mixture into your prepared pan, and gently press it into place. I like to just cover the bottom of the pan, but you can also cover the sides if you wish. Place the pan on a baking sheet to more easily move it in and out of the oven. 
  • Bake the crust at 375 for 12-18 minutes, until it is just lightly golden brown. 
  • While the crust is baking, get the filling ready. In a medium bowl, whisk together eggs, egg yolks, ground almonds, sugar, and extracts. 
  • When the crust is ready, pull it from the oven and gently spread a layer of raspberry jam over the crust. You can go thin or thick - it's up to you! Then give the filling one last whisk and pour it over the top. 
  • Return the tart to the oven and bake for about 25 minutes, until the top is golden brown. 
  • Sprinkle with powdered sugar to serve if you wish! 


Disclaimer: I have received free product or money from businesses highlighted in this article - which helps me keep this blog alive. I take great pride in the advice I share here on Toot Sweet, and would never recommend a product to you that I'm not over-the-moon excited about, or that I wouldn't purchase for use in my own kitchen. 

Comment